80900-WU-747

Melbourne wedding photography with natural skin tones and refined post-processing

Achieving Natural Skin Tones in Melbourne Wedding Photography Post-Processing

Melbourne’s diverse lighting conditions—from the soft, diffused light of overcast days to the golden warmth of late-afternoon sun—create a unique challenge for wedding photographers aiming to capture natural-looking skin tones. Post-processing plays a crucial role in refining these tones, ensuring the couple looks radiant without appearing overly edited. The key lies in balancing technical adjustments with an understanding of how light interacts with skin in different environments.

wedding photography melbourne

Understanding Skin Tone Basics in Melbourne’s Light

Skin is a complex subject, reflecting hues influenced by genetics, lighting, and surroundings. In Melbourne, where weather shifts rapidly, photographers must adapt their approach to post-processing based on the scene’s dominant light source.

Overcast Light and Soft Skin

Cloudy skies are common in Melbourne, especially during winter, and they produce even, flattering light that minimizes blemishes and wrinkles. However, this light can sometimes leave skin looking flat or washed out. During post-processing, gently lift midtones to restore vitality while preserving the natural softness. Use the tone curve tool to add subtle contrast in the shadows, ensuring the skin retains depth without appearing harsh. For example, if photographing a couple in Fitzroy Gardens under cloudy skies, slightly warming the highlights on their faces can counteract the coolness of the light while maintaining a natural glow.

Golden Hour and Warm Glows

Melbourne’s golden hour, particularly in summer, casts a warm, directional light that enhances skin tones with a natural radiance. To preserve this warmth during editing, avoid over-cooling the image. Instead, fine-tune the white balance to emphasize orange and yellow tones in the highlights, ensuring the couple’s skin appears sun-kissed rather than artificially tinted. For a beach wedding at Brighton, boosting the warmth in the sand and water while keeping the sky’s blues cool can create a balanced, harmonious look that highlights the skin’s natural luminosity.

Techniques for Balancing Skin Tone Consistency

Wedding photos often involve multiple subjects with varying skin tones, lighting conditions, and distances from the camera. Achieving consistency across these elements requires careful, localized adjustments.

Addressing Mixed Lighting Scenarios

Melbourne’s venues—from historic ballrooms to modern warehouses—often feature mixed lighting, such as natural window light combined with artificial tungsten or LED sources. This can result in uneven skin tones, with some areas appearing too warm or cool. During post-processing, use selective masking to isolate different parts of the image. For instance, if a bride’s face is lit by warm window light while the groom’s is in shadow, adjust the white balance separately for each region. Cooling the groom’s shadowed skin slightly and warming the bride’s highlighted areas ensures both look natural within the same frame.

Correcting Color Casts from Surroundings

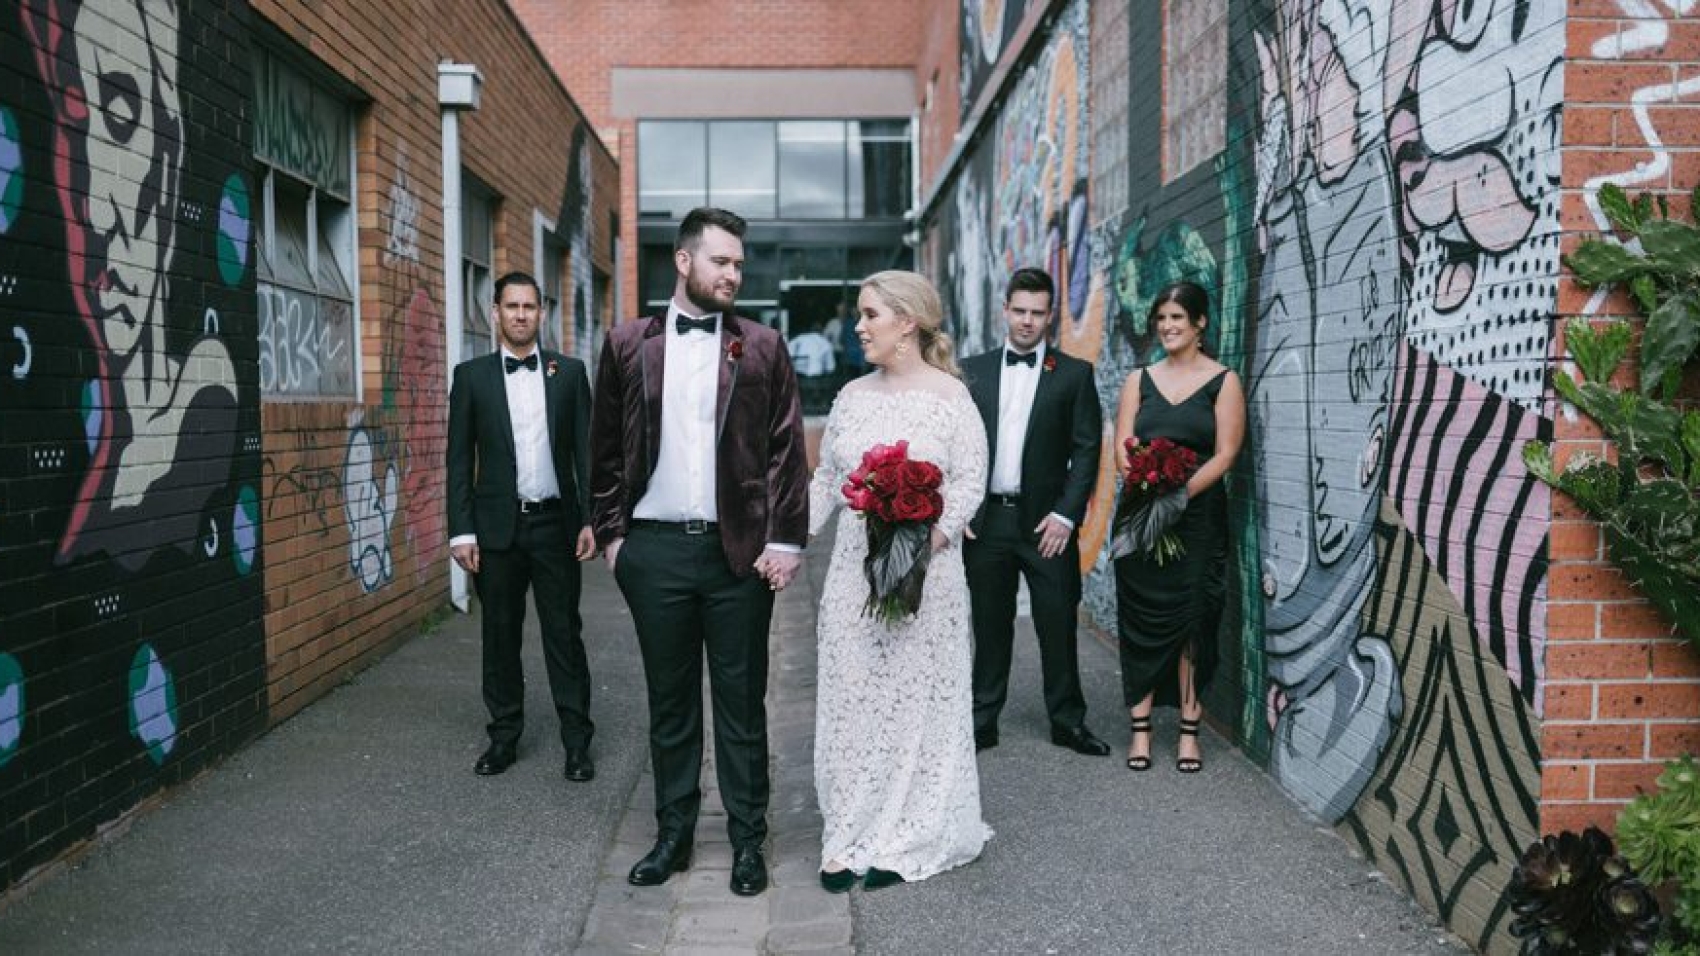
Skin tones can pick up reflections from nearby objects, such as green foliage, red brick walls, or colorful decor. These reflections, known as color casts, can make skin appear unnatural if not addressed. To neutralize unwanted hues, use the hue/saturation tool to target specific colors. For example, if a couple is photographed near a green hedge, their skin might take on a slight green tint. Reducing the saturation of greens in the skin’s midtones—while being careful not to affect other elements like the dress or background—can restore a more neutral, natural appearance.

Maintaining Texture While Smoothing Imperfections

The goal of skin retouching is to enhance the subject’s best features without erasing their natural texture. Overly aggressive smoothing can make skin look plastic or artificial. Instead, use frequency separation techniques to separate texture from color. This allows you to address blemishes or unevenness in the color layer while preserving pores and fine lines in the texture layer. For close-up portraits, such as a bride’s makeup shot, this method ensures her skin looks flawless yet real.

Enhancing Natural Radiance Without Over-Editing

The most compelling wedding photos are those where the couple looks like themselves—just at their best. Subtle enhancements to skin tones can elevate an image without drawing attention to the editing process.

Subtle Dodge and Burn for Dimension

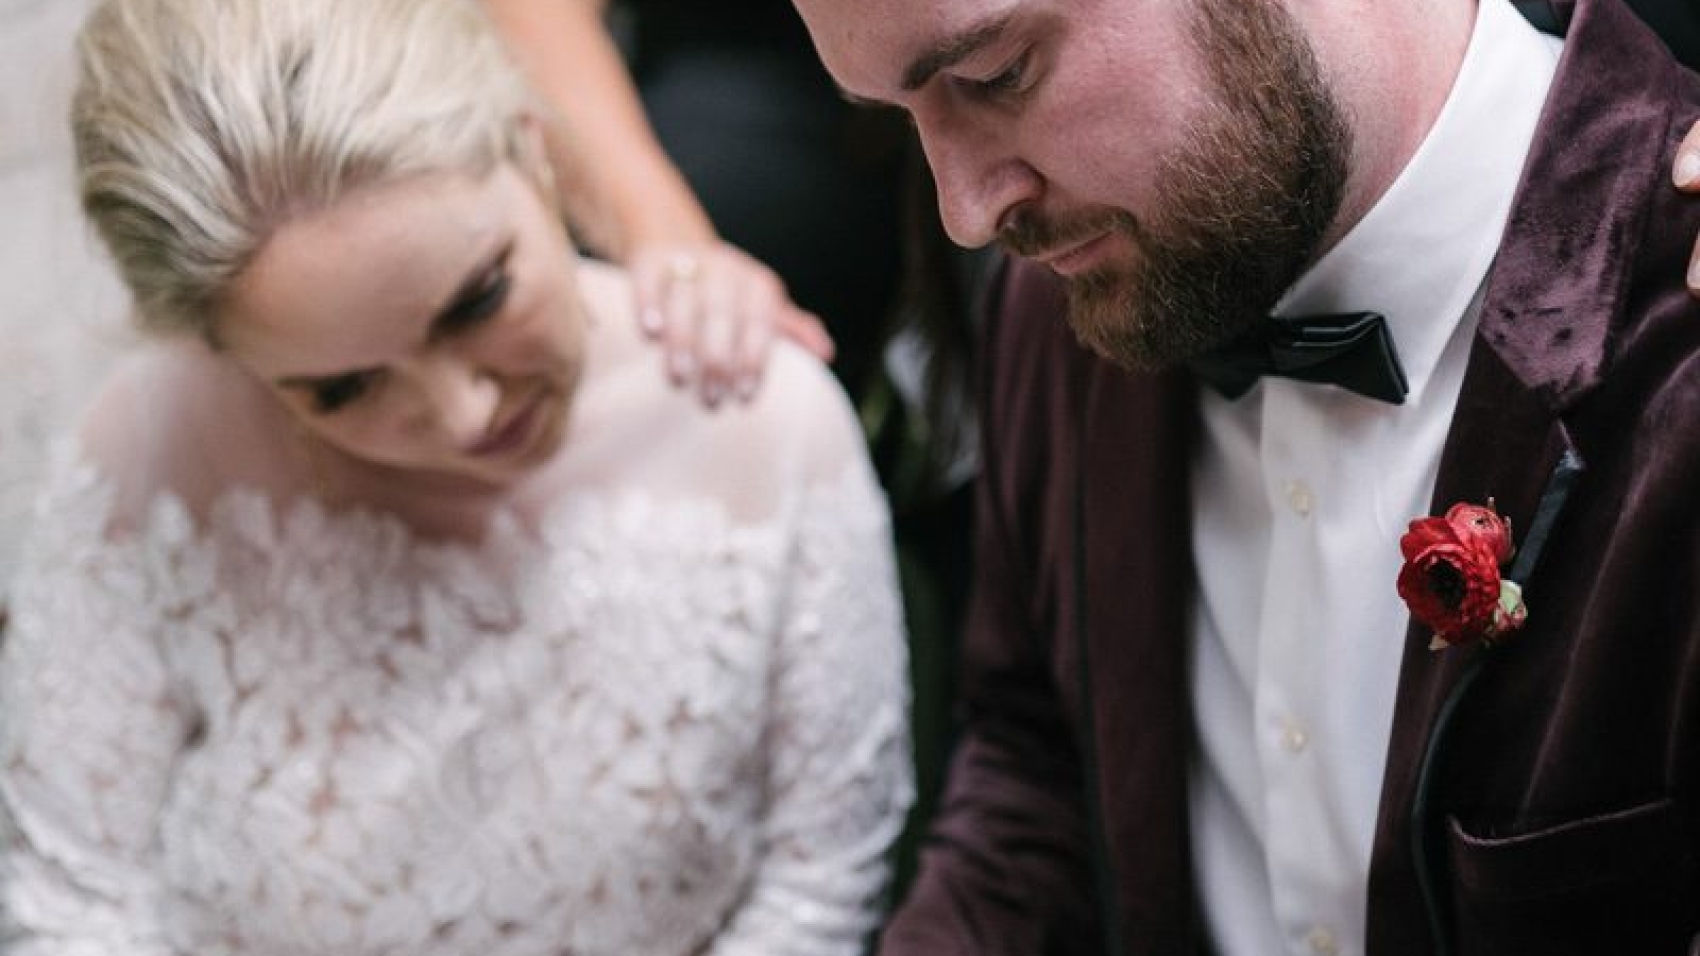
Dodge and burn techniques, when used sparingly, can add depth to skin tones by lightening highlights and darkening shadows. This mimics the way light naturally interacts with the contours of the face. For example, slightly brightening the bride’s cheekbones or the groom’s jawline can create a more sculpted appearance. Use a low-opacity brush and build up the effect gradually to avoid harsh transitions. This approach works particularly well for formal portraits or group shots where you want to emphasize the couple’s features without altering their overall look.

Preserving Natural Highlights and Shadows

Skin has a natural range of tones, from the brightest highlights on the forehead or nose to the deeper shadows under the eyes or neck. Over-editing can flatten these variations, making skin look uniform and lifeless. During post-processing, ensure highlights retain detail without blowing out and shadows maintain depth without becoming muddy. For a reception photo taken under dim lighting, lifting the shadows on the couple’s faces just enough to reveal their expressions—while keeping the background dark—can create a moody, intimate atmosphere that still feels authentic.

Adding a Touch of Warmth for a Healthy Glow

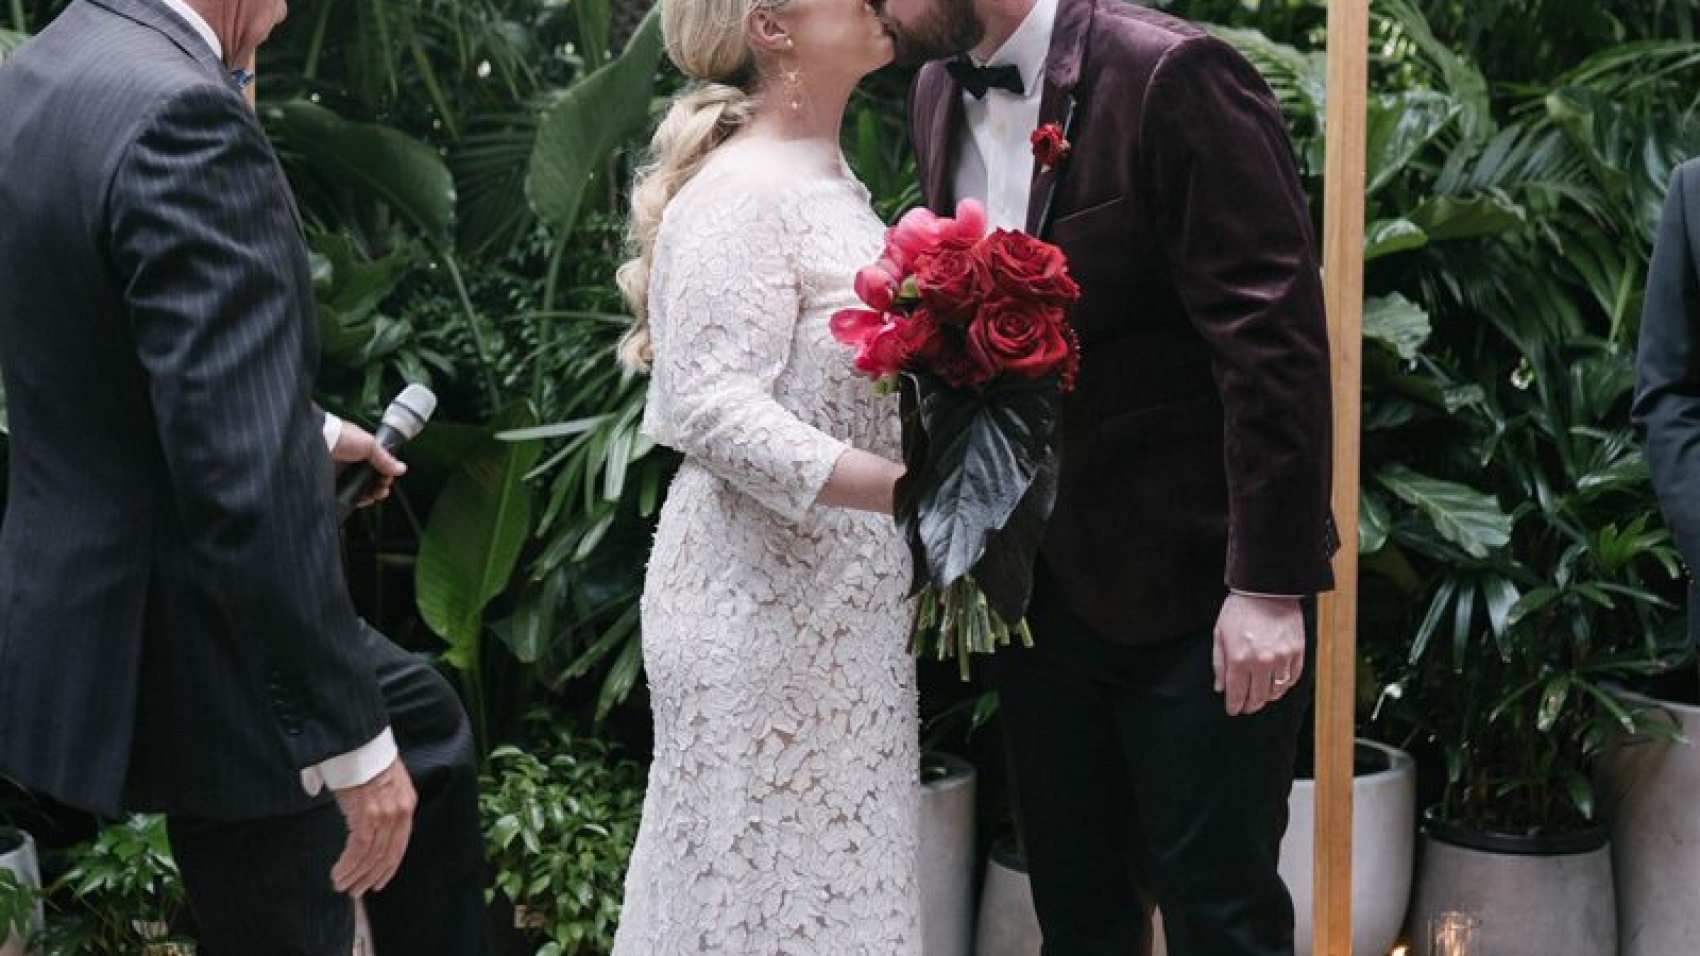
A slight warmth in skin tones can convey health and vitality, especially in portraits. After correcting any color imbalances, consider adding a gentle orange or peach tint to the midtones. This can be done using the split toning tool or by adjusting the hue slider in the calibration panel. Be cautious not to overdo it; the goal is to enhance the skin’s natural color, not to make it look sunburned or artificially tanned. For an outdoor ceremony photo, a subtle warmth in the couple’s skin can complement the golden light of the setting sun, creating a cohesive, natural look.

Conclusion: Elevating Melbourne Weddings with Authentic Skin Tones

Natural-looking skin tones are the foundation of timeless wedding photography. By understanding Melbourne’s unique lighting conditions, mastering localized adjustments, and applying subtle enhancements, photographers can ensure the couple looks their best while preserving the authenticity of the moment. Whether capturing the quiet intimacy of a morning ceremony or the joyful energy of a nighttime reception, thoughtful skin retouching transforms good photos into heirlooms that families will cherish for generations.

80900-WU-351

Melbourne wedding photography – Atmosphere and lighting adjustments for post-production

Creating Atmospheric Light and Shadow in Melbourne Wedding Photography Post-Processing

Melbourne’s ever-changing weather and dramatic landscapes—from the misty mornings along the Yarra River to the golden sunsets at St Kilda Beach—provide a dynamic backdrop for wedding photography. To translate these natural moods into captivating images, photographers must master the art of manipulating light and shadow during post-processing. This approach goes beyond basic corrections, focusing instead on crafting visuals that evoke emotion and tell a story.

wedding photography melbourne

Understanding Melbourne’s Unique Lighting Conditions

The city’s latitude and climate create lighting scenarios that demand adaptability. Overcast skies, common in Melbourne’s winters, diffuse light evenly, reducing harsh shadows but sometimes flattening textures. Conversely, sunny days cast sharp contrasts, highlighting architectural details or natural elements like sandstone cliffs or gum trees. Post-processing should enhance these qualities rather than fight them, ensuring the final image reflects the scene’s true character.

Working with Overcast Light

Cloudy conditions soften facial features and create a serene, romantic mood perfect for intimate portraits. However, flat lighting can lack dimension. To compensate, use the tone curve tool to subtly lift midtones while darkening shadows in the background. This adds depth without introducing harshness. For example, if photographing a couple in Fitzroy Gardens under cloudy skies, slightly deepening the greens in the foliage and warming the highlights on their skin can create a cozy, inviting atmosphere.

Harnessing Golden Hour Magic

Melbourne’s golden hour, particularly during summer, bathes scenes in warm, directional light that accentuates textures and creates long, flattering shadows. During post-processing, emphasize this warmth by adjusting the white balance toward amber tones. Be mindful not to overdo it—subtlety is key. For a beach wedding at Brighton, boosting the orange and yellow hues in the sand and water while maintaining cooler tones in the sky can balance the composition and draw attention to the couple’s silhouette against the horizon.

Crafting Depth Through Shadow Play

Shadows are not just absence of light—they’re storytelling tools. In wedding photography, they can convey intimacy, movement, or the passage of time. Thoughtful shadow manipulation during post-processing can transform a good image into a memorable one.

Enhancing Architectural Shadows

Melbourne’s venues often feature bold architectural elements, such as the Art Deco lines of the Manchester Unity Building or the modernist angles of the Melbourne Recital Centre. These structures cast striking shadows that change throughout the day. During editing, use the dodge-and-burn technique to accentuate these patterns. For instance, lightening shadows on a bride’s dress where it catches light from a stained-glass window, while darkening adjacent areas, can create a sense of drama and focus.

Using Shadows to Frame Subjects

Natural frames—like tree branches, archways, or even the couple’s own bodies—can guide the viewer’s eye toward the focal point. In post-processing, deepen shadows within these frames to make them more pronounced. If photographing a ceremony at the Royal Botanic Gardens, darkening the foliage around the altar while keeping the couple’s faces bright ensures they remain the center of attention. This technique also adds a sense of privacy, as if the world outside the frame fades away.

Balancing Shadows in Group Shots

Group photos pose a challenge: ensuring everyone is evenly lit without losing the scene’s natural ambiance. In Melbourne’s variable light, this often means working with mixed lighting sources. During editing, use local adjustments to brighten faces in shadow while preserving the overall mood. For a reception photo in a dimly lit warehouse venue, slightly raising exposure on the guests’ faces and lowering highlights in the background lighting (like string lights or candles) can maintain the venue’s cozy atmosphere while ensuring clarity.

Evoking Emotion Through Color Grading

While light and shadow form the foundation of atmospheric imagery, color grading adds the final layer of emotion. Melbourne’s diverse settings—from urban rooftops to coastal cliffs—call for tailored approaches to hue and saturation.

Warm Tones for Romantic Scenes

Soft, warm colors evoke feelings of love and nostalgia, making them ideal for portraits or quiet moments. During post-processing, add a gentle orange or peach tint to highlights and midtones, particularly on skin and natural elements like flowers or sand. For a pre-wedding shoot in a sunlit loft, warming the wooden floors and the couple’s clothing while keeping window light cool can create a harmonious, timeless feel.

Cool Tones for Moody Dramatics

Cooler palettes—blues, grays, and teals—suit overcast days or evening ceremonies. These hues add mystery and sophistication, perfect for venues like the Melbourne Museum or a rainy lakeside wedding. To achieve this look, reduce saturation in warm colors and introduce a subtle blue cast to shadows. Be cautious with skin tones; use selective masking to avoid making faces appear washed out. A reception photo taken under twilight skies, with deep blue shadows and muted gold accents on table settings, can feel both elegant and intimate.

Vintage-Inspired Matte Finishes

For couples seeking a nostalgic aesthetic, a matte finish can soften modern digital images and mimic the look of film. Reduce clarity slightly and add a faint grain texture to emulate analog imperfections. This works particularly well for black-and-white conversions or desaturated color photos. A vintage-style edit of a couple dancing in a ballroom with aged wallpaper and chandeliers can transport viewers to another era, enhancing the storytelling aspect of the image.

Conclusion: Elevating Melbourne Weddings Through Light and Mood

Atmospheric post-processing is about more than technical adjustments—it’s about interpreting the scene’s emotional core and translating it into visuals that resonate. By understanding Melbourne’s lighting quirks, using shadows purposefully, and applying thoughtful color grading, photographers can create wedding albums that feel both personal and universal. Whether capturing the quiet joy of a morning ceremony or the electric energy of a nighttime reception, mastering light and shadow ensures every image tells a story worth remembering.

80900-WU-712

Melbourne wedding photography – Classic black-and-white post-processing for images

Timeless Elegance: Mastering Black-and-White Post-Processing for Melbourne Wedding Photography

Melbourne’s architectural grandeur, from the cobblestone lanes of Degraves Street to the historic arches of Flinders Station, provides a dramatic canvas for wedding photography. When stripped of color, these scenes gain a timeless quality that emphasizes emotion, texture, and light. For photographers aiming to create monochrome masterpieces, understanding the nuances of post-processing is essential to translating Melbourne’s unique atmosphere into art.

wedding photography melbourne

The Art of Subtraction: Why Black-and-White Works for Melbourne Weddings

Color photography often distracts from the core elements of a scene—the way sunlight filters through stained glass windows or the interplay of shadows on a bride’s veil. Black-and-white imagery eliminates these distractions, forcing viewers to focus on the raw emotion captured in a couple’s embrace or the architectural lines of a venue.

In Melbourne, where weather shifts rapidly from sunny skies to moody clouds, monochrome processing can amplify these natural contrasts. For example, a rainy wedding at the Royal Botanic Gardens becomes a study in grayscale drama, with wet pavement reflecting soft light and foliage rendered in deep, velvety tones. By removing color, photographers highlight the city’s ever-changing moods, creating images that feel both classic and contemporary.

Crafting Depth Through Contrast and Texture

The key to compelling black-and-white wedding photography lies in manipulating contrast and texture during post-processing. Unlike color images, where hues can create separation between elements, monochrome photos rely on tonal variations to define space and form.

Enhancing Architectural Details

Melbourne’s venues often feature intricate designs—think the geometric patterns of the Melbourne Museum or the weathered brick of heritage-listed buildings. In post-processing, slightly increasing contrast in these areas draws attention to their textures without overpowering the subjects. Using tools like the curves adjustment layer, photographers can darken shadows in brickwork or lighten highlights on wrought-iron railings, creating a three-dimensional effect that anchors the couple within their environment.

Softening Skin Tones for Timeless Portraits

While architectural elements benefit from bold contrast, human skin requires a gentler approach. Overly harsh tonal shifts can make faces appear flat or exaggerate imperfections. To maintain a natural look, use the dodge-and-burn technique to selectively lighten areas like the bride’s collarbone or the groom’s jawline, while darkening shadows under the eyes or along the neck. This subtle sculpting adds depth to portraits without sacrificing the softness associated with wedding imagery.

Balancing Highlights and Shadows in Dynamic Lighting

Melbourne’s unpredictable weather often leads to high-contrast lighting scenarios, such as backlighting during golden hour or harsh midday sun bouncing off concrete. In black-and-white processing, these conditions become assets rather than challenges. For backlit scenes, recover blown-out highlights in the veil or dress by reducing the whites slider, while lifting shadows in the couple’s faces to retain detail. In bright sunlight, embrace the drama by deepening shadows on the ground or in the background, creating a vignette effect that guides the eye toward the subjects.

Telling Stories Through Monochrome Narratives

Black-and-white wedding photography isn’t just about technical adjustments—it’s about crafting a visual story that resonates emotionally. By removing color, photographers encourage viewers to engage with the narrative on a deeper level, interpreting the mood and relationships conveyed through body language and composition.

Capturing Candid Moments

Color can sometimes make candid shots feel overly staged or distract from the spontaneity of the moment. In monochrome, a laugh shared between the couple or a tear rolling down a parent’s cheek becomes the focal point. During post-processing, emphasize these emotions by cropping tightly to eliminate empty space, ensuring the viewer’s attention remains fixed on the interaction.

Creating Cohesion Across Albums

For couples seeking a unified aesthetic, black-and-white processing offers consistency across diverse scenes—from pre-wedding portraits in Fitzroy Gardens to reception dance floors in warehouse venues. By applying similar tonal adjustments to every image, photographers can weave disparate moments into a cohesive narrative. For instance, using a cool blue tint in shadows can evoke a vintage feel, while warm sepia tones lend a nostalgic quality to older venues like the Como House.

Embracing Imperfection

Unlike color photography, where blemishes or grain might be considered flaws, black-and-white imagery often celebrates these elements as part of its charm. A slightly grainy texture can evoke the look of film photography, adding authenticity to images shot in digital formats. Similarly, leaving in subtle motion blur from a dance sequence or the soft focus of a veil in the wind can enhance the dreamlike quality of the final product.

Conclusion: Elevating Melbourne Weddings Through Monochrome Mastery

Black-and-white post-processing isn’t a relic of the past—it’s a powerful tool for modern wedding photographers looking to transcend trends and create images that endure. By understanding how to manipulate contrast, texture, and light, and by approaching each image as a storytelling device, photographers can transform Melbourne’s diverse landscapes into timeless works of art. Whether capturing the grandeur of St. Patrick’s Cathedral or the intimacy of a beachside ceremony, monochrome processing allows couples to relive their special day through a lens of elegance and emotion.