DSC06185

Melbourne wedding photography – Retouching of human subjects while preserving details

Enhancing Melbourne Wedding Photography: Retaining Details in Portrait Retouching

Melbourne’s diverse landscapes, from urban rooftops to coastal vistas, provide stunning backdrops for wedding photography. However, capturing these moments is only half the challenge—post-production retouching plays a crucial role in ensuring the final images look polished yet natural. One of the most important aspects of portrait retouching is preserving intricate details while enhancing the subject’s features. Here’s how to achieve flawless results without sacrificing authenticity.

wedding photography melbourne

Understanding the Importance of Detail Retention

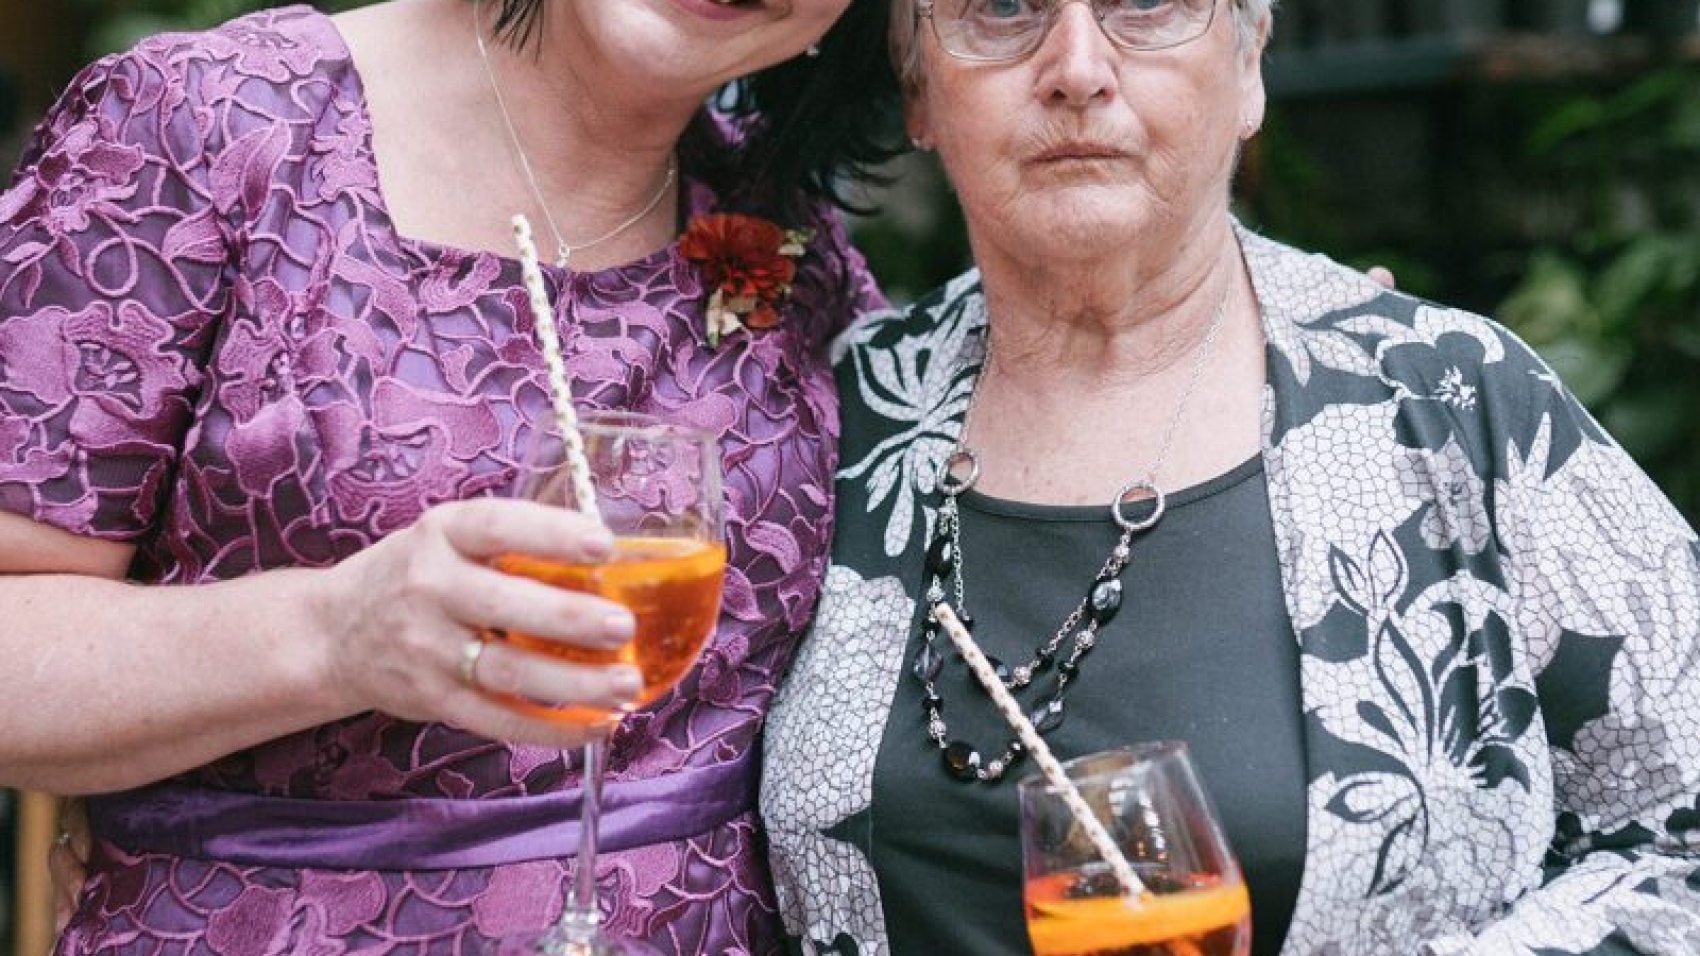
When retouching wedding portraits, the goal is to enhance the subject’s appearance while maintaining their natural beauty. Over-editing can lead to a plastic, artificial look, which is especially undesirable in wedding photos meant to capture genuine emotions. Retaining details like skin texture, hair strands, and facial expressions ensures the images remain timeless and relatable. For Melbourne weddings, where lighting conditions can vary dramatically—from the soft glow of a sunset at St Kilda Beach to the harsh midday sun at Federation Square—preserving details helps balance the image and keep the focus on the couple.

The Role of Lighting in Detail Preservation

Lighting is a key factor in how details appear in photos. Backlit scenes, common during Melbourne’s golden hour, can create beautiful rim lighting but may also cast the subject’s face in shadow. In such cases, retouching should focus on brightening shadows without erasing skin texture or fine lines. Similarly, high-contrast lighting—such as that found in industrial-style venues like The Warehouse—requires careful handling to avoid losing details in bright highlights or deep shadows. Using tools like dodge and burn selectively can help maintain balance while enhancing the subject’s features.

Common Challenges in Detail Retention

Several factors can make retaining details difficult during retouching. One is the use of high-ISO settings in low-light situations, which can introduce digital noise that masks fine details. Another challenge is over-smoothing skin, a common pitfall that removes pores and wrinkles, giving the subject an unnatural appearance. Additionally, aggressive sharpening can create harsh edges or artifacts, especially around the eyes, lips, and hair. Addressing these issues requires a nuanced approach that prioritizes subtlety over dramatic changes.

Techniques for Preserving Details During Retouching

Achieving natural-looking results requires a combination of technical skill and artistic judgment. Here are some effective methods for retaining details while enhancing wedding portraits.

Frequency Separation for Skin Retouching

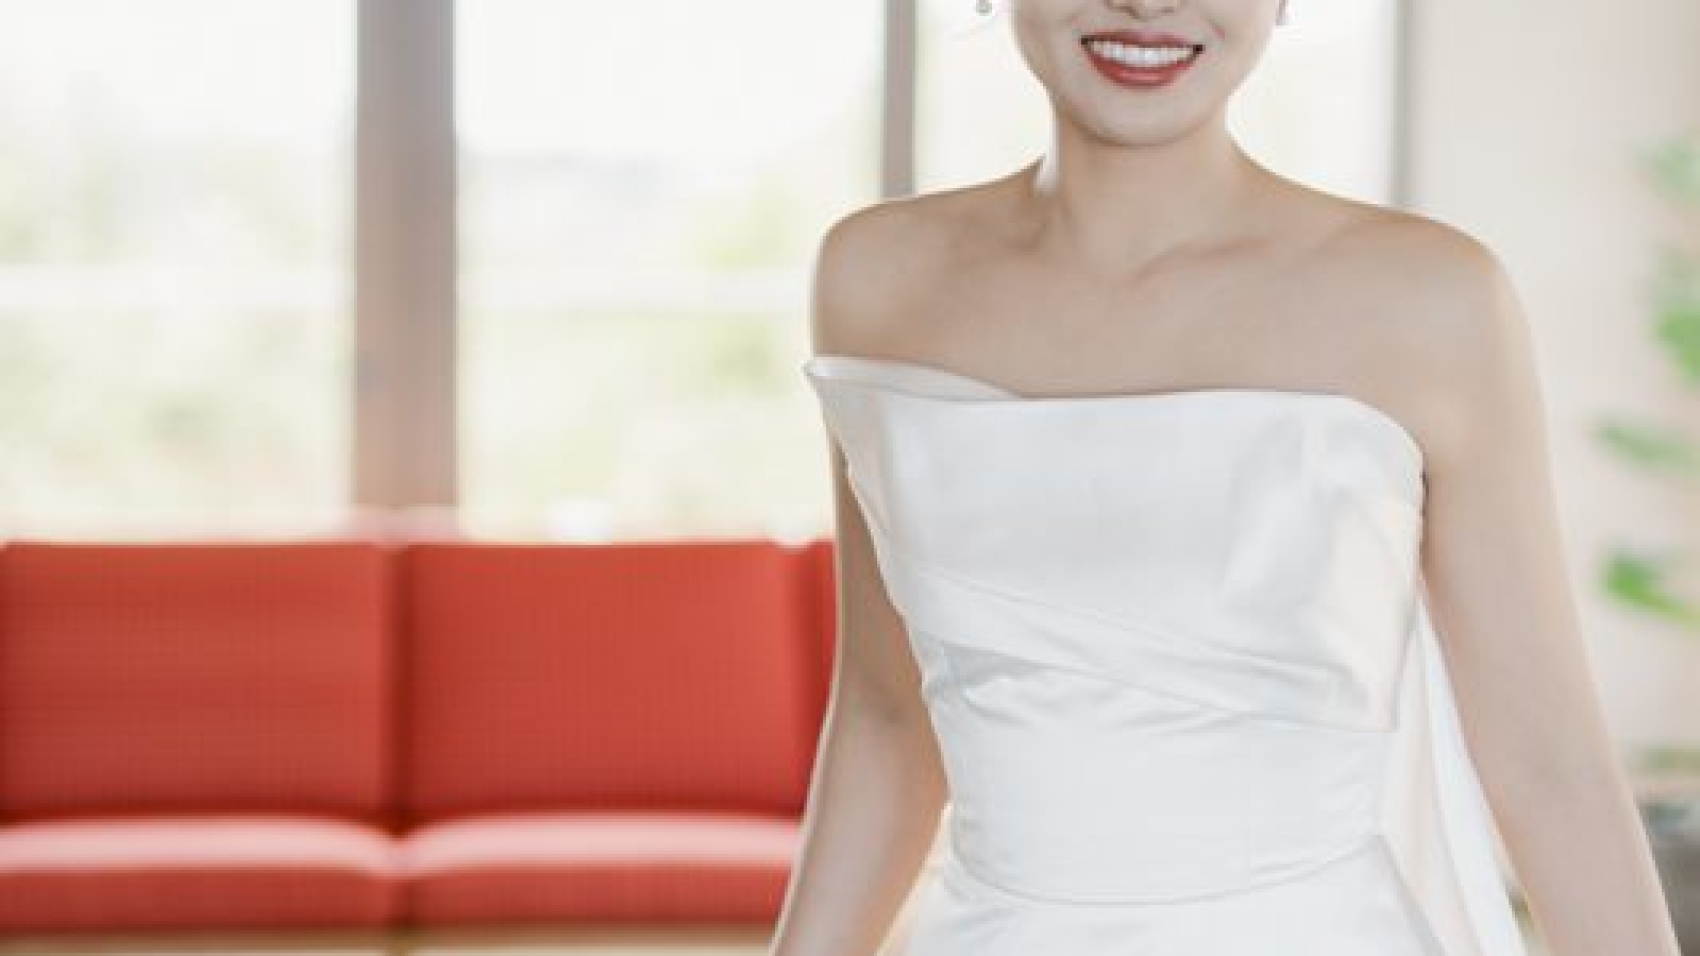
Frequency separation is a powerful technique that separates an image into two layers: one for texture (high frequency) and one for color and tone (low frequency). This allows you to smooth blemishes or uneven skin tone on the low-frequency layer without affecting the high-frequency details like pores or fine lines. For example, if retouching a close-up of the bride’s face, you can use the low-frequency layer to reduce redness or discoloration while keeping her skin texture intact on the high-frequency layer. This method ensures the skin looks flawless yet natural.

Selective Sharpening for Key Features

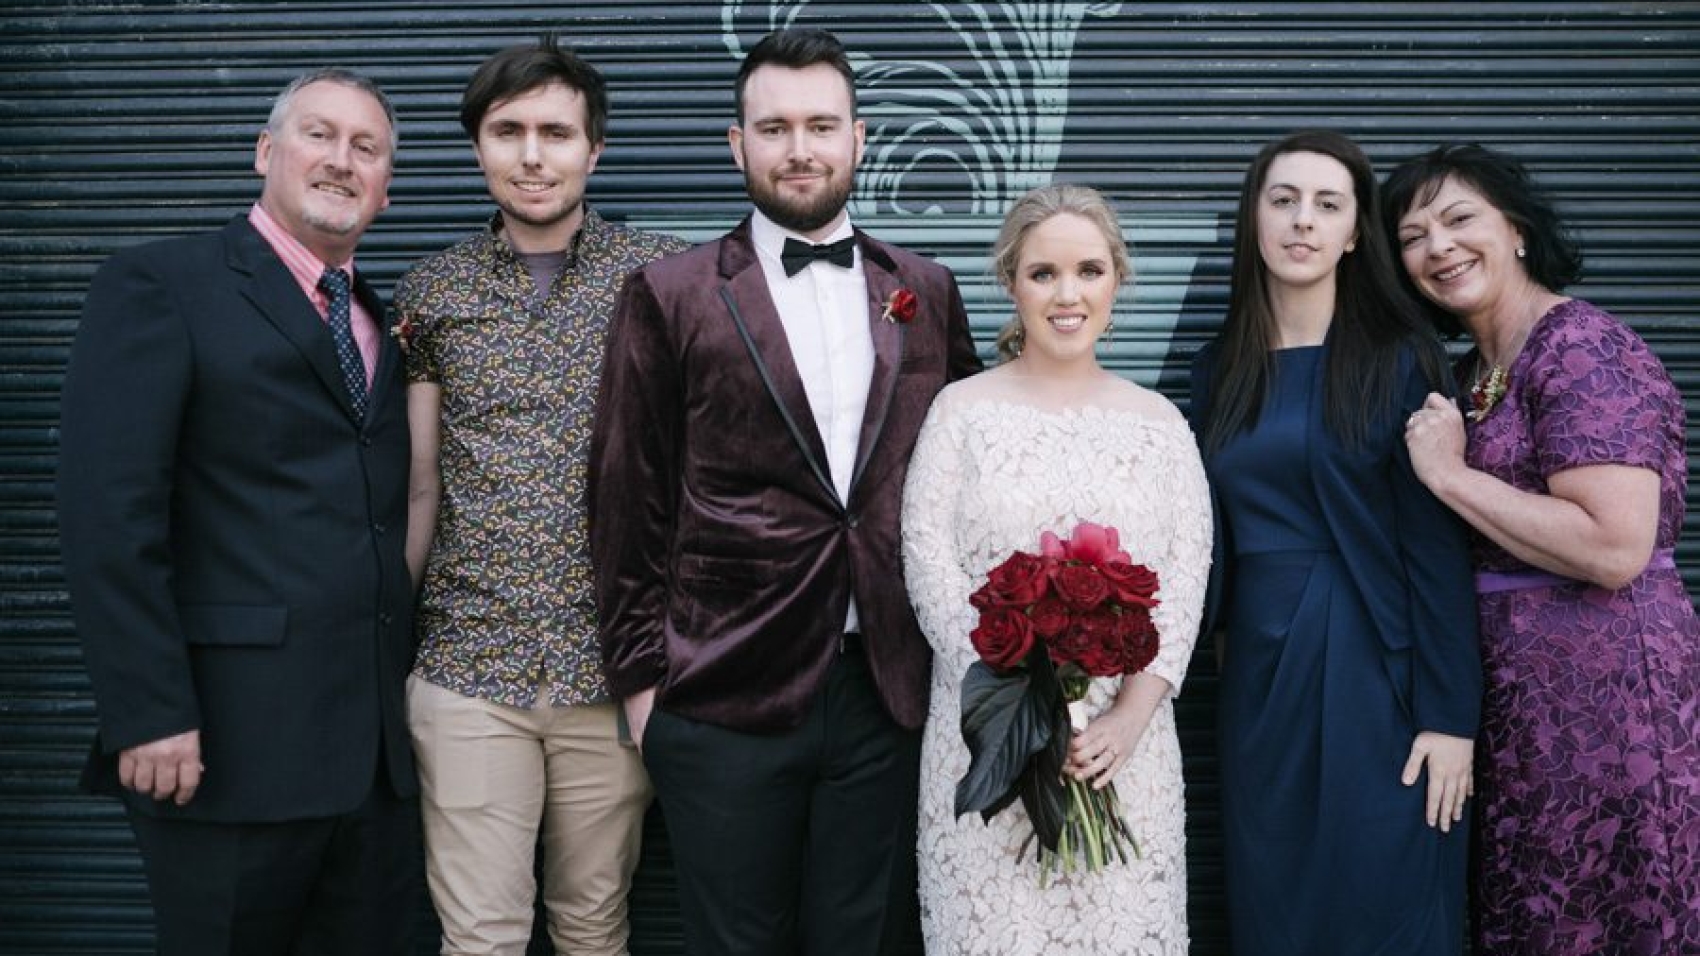
Sharpening is essential for bringing out details, but it should be applied selectively to avoid creating a crunchy or overly processed look. Focus on enhancing the eyes, lips, and hair, as these are areas where details matter most. Use a masking tool to paint sharpening only where needed, such as along the lashes or the edges of the bride’s veil. For group shots, sharpen the faces of the couple and immediate family while keeping the background slightly softer to draw attention to the subjects.

Noise Reduction Without Losing Texture

Digital noise can obscure details, especially in photos taken in low light or at high ISOs. However, aggressive noise reduction can also smooth out important textures, making the image look flat. To strike a balance, use noise reduction tools that allow you to adjust luminosity and color noise separately. Apply stronger noise reduction to smooth areas like the background or clothing, while using a lighter touch on the face to preserve skin texture. For example, in a nighttime photo taken at the Melbourne Star Observation Wheel, reducing noise in the dark sky while keeping the couple’s faces sharp ensures the image remains clear and detailed.

Balancing Retouching with Natural Beauty

The key to successful wedding portrait retouching is knowing when to stop. While it’s tempting to fix every imperfection, doing so can strip the image of its authenticity. Here are some tips for maintaining a natural look while enhancing details.

Embracing Subtle Imperfections

Not all flaws need to be removed. Small blemishes, laugh lines, or freckles can add character and make the subject more relatable. Instead of erasing these details, focus on enhancing the subject’s best features while minimizing distractions. For example, if the groom has a scar on his cheek, you might soften its appearance slightly without removing it entirely, ensuring it doesn’t draw attention away from his smile.

Matching Retouching to the Scene’s Mood

The retouching style should complement the mood of the photo. For a romantic, dreamy shot taken during a sunset ceremony at the Royal Botanic Gardens, you might use softer lighting and gentle retouching to enhance the warm, golden tones. In contrast, a candid photo of the couple dancing at a modern venue like Melbourne Museum might call for a more vibrant, high-contrast look with sharper details. Adjusting your retouching approach based on the scene ensures the images feel cohesive and intentional.

Consistency Across All Images

For a wedding album to feel polished, the retouching style should be consistent throughout. This doesn’t mean every photo needs to look identical, but they should share a similar level of detail retention and enhancement. For example, if you choose to preserve skin texture in the bride’s portraits, apply the same approach to the groom’s photos and group shots. Consistency helps create a unified visual narrative that tells the story of the couple’s special day.

Final Tips for Detail-Oriented Retouching

Achieving professional-quality results takes practice, but these tips can help you refine your approach to wedding portrait retouching.

Work on a High-Resolution Copy

Always retouch on a high-resolution version of the photo to avoid losing details during editing. Once you’re satisfied with the results, you can resize the image for printing or sharing online without sacrificing quality.

Zoom In and Out Frequently

Retouching at 100% zoom allows you to see fine details, but it’s also important to zoom out periodically to check how the changes look at a normal viewing size. What appears subtle at high zoom might look overdone when viewed as a whole, so adjust accordingly.

Take Breaks Between Sessions

Retouching can be time-consuming, and it’s easy to lose perspective after staring at the same image for hours. Take short breaks to rest your eyes and come back with fresh eyes. This can help you spot issues you might have missed earlier, such as uneven skin tone or overly sharp edges.

By focusing on detail retention and using these techniques, you can create wedding portraits that are both beautiful and authentic. Whether you’re capturing the joy of a ceremony at St Patrick’s Cathedral or the playful energy of a reception at a waterfront venue, preserving details ensures the images will be cherished for years to come.

80900-WU-501

Melbourne wedding photography – post-production with film-like grain effect

Creating a Timeless Film Grain Aesthetic in Melbourne Wedding Photography Post-Production

Melbourne’s eclectic mix of urban charm and natural beauty provides the perfect backdrop for wedding photography that feels both modern and nostalgic. One way to achieve this is by adding a subtle film grain effect during post-production, which can evoke the warmth and authenticity of analog photography. This technique works especially well for couples who want their images to have a classic, enduring quality. Here’s how to master film grain in wedding photo editing without losing the essence of the moment.

wedding photography melbourne

Understanding the Appeal of Film Grain in Wedding Photography

Film grain isn’t just about adding texture—it’s about creating a mood. Unlike digital noise, which often feels harsh or distracting, film grain adds a soft, organic layer that enhances the emotional depth of an image. For Melbourne weddings, this can mean transforming a bright, sunny day at the Royal Botanic Gardens into a dreamy, timeless scene or giving a rainy ceremony at a historic venue like Como House a romantic, moody atmosphere. The key is to use grain sparingly, ensuring it complements rather than overpowers the photo.

When to Use Film Grain

Not every wedding photo needs grain, but certain moments lend themselves beautifully to this effect. Candid shots, such as the couple sharing a laugh during speeches or a quiet moment before the ceremony, often benefit from the added warmth and intimacy. Portraits with soft lighting, like those taken during golden hour at St Kilda Beach, can also take on a magical quality with a light grain overlay. On the other hand, highly detailed images—such as close-ups of the wedding rings or the intricate lace on a dress—might not need grain, as it could obscure important details.

Choosing the Right Type of Grain

Film grain comes in many forms, from fine-grained textures reminiscent of 35mm film to coarser patterns that mimic medium-format or even vintage instant film. The choice depends on the mood you want to convey. For a delicate, romantic feel, opt for a fine, even grain that adds subtle texture without drawing attention to itself. For a more dramatic or retro look, a coarser grain can create a sense of nostalgia or grit. Experiment with different grain patterns to see which one best suits the photo’s lighting, composition, and emotional tone.

Applying Film Grain in Post-Production

Adding film grain is a relatively simple process, but doing it well requires attention to detail and a light touch. Here’s a step-by-step guide to achieving a natural, film-like effect.

Step 1: Start with a Clean Edit

Before adding grain, ensure your photo is properly edited for exposure, color balance, and contrast. Grain works best when applied to an image that already looks polished and balanced. For example, if you’re editing a photo taken during a cloudy day at Brighton Beach Bathing Boxes, first adjust the white balance to remove any bluish tints and brighten the shadows to reveal details in the colorful boxes. Once the colors and tones are accurate, you can move on to adding grain.

Step 2: Add the Grain Layer

Most photo editing software allows you to add grain through a dedicated filter or by creating a new layer with a noise texture. If using a filter, look for options like “grain” or “noise” in the effects panel and adjust the intensity to a low setting—around 5-10% is a good starting point. If creating a noise layer, fill a new layer with 50% gray, then apply the “add noise” filter. Set the layer’s blending mode to “overlay” or “soft light” and reduce the opacity until the grain looks natural.

Step 3: Refine the Grain Distribution

Not all areas of a photo need the same amount of grain. For example, in a portrait of the bride and groom, you might want the grain to be more pronounced in the background to create depth, while keeping the faces smoother to highlight their expressions. Use a layer mask to paint over areas where you want less grain, or adjust the opacity of the grain layer locally using a brush tool. This selective approach ensures the grain enhances the photo without distracting from the main subjects.

Balancing Grain with Other Elements

Film grain is just one part of the equation—it needs to work in harmony with the photo’s lighting, composition, and color palette to create a cohesive look.

Complementing Lighting Conditions

The type of lighting in your photo can influence how grain is perceived. Soft, diffused light—such as that found during golden hour or on an overcast day—pairs well with fine grain, as it adds texture without disrupting the gentle mood. Harsher lighting, like direct sunlight or artificial lights at a reception venue, might call for a slightly coarser grain to balance the contrast and prevent the image from looking too digital.

Enhancing Mood and Atmosphere

Grain can also be used to reinforce the emotional tone of a photo. For a romantic, dreamy feel, combine fine grain with soft focus and muted colors. For a more dramatic or vintage look, pair coarser grain with high contrast and warm tones. In a photo taken during a sunset ceremony at the Yarra River, for example, a light grain overlay with warm color grading can create a warm, nostalgic atmosphere that captures the magic of the moment.

Maintaining Detail and Clarity

While grain adds texture, it’s important not to let it obscure important details. In close-up shots of the wedding rings or the couple’s hands, keep the grain subtle to ensure the intricate details remain visible. You can also use sharpening tools to enhance clarity in key areas before adding grain, ensuring the photo looks polished even with the added texture.

Final Tips for a Natural Film Grain Effect

Achieving a believable film grain aesthetic takes practice, but these tips can help you get started on the right foot.

Use Grain Sparingly

Less is often more when it comes to film grain. Start with a low intensity and gradually increase it until you find the right balance. A heavy-handed approach can make the photo look dated or artificial, while a subtle touch adds timeless charm.

Test Different Grain Patterns

Not all grain is created equal. Experiment with fine, medium, and coarse patterns to see which one best suits the photo’s style and mood. You can even create custom grain textures by scanning real film or using high-resolution grain samples from trusted sources.

View Photos at Different Sizes

Grain can look different depending on how large the photo is displayed. After adding grain, zoom in and out to check how it appears at various sizes. What looks subtle on a small screen might become distracting when enlarged, so adjust accordingly.

By following these guidelines, you can add a beautiful film grain effect to your Melbourne wedding photos that feels authentic, timeless, and emotionally resonant. Whether you’re capturing the energy of a city wedding or the serenity of a coastal ceremony, grain can help turn ordinary moments into extraordinary memories.

wedding photography melbourne

Melbourne Wedding Photography – Simple and Sophisticated High-End Post-Processing Photos

Elevating Melbourne Wedding Photography with Minimalist, High-End Retouching

Melbourne’s diverse landscapes—from its historic architecture to coastal vistas—provide a stunning canvas for wedding photography. For couples seeking a timeless, sophisticated aesthetic, minimalist retouching focuses on enhancing natural beauty while maintaining a clean, polished look. This approach avoids heavy filters or dramatic edits, instead emphasizing subtle adjustments that let the subject and scenery shine. Here’s how to achieve this elegant style in post-processing.

wedding photography melbourne

Embracing Subtlety in Color Grading

Minimalist wedding photography relies on soft, balanced tones that evoke calmness and romance. The goal is to enhance the scene without altering its essence, creating images that feel both modern and classic.

Softening Harsh Lighting for a Gentle Mood

Melbourne’s weather can shift quickly, leading to mixed lighting conditions during outdoor shoots. If harsh sunlight creates strong shadows or overexposed highlights, use the highlights and shadows sliders to balance the exposure. For example, in a photo taken at St Kilda Beach, gently reduce the highlights to prevent the sky from blowing out while lifting the shadows to reveal details in the couple’s attire. This creates a harmonious, airy feel that complements the minimalist aesthetic.

Creating a Cohesive Color Palette

Consistent coloring ties the entire wedding album together. Start by adjusting the white balance to neutralize any unwanted color casts, such as the cool tones of an overcast day or the warm glow of indoor lighting. Then, use the hue/saturation sliders to fine-tune individual colors. For a shoot in the Royal Botanic Gardens, you might desaturate greens slightly to prevent them from overpowering the couple, while boosting the warmth of skin tones for a flattering, natural look. Avoid extreme adjustments—subtle shifts are key to maintaining elegance.

Enhancing Natural Skin Tones

The bride and groom should always be the focal point of any wedding photo. Use the brush tool to selectively brighten their faces, ensuring their skin looks radiant without appearing overly edited. For a portrait taken near Federation Square, where city lights might cast a bluish tint, warm the skin tones slightly using the temperature slider. Reduce redness or blemishes with the spot healing tool, but keep edits minimal to preserve authenticity. A light touch ensures the couple looks their best while maintaining a natural, timeless quality.

Refining Composition and Focus

Minimalist retouching extends beyond color—it also involves refining the image’s structure to draw attention to what matters most.

Cropping for Impact and Balance

A well-composed photo tells a story without distractions. Use the crop tool to eliminate unnecessary elements, such as a stray bystander or a cluttered background. For a candid shot taken during the reception, cropping tightly around the couple’s faces can emphasize their emotions and connection. Alternatively, leaving negative space around the subjects—like the empty sky above a coastal ceremony—can create a sense of grandeur and simplicity. Experiment with different ratios to find the most flattering frame.

Sharpening Details Without Overdoing It

Crisp details add sophistication to wedding photos, but over-sharpening can create harsh edges or noise. Apply sharpening selectively using the masking slider in the details panel. This targets only the areas with important details, such as the lace on a wedding dress or the texture of a suit jacket, while leaving smoother areas like skin untouched. For a close-up of the rings, a light application of sharpening can make the diamonds sparkle without making the metal look artificial.

Removing Distractions Discreetly

Even the most carefully planned shoots can have unexpected interruptions, like a photobombing seagull or a power line in the background. Use the clone stamp or healing brush tool to remove these distractions seamlessly. For a photo taken at Brighton Beach Bathing Boxes, erasing a stray umbrella from the background can keep the focus on the couple and the colorful boxes. Always zoom in to check your work, ensuring the edits blend naturally into the scene.

Achieving a Timeless, Polished Finish

The final touches of minimalist retouching involve refining the image’s overall atmosphere to ensure it feels both current and classic.

Adding a Subtle Matte Effect

A matte finish reduces contrast and gives photos a soft, vintage-inspired look. Create a new adjustment layer and lower the contrast slightly, then increase the blacks slider to add depth without harshness. For a photo taken in the Dandenong Ranges, where lush greenery might look too vibrant, a matte effect can tone down the colors while maintaining their richness. Adjust the opacity of the layer to control the intensity of the effect—a little goes a long way.

Balancing Vignetting for Framing

A gentle vignette can draw the viewer’s eye toward the center of the image, creating a natural frame around the couple. Use the vignette tool in the effects panel to darken the edges slightly, then adjust the feathering to ensure the transition is smooth. For a formal portrait taken at a historic venue like Como House, a subtle vignette can enhance the grandeur of the architecture while keeping the focus on the subjects. Avoid heavy vignetting, which can make the image feel dated or artificial.

Preserving Authenticity in Every Edit

The hallmark of minimalist retouching is its commitment to authenticity. Every adjustment should serve to enhance the natural beauty of the scene and the couple, not to transform them into something unrecognizable. For example, when editing a candid moment during the first dance, focus on refining the lighting and composition rather than altering the couple’s expressions or body language. This approach ensures the photos feel genuine and emotionally resonant, capturing the true spirit of the day.

Conclusion: The Art of Understated Elegance

Minimalist, high-end retouching for Melbourne wedding photography is about striking the perfect balance between refinement and authenticity. By focusing on subtle color adjustments, clean composition, and discreet edits, you can create images that stand the test of time while celebrating the couple’s unique story. Whether shooting in the heart of the city or along the coast, this approach ensures every photo exudes sophistication and grace.