wedding photography melbourne

Melbourne Wedding Photography – Filmic Post-Editing for the Final Cut

Crafting a Cinematic Look in Melbourne Wedding Photography Post-Production

Melbourne’s diverse landscapes—from its historic architecture to its rugged coastlines and lush gardens—offer endless inspiration for wedding photography that feels like a story unfolding. To elevate these images into a cinematic experience, post-production should focus on mood, movement, and emotional storytelling. Here’s how to achieve a film-like aesthetic in your Melbourne wedding photo edits.

wedding photography melbourne

Setting the Tone with Color Grading

Cinematic photography often relies on carefully crafted color palettes to evoke specific emotions. For Melbourne weddings, this means choosing tones that complement the city’s unique blend of urban and natural settings.

Mimicking Film Emulation for Timeless Appeal

Many filmmakers use vintage film stocks to create warmth and nostalgia. You can replicate this effect digitally by:

  • Adjusting White Balance for a Golden Hour Glow: Even if photos weren’t taken during sunset, tweaking the white balance toward orange or yellow can simulate the soft, flattering light of golden hour.
  • Adding a Subtle Teal/Orange Split Tone: This classic cinematic technique involves warming the highlights (orange) and cooling the shadows (teal), creating depth and contrast without looking artificial. Use the split-toning panel in your editing software to apply this effect lightly.
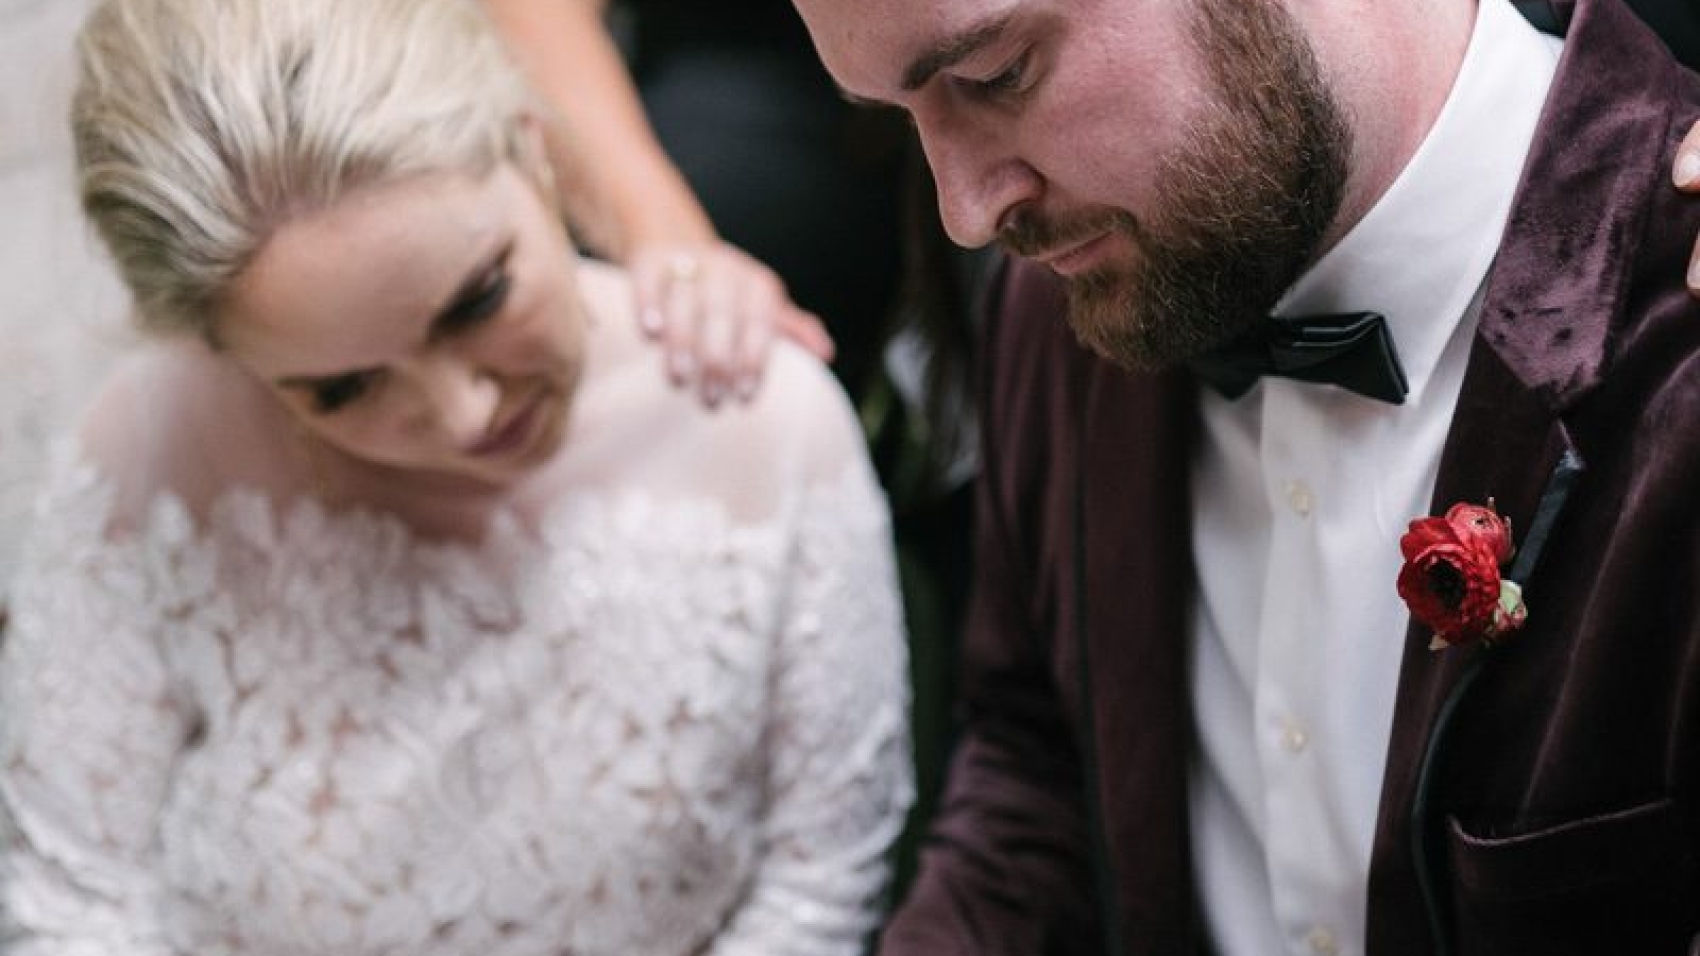
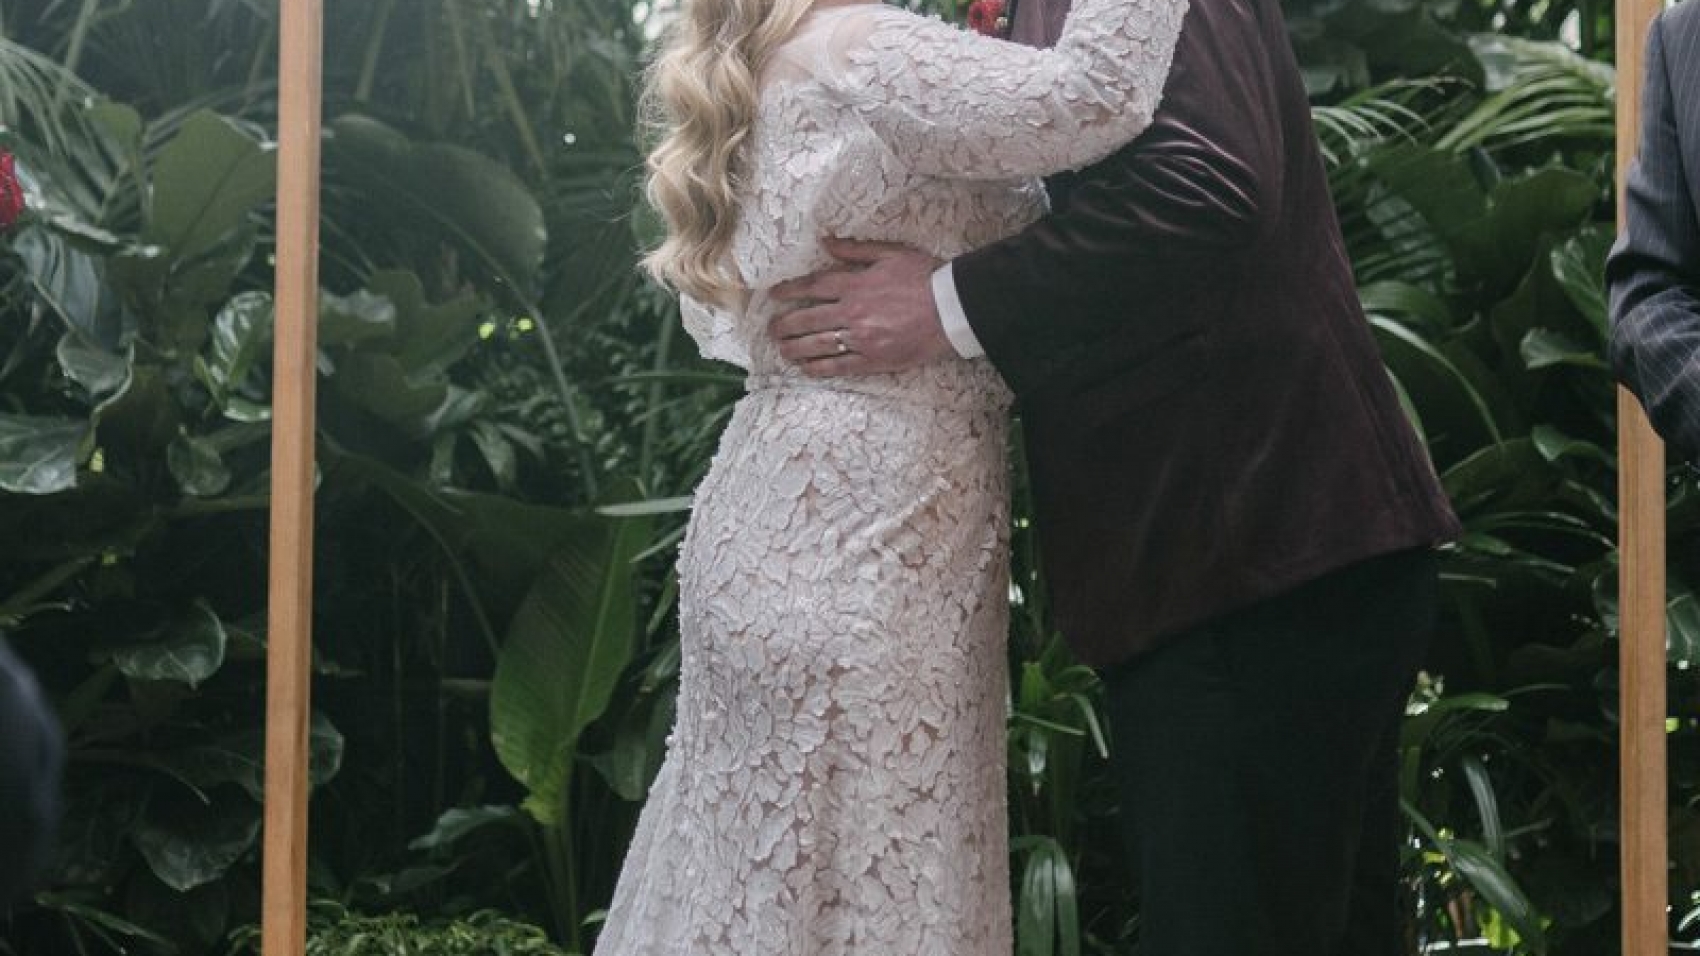
  • Reducing Saturation for a Muted Look: Overly vibrant colors can feel unrealistic. Lower the overall saturation slightly, then selectively boost tones that matter most (like the bride’s dress or the groom’s suit) to keep them from getting lost.

Enhancing Mood with Seasonal Palettes

Melbourne’s changing seasons provide a natural color story. Tailor your edits to match the time of year:

  • Summer Weddings: Embrace warm yellows, soft greens, and golden highlights to reflect the sunlit energy of the season.
  • Autumn Weddings: Deepen reds, oranges, and browns in the foliage for a rich, cozy atmosphere.
  • Winter Weddings: Cool down the blues and whites in the background to evoke the crisp, quiet feeling of a Melbourne winter.
  • Spring Weddings: Brighten pastels and fresh greens to capture the renewal and optimism of the season.

Creating Movement and Depth with Visual Effects

Static images can feel flat, but subtle effects can mimic the dynamic quality of film. These techniques add life to your photos without distracting from the couple.

Simulating Motion Blur for a Dynamic Feel

Even if the camera was perfectly still, adding a hint of motion blur can make the scene feel more alive:

  • Directional Blur for Wind or Movement: If the bride’s dress is blowing in the breeze or the couple is walking, apply a light blur in the direction of movement. Use a low opacity and a small radius to keep it natural.
  • Radial Blur for Focus Shifts: To draw attention to the couple, apply a slight radial blur to the background. This creates a shallow depth-of-field effect, as if the camera is focusing on them while the world blurs around them.
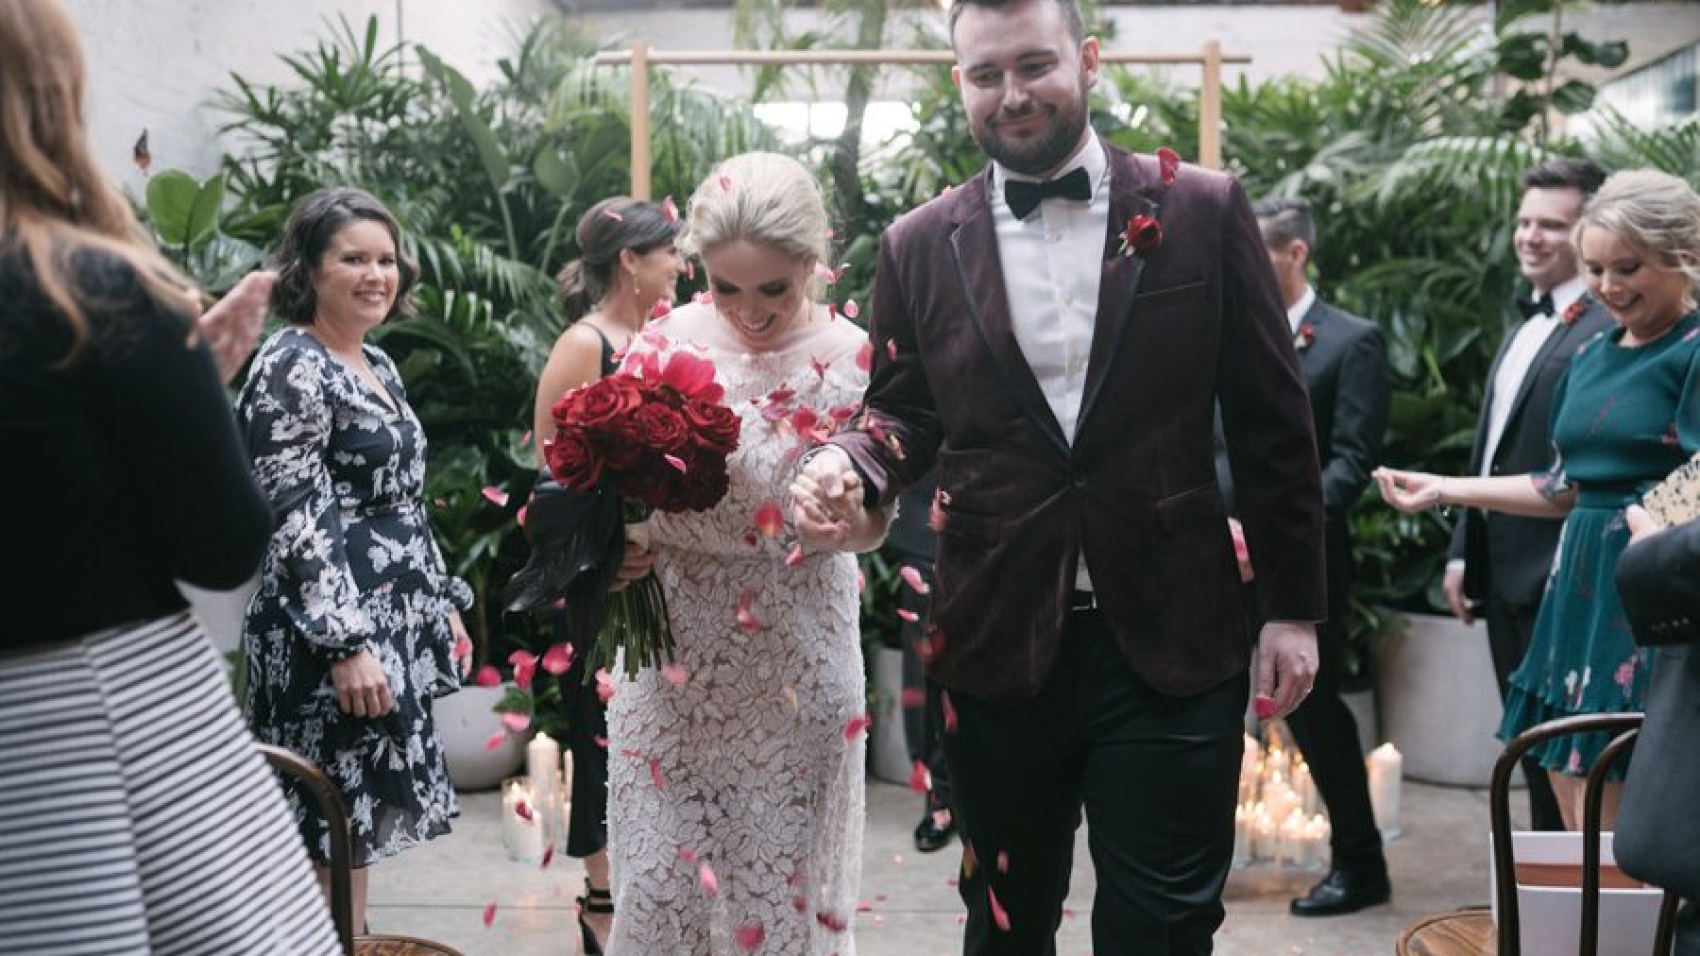
  • Pan Blur for Traveling Shots: If the couple moved between locations during the shoot, mimic the look of a tracking shot by blurring the edges of the frame slightly. This works especially well for photos taken in Melbourne’s trams or along the Yarra River.

Adding Light Leaks and Grain for a Vintage Touch

Film photography often has imperfections that add character. You can replicate these in post:

  • Subtle Light Leaks: Overlay a soft, orange-tinted light leak on the edges of the frame to mimic the look of old film exposed to light. Keep it faint—just enough to add warmth without overwhelming the image.
  • Fine Grain for Texture: A light layer of grain can make digital photos feel more organic, like they were shot on film. Adjust the size and opacity until it looks natural, not noisy.
  • Vignetting for Drama: Darken the corners of the frame slightly to draw the eye toward the center. This classic cinematic technique adds mood and intimacy, especially for close-up portraits.

Telling a Story Through Composition and Pacing

A cinematic wedding album should feel like a narrative, with each photo building on the last. Pay attention to how images flow together to create emotional impact.

Sequencing Photos for Emotional Arcs

Think of your album as a movie reel, with each photo representing a scene:

  • Opening Shots: Start with wide-angle views of Melbourne’s landmarks (like Flinders Street Station or St. Kilda Beach) to establish the setting.
  • Mid-Album Focus: Shift to medium shots of the couple interacting—laughing, dancing, or sharing a quiet moment. These photos should feel personal and emotional.
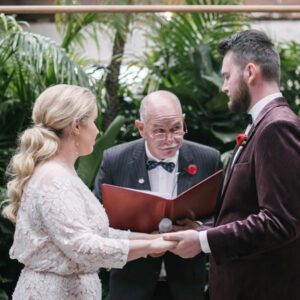
  • Climactic Moments: Reserve close-ups for the most intimate or dramatic parts of the day, like the first kiss or the exchange of vows. These images should carry the most emotional weight.
  • Closing Frames: End with sweeping views or candid shots of the couple leaving the venue, as if the story is continuing beyond the frame.

Using Leading Lines and Framing for Visual Interest

Cinematic composition relies on guiding the viewer’s eye through the frame. Look for natural lines or shapes in Melbourne’s settings:

  • Architectural Lines: Use the lines of buildings, bridges, or staircases to lead toward the couple. For example, a photo taken from the bottom of a spiral staircase in a historic venue can create a dramatic perspective.
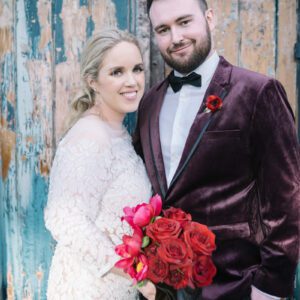
  • Nature’s Frames: Tree branches, doorways, or windows can act as natural frames around the couple, adding depth and focus.
  • Symmetry and Balance: Centered compositions can feel formal and grand, while off-center shots create tension and movement. Mix both styles to keep the album visually engaging.

Pacing the Album with Variety

Avoid monotony by mixing up shot types, angles, and focal lengths:

  • Wide Shots: Establish the scene and show the couple in their environment.
  • Medium Shots: Capture interactions and emotions from a slightly closer perspective.
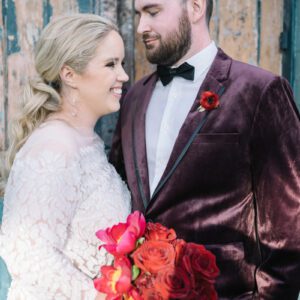
  • Close-Ups: Focus on details like hands, eyes, or the ring to add intimacy.
  • Candid Moments: Include unposed shots of the couple laughing, hugging, or dancing to show genuine emotion.

Final Touches for a Polished, Film-Inspired Album

Once individual edits are complete, review the entire collection to ensure consistency and flow.

Consistent Color and Lighting

Even if photos were taken in different locations or lighting conditions, they should share a similar color palette and exposure level. Adjust global settings to create a cohesive look.

Balanced Contrast and Sharpness

Check that no image feels too flat or too harsh compared to the others. Subtle adjustments to contrast and sharpness can help maintain a smooth visual rhythm.

Natural-Looking Edits

Step back and view the images as a whole to ensure the effects don’t look forced. The goal is to enhance the story and mood of the wedding day while keeping the focus on the couple’s connection.

By combining thoughtful color grading, dynamic visual effects, and intentional storytelling, you can transform Melbourne’s wedding photos into a cinematic masterpiece that feels both timeless and modern.

80900-WU-712

Melbourne wedding photography with a serene and fresh style, featuring post-production editing.

Creating a Fresh, Forest-Inspired Look in Melbourne Wedding Photography Post-Processing

Melbourne’s lush gardens, sprawling parks, and hidden forest trails provide the perfect backdrop for wedding photography that feels natural, romantic, and effortlessly fresh. To bring out the best in these outdoor settings, post-processing should enhance the organic beauty of the surroundings while keeping the focus on the couple. Here’s how to achieve a forest-fresh aesthetic in your wedding photo edits.

wedding photography melbourne

Embracing Natural Light and Soft Tones

The key to a forest-inspired look is letting the natural environment shine through. This means avoiding heavy edits that overpower the scene and instead focusing on subtle enhancements that highlight the light, colors, and textures of the outdoors.

Balancing Exposure for Gentle Brightness

Forest settings often have mixed lighting, with dappled sunlight filtering through trees and softer shadows in shaded areas. To create a cohesive look:

  • Lift Shadows Carefully: Use the shadows slider to brighten darker areas without making them look flat or washed out. This helps reveal details in the foliage or the couple’s attire while maintaining depth.
  • Tame Highlights: If the sun creates harsh bright spots, gently reduce the highlights to soften the contrast. This prevents overexposure while preserving the natural glow of sunlight.
  • Adjust White Balance for Warmth: Forest light can sometimes feel cool or blue, especially in shaded areas. Warming the white balance slightly (toward yellow/orange) adds a cozy, inviting feel without sacrificing realism.

Enhancing Soft, Natural Colors

Forest photography thrives on earthy greens, muted browns, and soft neutral tones. To keep colors looking fresh and natural:

  • Lower Saturation Selectively: Reduce the vibrancy of overly bright colors (like neon greens or artificial blues) while leaving natural tones intact. This creates a more harmonious palette.
  • Boost Greens and Earth Tones: Use the HSL panel to slightly increase the saturation of greens (for foliage) and browns (for tree trunks or paths). Keep the adjustments subtle to avoid an artificial look.
  • Add a Hint of Warmth to Midtones: A light orange or yellow tint in the midtones can make the image feel sun-kissed, as if the couple is bathed in gentle morning or afternoon light.

Adding Depth with Foliage and Texture

A forest setting is rich with texture—from the rough bark of trees to the delicate veins of leaves. Post-processing should emphasize these details without making them distracting.

Sharpening Foliage for Realism

Soft focus can work well for portraits, but the surrounding environment should still feel sharp and detailed:

  • Use Masking for Precision: Apply sharpening selectively to areas like leaves, grass, or tree branches using a mask or brush tool. This keeps the couple’s faces smooth while enhancing the background’s texture.
  • Avoid Over-Sharpening: Too much sharpening can create harsh edges or noise, especially in shadowed areas. Start with a low amount and increase gradually until the texture looks natural.
  • Clarity for Midtone Definition: A light clarity adjustment can add definition to midtones, making foliage and other natural elements appear more three-dimensional.

Creating Atmosphere with Fog or Haze

For a dreamy, ethereal feel, subtle fog or haze can add depth and mystery to forest photos:

  • Add a Gradient Filter: Use a radial or gradient filter to apply a light dehaze adjustment to the edges of the frame, mimicking the way fog softens distant objects.
  • Lower Contrast in the Background: Reducing contrast in the background (while keeping the couple’s faces sharp) creates a sense of depth, as if the forest stretches endlessly behind them.
  • Use a Soft Brush for Localized Effects: If certain areas (like a pathway or a cluster of trees) need a touch of haze, apply it with a soft brush at low opacity for a natural result.

Perfecting the Couple’s Appearance in Natural Settings

While the focus is on the environment, the couple should still look their best. Subtle retouching ensures they blend seamlessly into the forest while maintaining a polished, natural look.

Smoothing Skin Without Losing Texture

Outdoor lighting can highlight skin imperfections, but heavy retouching can make faces look plastic:

  • Frequency Separation: Use frequency separation to separate skin texture from tone, allowing you to smooth blemishes without flattening pores or fine lines.
  • Spot Healing for Small Distractions: Quickly remove acne, stray hairs, or other minor distractions with the spot healing brush, keeping the tool size small for precision.
  • Dodge and Burn for Contouring: Lightly dodge (brighten) highlights on the face (like the cheekbones or brow bone) and burn (darken) shadows (like under the jawline) to enhance natural contours without looking overdone.

Enhancing Eyes and Hair for a Glowing Look

The couple’s eyes and hair should stand out against the forest backdrop:

  • Brighten Eyes Subtly: Use the adjustment brush to slightly increase exposure and clarity in the eyes, making them look more awake and engaged. Add a touch of warmth to the iris color for a natural sparkle.
  • Define Hair with Texture: If the hair looks flat, use a clarity adjustment or texture brush to add volume and separation between strands. For windblown hair, embrace the movement and enhance it lightly for a dynamic effect.
  • Match Hair Color to Lighting: If the hair reflects sunlight, add a warm tint to the highlights. For shaded areas, a cool tint can mimic the natural play of light and shadow.

Adjusting Clothing to Complement the Environment

The couple’s outfits should harmonize with the forest’s colors and textures:

  • Desaturate Bright Colors: If the dress or suit stands out too much against the greenery, gently lower its saturation to create a more balanced composition.
  • Enhance Natural Tones: For earthy-colored attire (like beige, cream, or muted green), slightly boost the saturation to make it pop without clashing with the background.
  • Remove Wrinkles or Distractions: Use the healing brush to smooth out wrinkles in fabric or remove visible seams, ensuring the clothing looks pristine but natural.

Final Touches for a Cohesive Forest-Fresh Album

Once individual edits are complete, review the entire collection to ensure consistency in style and mood.

Consistent Color Grading Across Images

Even if photos were taken in different parts of the forest or at varying times of day, they should share a similar color palette. Adjust hue, saturation, and luminance globally to create a unified look.

Balanced Exposure and Contrast

Check that no image feels too bright or too dark compared to the others. Subtle adjustments to exposure and contrast can help maintain a smooth flow throughout the album.

Natural-Looking Edits

Step back and view the images as a whole to ensure the edits don’t look forced. The goal is to enhance the forest’s beauty while keeping the couple’s connection at the forefront, creating timeless photos that feel both fresh and authentic.

By focusing on natural light, soft colors, detailed textures, and subtle retouching, you can transform Melbourne’s forest settings into a dreamy, romantic backdrop for wedding photography that feels effortlessly fresh.

wedding photography melbourne

Melbourne wedding photography – post-processing of film-like color tones

Creating a Timeless Film Look in Melbourne Wedding Photography Post-Processing

Melbourne’s unique blend of urban charm and natural beauty makes it an ideal setting for wedding photography that tells a story. One way to elevate these images is by giving them a classic film-inspired look through post-processing. This style adds warmth, texture, and a nostalgic feel, making the photos feel both timeless and intimate.

wedding photography melbourne

Understanding the Film Aesthetic in Wedding Photography

Film photography has a distinct look that digital images often lack—soft gradients, subtle grain, and muted colors that evoke emotion and memory. When applied to wedding photos, this aesthetic can transform ordinary shots into artistic keepsakes. The key is to mimic the characteristics of film without making the edits look artificial or overdone.

Why Couples Love the Film Look

The film aesthetic appeals to couples because it feels authentic and enduring. Unlike overly polished digital images, film-inspired photos have a raw, emotional quality that captures the genuine moments of the day. The softness, grain, and color shifts also add a sense of nostalgia, as if the images were pulled from a cherished family album.

Key Elements of a Film-Inspired Edit

To achieve a convincing film look, focus on these core elements:

  • Color Grading: Film often has a unique color palette, with slightly muted tones and a warm or cool bias depending on the stock.
  • Grain and Texture: Film has a natural grain structure that adds depth and character to images.
  • Contrast and Highlights: Film tends to handle highlights differently, with a softer roll-off and less harsh shadows.
  • Vignetting: Subtle darkening around the edges can draw the viewer’s eye to the center of the image, mimicking the natural fall-off of light in film.

Adjusting Color Grading for a Film-Inspired Look

Color grading is the most critical step in creating a film aesthetic. The goal is to shift the colors away from the bright, clinical look of digital and toward a more organic, muted palette.

Creating a Warm, Nostalgic Tone

Many film stocks, especially those from the 1970s and 1980s, have a warm, golden hue. To replicate this:

  • White Balance: Slightly warm the white balance by adjusting the temperature slider toward yellow/orange. Avoid making it too extreme, as this can look unnatural.
  • Color Sliders: Reduce the saturation of bright colors like blues and greens, while boosting the warmth in reds and yellows. This creates a more balanced, vintage feel.
  • Split Toning: Add a subtle warm tone to the highlights (e.g., a light gold) and a cooler tone to the shadows (e.g., a soft blue-gray). This mimics the way film reacts to different light intensities.

Muting Bright Colors for a Timeless Feel

Film rarely has the hyper-saturated colors seen in modern digital photos. To soften the palette:

  • Lower Saturation: Reduce the overall saturation slightly, then fine-tune individual colors. For example, tone down the vibrancy of greens in foliage or blues in the sky.
  • Desaturate Highlights: Use a selective adjustment tool to desaturate the brightest parts of the image, such as white dresses or sunny skies. This prevents harsh, overexposed looks and creates a more cohesive tone.
  • Add a Tint: Some film stocks have a slight color cast, like a faint pink or green tint. Experiment with adding a subtle tint to the midtones for an authentic touch.

Adding Grain and Texture for Authenticity

Grain is a hallmark of film photography, adding a tactile quality that digital images often lack. The key is to apply it in a way that looks natural and enhances the mood.

Choosing the Right Grain Type

Not all grain is created equal. Fine-grain film (like Kodak Portra) has a smooth, subtle texture, while high-speed film (like Ilford Delta 3200) has a more pronounced, gritty grain. For wedding photos, a medium or fine grain usually works best, as it adds character without overwhelming the image.

Applying Grain Subtly

When adding grain in post-processing:

  • Start Low: Begin with a low opacity (around 5-10%) and gradually increase it until it’s noticeable but not distracting.
  • Uniform Distribution: Ensure the grain is evenly applied across the image, including in the shadows and highlights.
  • Match the Lighting: Grain tends to be more visible in darker areas, so adjust the settings to mimic this natural behavior.

Enhancing Texture with Clarity and Dehazing

In addition to grain, film has a unique texture that comes from its chemical composition. To replicate this:

  • Clarity: Use a subtle clarity adjustment to add midtone contrast without making the image look harsh. This enhances the perception of texture.
  • Dehazing: A light dehaze adjustment can add depth and richness to the colors, similar to how film renders tones. Be careful not to overdo it, as this can create an artificial look.

Fine-Tuning Contrast and Highlights for a Film-Like Feel

Film handles contrast differently than digital sensors, with softer transitions between light and dark areas. Adjusting these elements is crucial for achieving an authentic film look.

Softening the Contrast

Digital images often have high contrast, with deep blacks and bright whites. To soften this:

  • Lower Contrast: Reduce the overall contrast slightly to create a more gentle tonal range.
  • Adjust Blacks and Whites: Bring down the blacks slightly to avoid deep, inky shadows, and reduce the whites to prevent harsh overexposure. This creates a flatter, more film-like base.
  • Use Curves: A subtle S-curve in the tone curve panel can add a touch of contrast without making the image look digital. Focus on the midtones for a natural effect.

Managing Highlights for a Dreamy Effect

Film highlights tend to bloom and roll off softly, rather than clipping abruptly. To replicate this:

  • Highlight Recovery: If the image has overexposed areas, use the highlight slider to recover detail without making the highlights look flat.
  • Add Bloom: Some film stocks have a slight glow in the highlights, especially in backlit shots. Use a radial filter or brush tool to add a soft, warm glow to bright areas like the bride’s veil or the groom’s suit.
  • Reduce Clarity in Highlights: Applying negative clarity to the brightest parts of the image can create a soft, ethereal effect, similar to how film renders light.

Incorporating Vignetting for a Classic Film Frame

Vignetting—the darkening of the edges of an image—is a common feature in film photography, especially with older lenses or certain film stocks. When used subtly, it can enhance the mood and focus the viewer’s attention on the couple.

Natural-Looking Vignetting Techniques

To avoid an obvious, artificial vignette:

  • Start Soft: Use a low feather setting and a gentle opacity (around 10-15%) to create a subtle, natural fall-off.
  • Match the Lighting: Adjust the vignette’s shape and size to mimic how light naturally fades at the edges of a frame. For example, a wider vignette works better for landscape-oriented shots, while a tighter one suits portraits.
  • Add Midtone Darkening: Instead of just darkening the edges, try reducing the exposure or brightness in the midtones of the vignette area. This creates a more organic transition between the center and the edges.

Using Vignetting to Enhance Composition

Vignetting can also be used strategically to improve the composition:

  • Draw Attention to the Subject: Place the vignette’s center slightly off-center to align with the couple’s position in the frame, guiding the viewer’s eye naturally.
  • Balance Bright Areas: If the image has a bright sky or window in the background, a vignette can help balance the exposure and prevent the viewer’s attention from drifting away from the couple.
  • Create Mood: A stronger vignette can add drama or intimacy to the image, depending on the overall tone of the wedding. Use it sparingly to avoid overwhelming the photo.

Final Touches for a Cohesive Film-Inspired Album

Once the individual edits are complete, review the entire album to ensure consistency in style and tone.

Consistent Color Grading

Make sure all images share a similar color palette, even if they were taken in different lighting conditions. This creates a cohesive look throughout the album.

Balanced Grain and Texture

Check that the grain and texture adjustments are uniform across all photos. Some images may need slightly more or less grain depending on their composition, but the overall effect should feel consistent.

Natural-Looking Edits

Step back and view the images as a whole to ensure the edits don’t look forced or artificial. The goal is to enhance the photos’ natural beauty, not to create a heavy-handed, stylized look.

By focusing on these elements—color grading, grain and texture, contrast and highlights, and vignetting—you can transform Melbourne wedding photos into timeless, film-inspired masterpieces that couples will treasure forever.