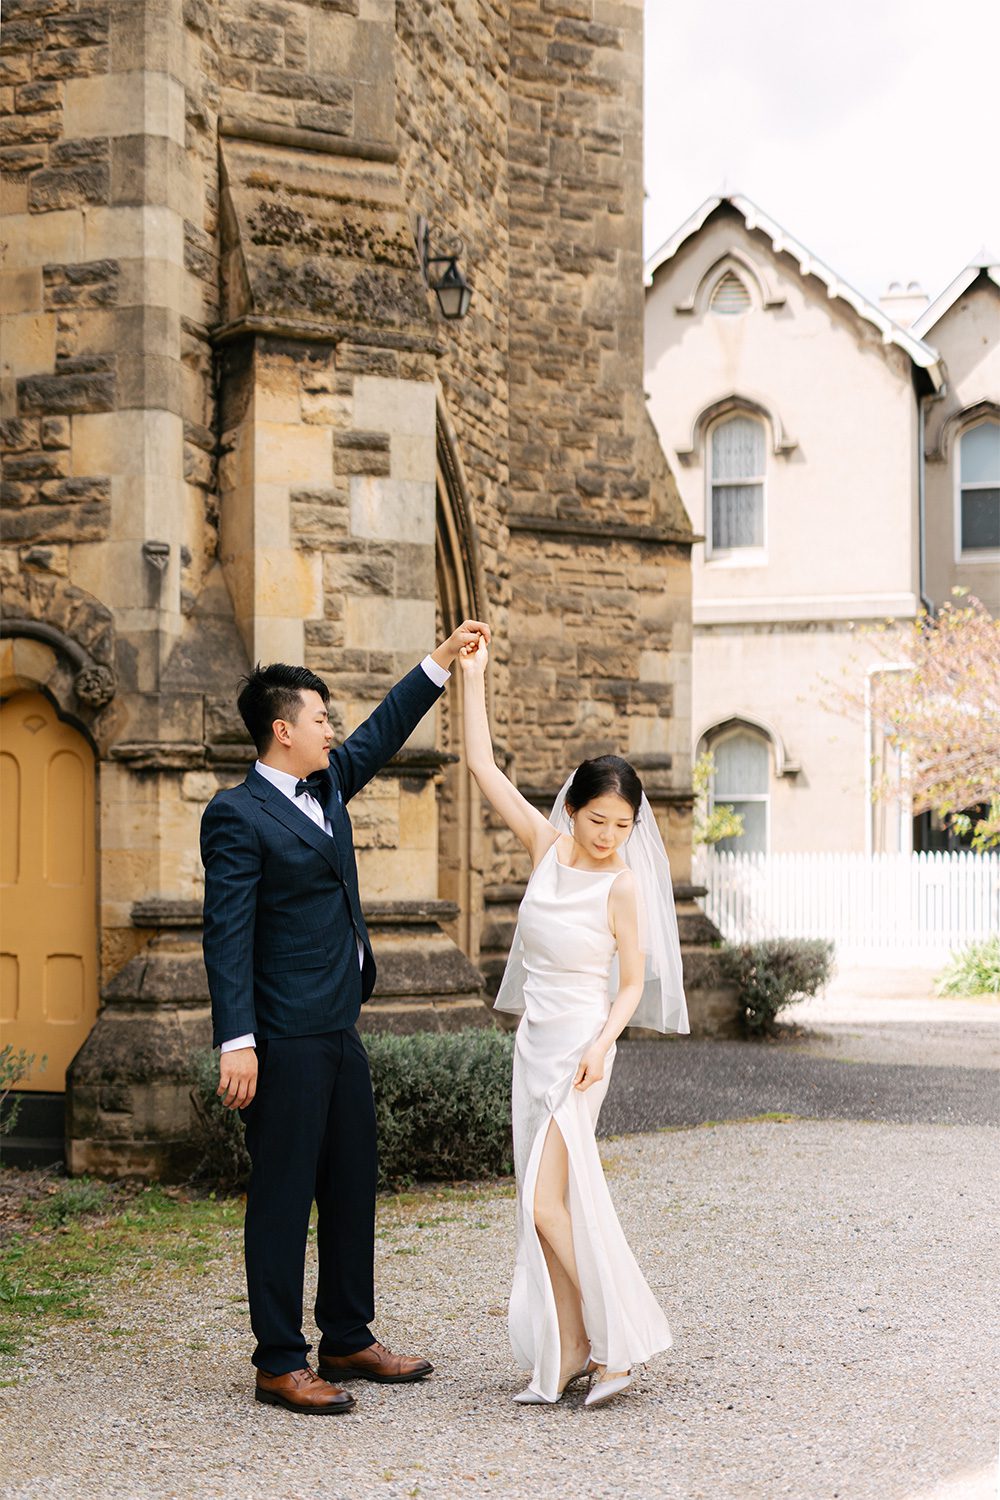
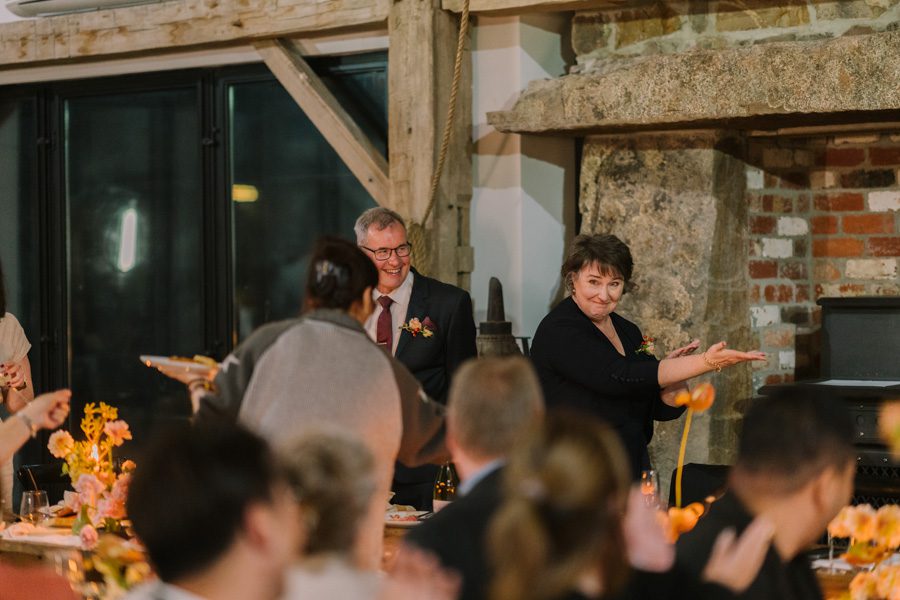
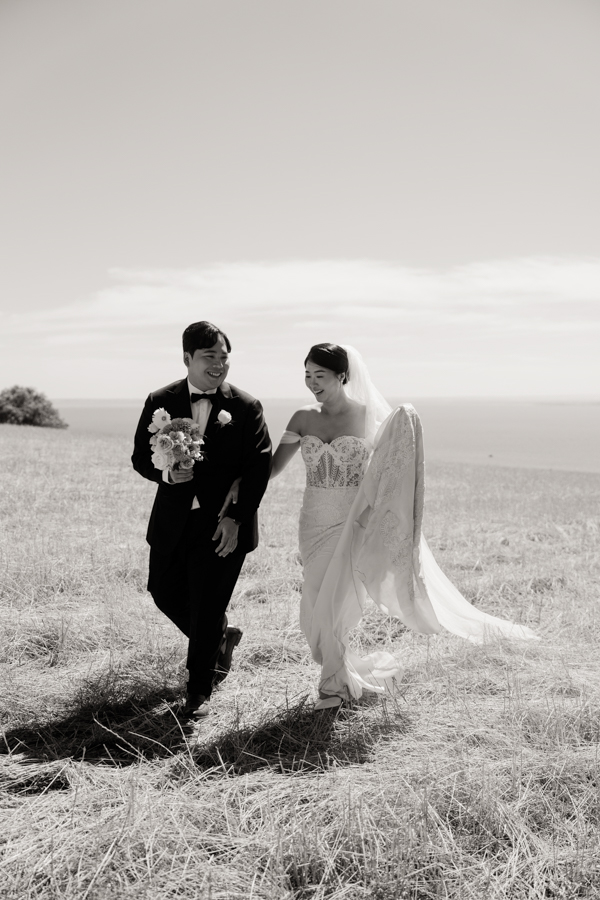
Melbourne wedding photography with a serene and fresh style, featuring post-production editing.
Creating a Fresh, Forest-Inspired Look in Melbourne Wedding Photography Post-Processing
Melbourne’s lush gardens, sprawling parks, and hidden forest trails provide the perfect backdrop for wedding photography that feels natural, romantic, and effortlessly fresh. To bring out the best in these outdoor settings, post-processing should enhance the organic beauty of the surroundings while keeping the focus on the couple. Here’s how to achieve a forest-fresh aesthetic in your wedding photo edits.

Embracing Natural Light and Soft Tones
The key to a forest-inspired look is letting the natural environment shine through. This means avoiding heavy edits that overpower the scene and instead focusing on subtle enhancements that highlight the light, colors, and textures of the outdoors.
Balancing Exposure for Gentle Brightness
Forest settings often have mixed lighting, with dappled sunlight filtering through trees and softer shadows in shaded areas. To create a cohesive look:
- Lift Shadows Carefully: Use the shadows slider to brighten darker areas without making them look flat or washed out. This helps reveal details in the foliage or the couple’s attire while maintaining depth.
- Tame Highlights: If the sun creates harsh bright spots, gently reduce the highlights to soften the contrast. This prevents overexposure while preserving the natural glow of sunlight.
- Adjust White Balance for Warmth: Forest light can sometimes feel cool or blue, especially in shaded areas. Warming the white balance slightly (toward yellow/orange) adds a cozy, inviting feel without sacrificing realism.
Enhancing Soft, Natural Colors
Forest photography thrives on earthy greens, muted browns, and soft neutral tones. To keep colors looking fresh and natural:
- Lower Saturation Selectively: Reduce the vibrancy of overly bright colors (like neon greens or artificial blues) while leaving natural tones intact. This creates a more harmonious palette.
- Boost Greens and Earth Tones: Use the HSL panel to slightly increase the saturation of greens (for foliage) and browns (for tree trunks or paths). Keep the adjustments subtle to avoid an artificial look.
- Add a Hint of Warmth to Midtones: A light orange or yellow tint in the midtones can make the image feel sun-kissed, as if the couple is bathed in gentle morning or afternoon light.
Adding Depth with Foliage and Texture
A forest setting is rich with texture—from the rough bark of trees to the delicate veins of leaves. Post-processing should emphasize these details without making them distracting.
Sharpening Foliage for Realism
Soft focus can work well for portraits, but the surrounding environment should still feel sharp and detailed:
- Use Masking for Precision: Apply sharpening selectively to areas like leaves, grass, or tree branches using a mask or brush tool. This keeps the couple’s faces smooth while enhancing the background’s texture.
- Avoid Over-Sharpening: Too much sharpening can create harsh edges or noise, especially in shadowed areas. Start with a low amount and increase gradually until the texture looks natural.
- Clarity for Midtone Definition: A light clarity adjustment can add definition to midtones, making foliage and other natural elements appear more three-dimensional.
Creating Atmosphere with Fog or Haze
For a dreamy, ethereal feel, subtle fog or haze can add depth and mystery to forest photos:
- Add a Gradient Filter: Use a radial or gradient filter to apply a light dehaze adjustment to the edges of the frame, mimicking the way fog softens distant objects.
- Lower Contrast in the Background: Reducing contrast in the background (while keeping the couple’s faces sharp) creates a sense of depth, as if the forest stretches endlessly behind them.
- Use a Soft Brush for Localized Effects: If certain areas (like a pathway or a cluster of trees) need a touch of haze, apply it with a soft brush at low opacity for a natural result.
Perfecting the Couple’s Appearance in Natural Settings
While the focus is on the environment, the couple should still look their best. Subtle retouching ensures they blend seamlessly into the forest while maintaining a polished, natural look.
Smoothing Skin Without Losing Texture
Outdoor lighting can highlight skin imperfections, but heavy retouching can make faces look plastic:
- Frequency Separation: Use frequency separation to separate skin texture from tone, allowing you to smooth blemishes without flattening pores or fine lines.
- Spot Healing for Small Distractions: Quickly remove acne, stray hairs, or other minor distractions with the spot healing brush, keeping the tool size small for precision.
- Dodge and Burn for Contouring: Lightly dodge (brighten) highlights on the face (like the cheekbones or brow bone) and burn (darken) shadows (like under the jawline) to enhance natural contours without looking overdone.
Enhancing Eyes and Hair for a Glowing Look
The couple’s eyes and hair should stand out against the forest backdrop:
- Brighten Eyes Subtly: Use the adjustment brush to slightly increase exposure and clarity in the eyes, making them look more awake and engaged. Add a touch of warmth to the iris color for a natural sparkle.
- Define Hair with Texture: If the hair looks flat, use a clarity adjustment or texture brush to add volume and separation between strands. For windblown hair, embrace the movement and enhance it lightly for a dynamic effect.
- Match Hair Color to Lighting: If the hair reflects sunlight, add a warm tint to the highlights. For shaded areas, a cool tint can mimic the natural play of light and shadow.
Adjusting Clothing to Complement the Environment
The couple’s outfits should harmonize with the forest’s colors and textures:
- Desaturate Bright Colors: If the dress or suit stands out too much against the greenery, gently lower its saturation to create a more balanced composition.
- Enhance Natural Tones: For earthy-colored attire (like beige, cream, or muted green), slightly boost the saturation to make it pop without clashing with the background.
- Remove Wrinkles or Distractions: Use the healing brush to smooth out wrinkles in fabric or remove visible seams, ensuring the clothing looks pristine but natural.
Final Touches for a Cohesive Forest-Fresh Album
Once individual edits are complete, review the entire collection to ensure consistency in style and mood.
Consistent Color Grading Across Images
Even if photos were taken in different parts of the forest or at varying times of day, they should share a similar color palette. Adjust hue, saturation, and luminance globally to create a unified look.
Balanced Exposure and Contrast
Check that no image feels too bright or too dark compared to the others. Subtle adjustments to exposure and contrast can help maintain a smooth flow throughout the album.
Natural-Looking Edits
Step back and view the images as a whole to ensure the edits don’t look forced. The goal is to enhance the forest’s beauty while keeping the couple’s connection at the forefront, creating timeless photos that feel both fresh and authentic.
By focusing on natural light, soft colors, detailed textures, and subtle retouching, you can transform Melbourne’s forest settings into a dreamy, romantic backdrop for wedding photography that feels effortlessly fresh.