wedding photography melbourne

Melbourne wedding photography – Customized filter post-processing for online popularity

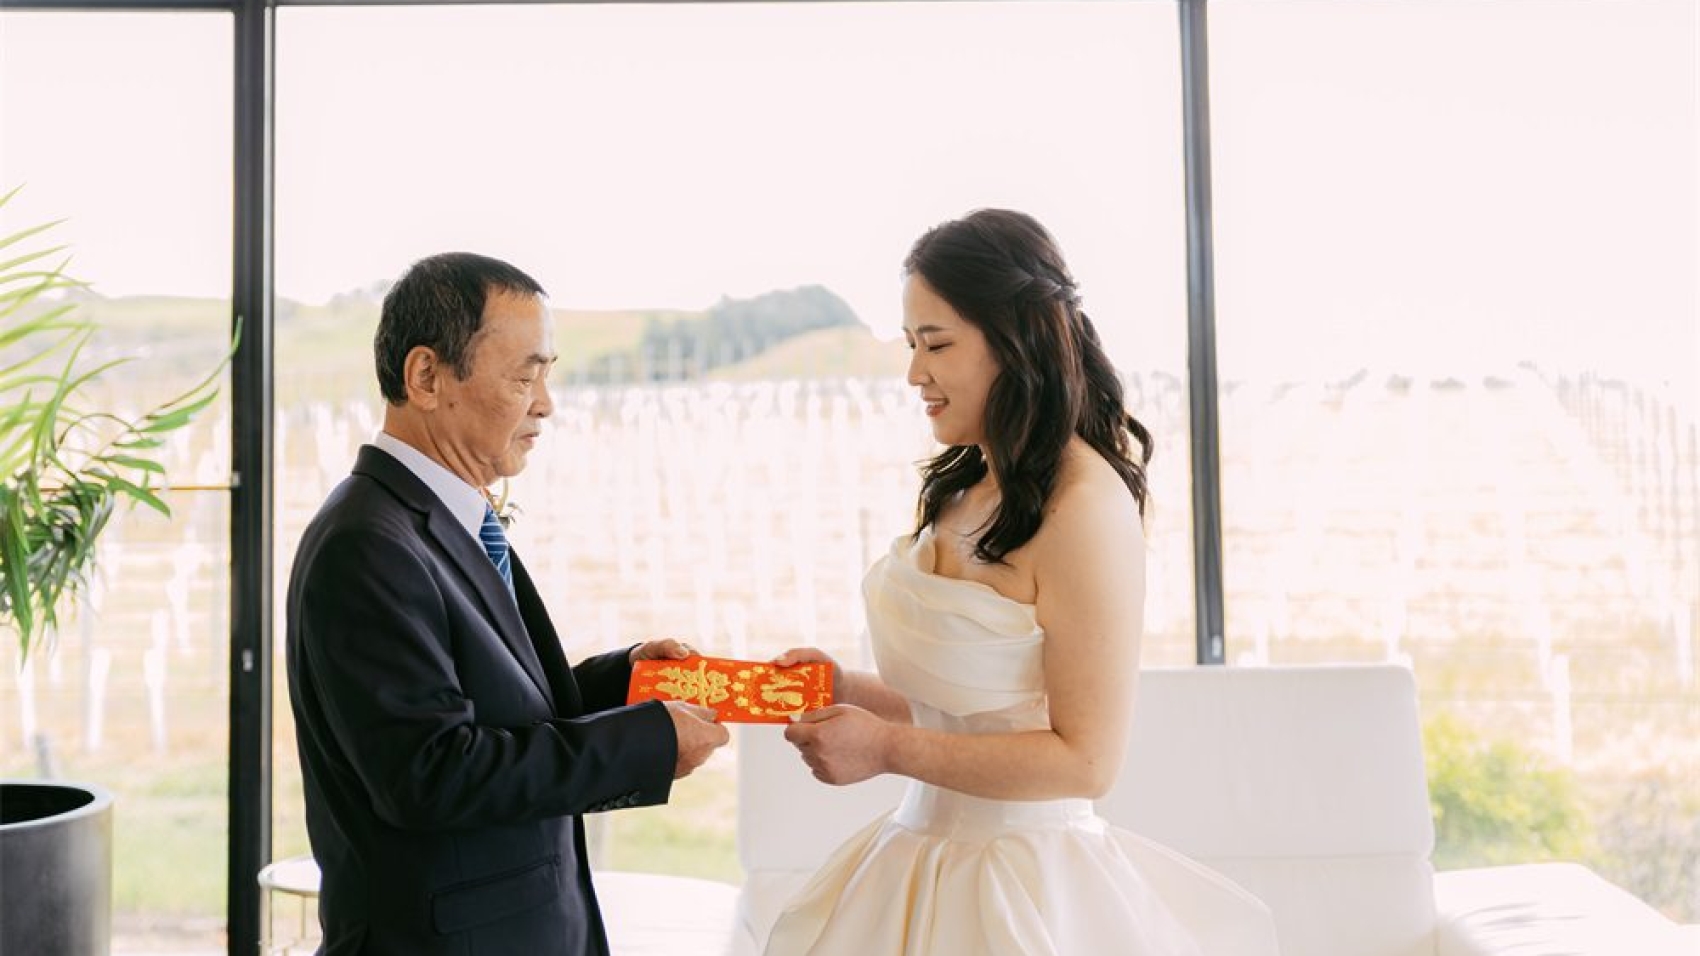
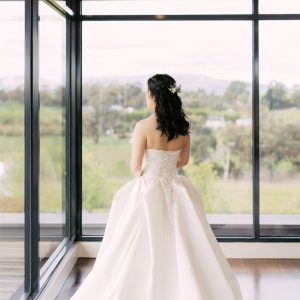
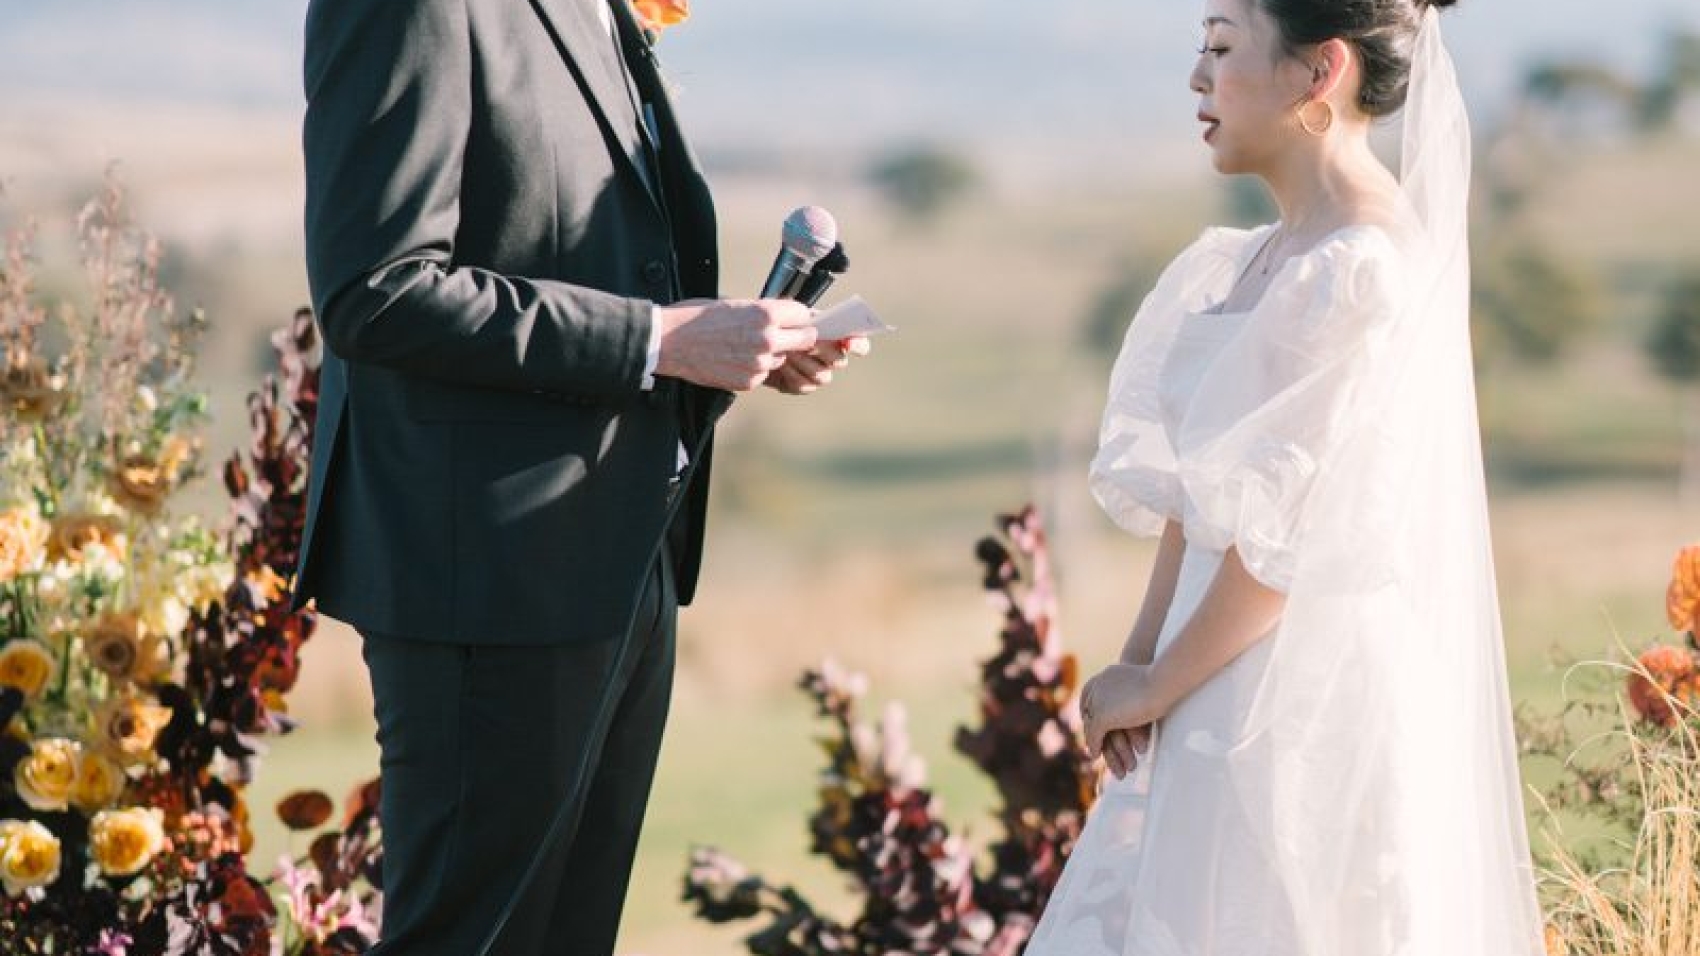
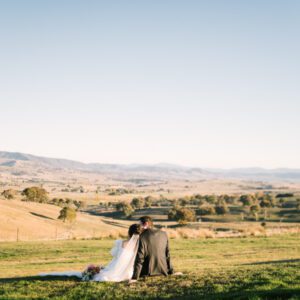
Adapting Popular Filters for Melbourne Wedding Photography Post-Processing

In the age of social media, wedding photography in Melbourne has embraced the trend of using popular filters to give photos a unique and eye-catching look. These filters, often inspired by the aesthetics of Instagram influencers and viral content, can add a touch of magic to your wedding album, making it stand out from the crowd. However, applying these filters effectively requires a thoughtful approach to ensure they complement the natural beauty of Melbourne’s landscapes and the emotions captured in the moment.

wedding photography melbourne

Understanding the Appeal of Popular Filters

Popular filters have gained traction for their ability to transform ordinary photos into visually stunning masterpieces. They often enhance colors, add texture, and create a specific mood or atmosphere that resonates with viewers. For wedding photography, filters can help to evoke feelings of romance, nostalgia, or whimsy, depending on the style you’re aiming for. Before applying any filter, it’s essential to understand its characteristics and how it will affect the overall look of your photos.

Analyzing the Color Palette and Tone

Each popular filter has a distinct color palette and tone that sets it apart. Some filters may emphasize warm tones like reds and oranges, creating a cozy and inviting atmosphere. Others might lean towards cooler tones like blues and greens, giving photos a serene and calming feel. When adapting these filters for Melbourne wedding photography, consider the natural lighting conditions and the colors present in the scene. For example, if you’re shooting during the golden hour, a filter that enhances warm tones can complement the natural sunlight beautifully.

Matching the Filter to the Wedding Theme

The theme of the wedding can also influence your choice of filter. A rustic, outdoor wedding might call for a filter that adds a vintage or aged look, with subtle grain and muted colors. On the other hand, a modern, urban wedding could benefit from a filter that enhances contrast and saturation, creating a bold and vibrant aesthetic. By aligning the filter with the wedding theme, you can ensure that the photos feel cohesive and tell a consistent story.

Techniques for Adapting Filters to Melbourne Wedding Photos

Once you’ve selected a popular filter that aligns with your vision, it’s time to adapt it to your Melbourne wedding photos. Here are some techniques to help you achieve a natural and polished look:

Adjusting the Opacity for Subtlety

One of the most common mistakes when applying filters is using them at full strength, which can result in an overly artificial look. Instead, try reducing the opacity of the filter layer to create a more subtle effect. This allows you to retain some of the original colors and details of the photo while still incorporating the filter’s aesthetic. Experiment with different opacity levels until you find the perfect balance between the original image and the filtered look.

Fine-Tuning Colors with Selective Adjustments

Even the most well-designed filters may not perfectly match the colors in your Melbourne wedding photos. To address this, use selective color adjustments to fine-tune specific hues. For example, if the filter makes the sky look too blue, you can reduce the saturation of the blues in the photo. Similarly, if the filter dulls the colors of the bride’s dress, you can increase the saturation of the relevant color range. These selective adjustments ensure that the filter enhances the photo without distorting its natural colors.

Adding Localized Enhancements for Depth

Popular filters often apply a uniform effect across the entire image, which can sometimes make photos look flat or one-dimensional. To add depth and dimension, consider using localized enhancements. For example, you can use a dodge tool to brighten the couple’s faces or a burn tool to darken the edges of the photo, creating a vignette effect. These localized adjustments help to draw the viewer’s eye to the important elements of the photo and create a more dynamic composition.

Ensuring a Natural and Timeless Look

While popular filters can add a unique and trendy touch to your Melbourne wedding photos, it’s important to ensure that the final result looks natural and timeless. After all, wedding photos are meant to be cherished for a lifetime, and trends come and go. Here are some tips to help you achieve a natural and timeless look:

Avoiding Over-Editing

One of the keys to a natural look is avoiding over-editing. While it can be tempting to keep adding filters and adjustments until the photo looks perfect, this can often lead to an artificial and over-processed appearance. Instead, focus on making subtle enhancements that enhance the photo without changing its fundamental character. Remember, less is often more when it comes to wedding photography post-processing.

Preserving Skin Tones

Skin tones are one of the most important elements of any wedding photo, and they should always look natural and healthy. When applying filters, be mindful of how they affect skin tones. Some filters may make skin look too pale, too tan, or too saturated. Use color balance adjustments to fine-tune skin tones, ensuring they look natural and flattering. You can also use selective color adjustments to target specific skin tones and adjust them as needed.

Maintaining Consistency Across the Album

Finally, it’s essential to maintain consistency across the entire wedding album. While it’s okay to experiment with different filters and styles for individual photos, the overall look and feel of the album should be cohesive. Choose a filter or a set of filters that work well together and apply them consistently throughout the album. This will help to create a unified and professional-looking collection of photos that tell a beautiful story of the couple’s special day.

By following these techniques and tips, you can effectively adapt popular filters for Melbourne wedding photography post-processing, creating photos that are both trendy and timeless. Remember to approach filter application with a thoughtful and creative mindset, and always prioritize the natural beauty of the scene and the emotions captured in the moment.

z&d-sp-0058

Melbourne wedding photography – Backlighting portrait photography and post-production lighting enhancement

Enhancing Backlit Wedding Portraits in Melbourne: Effective Post-Processing Lighting Techniques

Backlit wedding portraits in Melbourne offer a unique and romantic aesthetic, with the sun casting a soft, golden glow around the couple. However, capturing these moments can sometimes result in underexposed subjects, as the intense backlight overwhelms the camera’s sensor. Fortunately, post-processing techniques can help you balance the exposure and bring out the details in the couple’s faces, ensuring your wedding photos are both stunning and well-lit.

wedding photography melbourne

Understanding the Challenges of Backlit Photography

Backlit scenes present several challenges for photographers, especially when it comes to exposure. The strong light source behind the subjects can cause the camera’s metering system to underexpose the foreground, leaving the couple’s faces in shadow. This can result in a loss of detail and a flat, unappealing look. To overcome this, it’s essential to understand how to use post-processing tools to add light and balance the exposure.

Assessing the Image Before Editing

Before diving into post-processing, take a close look at your backlit wedding portrait. Identify the areas that need the most attention, such as the couple’s faces, clothing, and any other important details. Pay attention to the overall tone of the image and the balance between the highlights and shadows. This assessment will guide your editing decisions and help you achieve a natural-looking result.

Techniques for Adding Light in Post-Processing

Once you’ve assessed your image, it’s time to start adding light. Here are some effective techniques to help you enhance backlit wedding portraits:

Using the Dodge Tool for Localized Lighting Adjustments

The dodge tool is a powerful tool for selectively brightening areas of your image. In the case of backlit wedding portraits, you can use it to lighten the couple’s faces, bringing out their features and adding a sense of warmth. Start by selecting a soft brush with a low opacity setting to avoid overdoing it. Then, gently brush over the areas you want to brighten, gradually building up the effect until you achieve the desired result.

Applying Gradient Masks for Balanced Exposure

Gradient masks are another useful technique for adding light to backlit images. They allow you to create a smooth transition between the bright background and the darker foreground, resulting in a more balanced exposure. To use a gradient mask, create a new layer and apply a gradient that fades from white to transparent. Position the gradient so that it covers the area you want to brighten, then adjust the opacity and blend mode of the layer to achieve a natural-looking effect.

Utilizing Curves Adjustments for Overall Tone Control

Curves adjustments are a versatile tool for controlling the overall tone of your image. They allow you to adjust the brightness and contrast of different tonal ranges, giving you precise control over the final look of your photo. For backlit wedding portraits, you can use curves to brighten the midtones and shadows while maintaining the brightness of the highlights. This will help to bring out the details in the couple’s faces and create a more balanced and visually appealing image.

Refining the Lighting Effect for a Natural Look

After adding light to your backlit wedding portrait, it’s important to refine the effect to ensure it looks natural and believable. Here are some tips to help you achieve a polished result:

Paying Attention to Skin Tones

When adding light to the couple’s faces, be mindful of their skin tones. Over-brightening can result in unnatural-looking skin that appears washed out or overly saturated. Use a color balance adjustment layer to fine-tune the skin tones, ensuring they look natural and healthy. You can also use a selective color adjustment to target specific colors in the skin, such as reds and yellows, and adjust them as needed.

Maintaining Detail in the Highlights and Shadows

While it’s important to brighten the couple’s faces, you don’t want to lose detail in the highlights or shadows. Use the highlights and shadows sliders in your editing software to recover any lost detail and ensure a balanced exposure throughout the image. You can also use the clarity slider to add a bit of definition to the edges and textures, enhancing the overall sharpness and detail of the photo.

Adding a Subtle Vignette for Depth

A subtle vignette can help to draw the viewer’s eye to the center of the image, where the couple is located. It can also add a sense of depth and dimension to the photo, making it more visually engaging. Use a vignette tool or create a custom vignette using a radial gradient mask to achieve this effect. Be sure to keep the vignette subtle and natural-looking, avoiding any harsh or distracting edges.

By following these techniques and tips, you can effectively add light to backlit wedding portraits in Melbourne, ensuring your photos are both stunning and well-lit. Remember to take your time and experiment with different adjustments until you achieve the desired result. With practice and patience, you’ll be able to master the art of post-processing backlit images and create beautiful wedding photos that capture the magic of the moment.

wedding photography melbourne

Melbourne wedding photography – uniform color tone adjustment for editing

Achieving Consistent Color Tone in Melbourne Wedding Photography Editing

When it comes to wedding photography in Melbourne, a city known for its diverse landscapes and vibrant cultural scenes, achieving a consistent color tone across all images is crucial for creating a cohesive and visually appealing album. Whether you’re capturing the romantic charm of the Yarra Valley or the timeless elegance of the Royal Exhibition Building, here are some essential tips to ensure your wedding photos have a unified and polished look.

wedding photography melbourne

Understanding the Importance of Color Consistency

Color consistency plays a pivotal role in storytelling through wedding photography. It helps to establish a mood, evoke emotions, and create a seamless narrative that flows from one image to the next. Inconsistent colors can disrupt this flow, making the album feel disjointed and less professional. By maintaining a consistent color palette, you can enhance the overall aesthetic appeal of your wedding photos and ensure they stand the test of time.

Analyzing the Scene and Lighting Conditions

Before diving into the editing process, it’s essential to analyze the scene and lighting conditions of each photo. Melbourne’s weather can be unpredictable, with sudden changes in light intensity and color temperature. For instance, a sunny day might cast a warm, golden hue, while an overcast sky could result in cooler, bluish tones. Understanding these variations will help you determine the appropriate color adjustments needed to achieve consistency.

Start by examining the white balance of your images. If the colors appear too warm or too cool, use the white balance tool in your editing software to correct them. This step is crucial for ensuring that skin tones look natural and that the overall color palette remains balanced.

Utilizing Color Grading Techniques

Color grading is a powerful tool for achieving a consistent color tone across your wedding photos. It involves adjusting the colors in your images to create a specific mood or atmosphere. Here are some key color grading techniques to consider:

  1. Adjusting Hue, Saturation, and Luminance (HSL): The HSL panel allows you to fine-tune the colors in your photos by adjusting their hue, saturation, and luminance. For example, if you want to create a warm, romantic look, you might increase the saturation of reds and oranges while decreasing the saturation of blues and greens. Conversely, if you prefer a cooler, more serene atmosphere, you could do the opposite.
  2. Applying Color Lookup Tables (LUTs): LUTs are pre-defined color grading presets that can be applied to your images to achieve a specific look. They’re particularly useful for quickly achieving a consistent color tone across multiple photos. Many editing software programs come with built-in LUTs, or you can create your own custom LUTs based on your preferred color palette.
  3. Using Gradient Maps: Gradient maps are another effective tool for color grading. They allow you to map specific colors to different tonal ranges in your image, creating a unique and customized look. For instance, you could use a gradient map to add a subtle pink hue to the highlights and shadows of your photos, giving them a soft, dreamy quality.

Ensuring Consistency Across Different Shots

Achieving color consistency isn’t just about adjusting individual photos; it’s also about ensuring that all the images in your wedding album look cohesive when viewed together. Here are some strategies to help you maintain consistency across different shots:

  1. Batch Editing: If you have a large number of photos to edit, consider using batch editing techniques to apply the same color adjustments to multiple images at once. This can save you a significant amount of time and ensure that all your photos have a similar look and feel.
  2. Creating a Style Guide: Before you start editing, create a style guide that outlines your preferred color palette, tone, and mood. Use this guide as a reference throughout the editing process to ensure that all your photos adhere to the same visual standards.
  3. Regularly Reviewing Your Work: As you edit your photos, take regular breaks to review your work and ensure that the color tone remains consistent. It can be helpful to view your photos side by side or in a slideshow format to get a better sense of how they look together.

Conclusion

Achieving consistent color tone in Melbourne wedding photography editing requires a combination of technical skill and artistic vision. By understanding the importance of color consistency, analyzing the scene and lighting conditions, utilizing color grading techniques, and ensuring consistency across different shots, you can create a wedding album that’s visually stunning and emotionally resonant. Remember, the goal is to tell a story through your photos, and a consistent color tone is a key element in making that story come to life.