03082-12

Melbourne Wedding Photography – Group Photos Enhancement and Person Profile Optimization

Enhancing Group Portraits in Melbourne Wedding Photography: Character Optimization

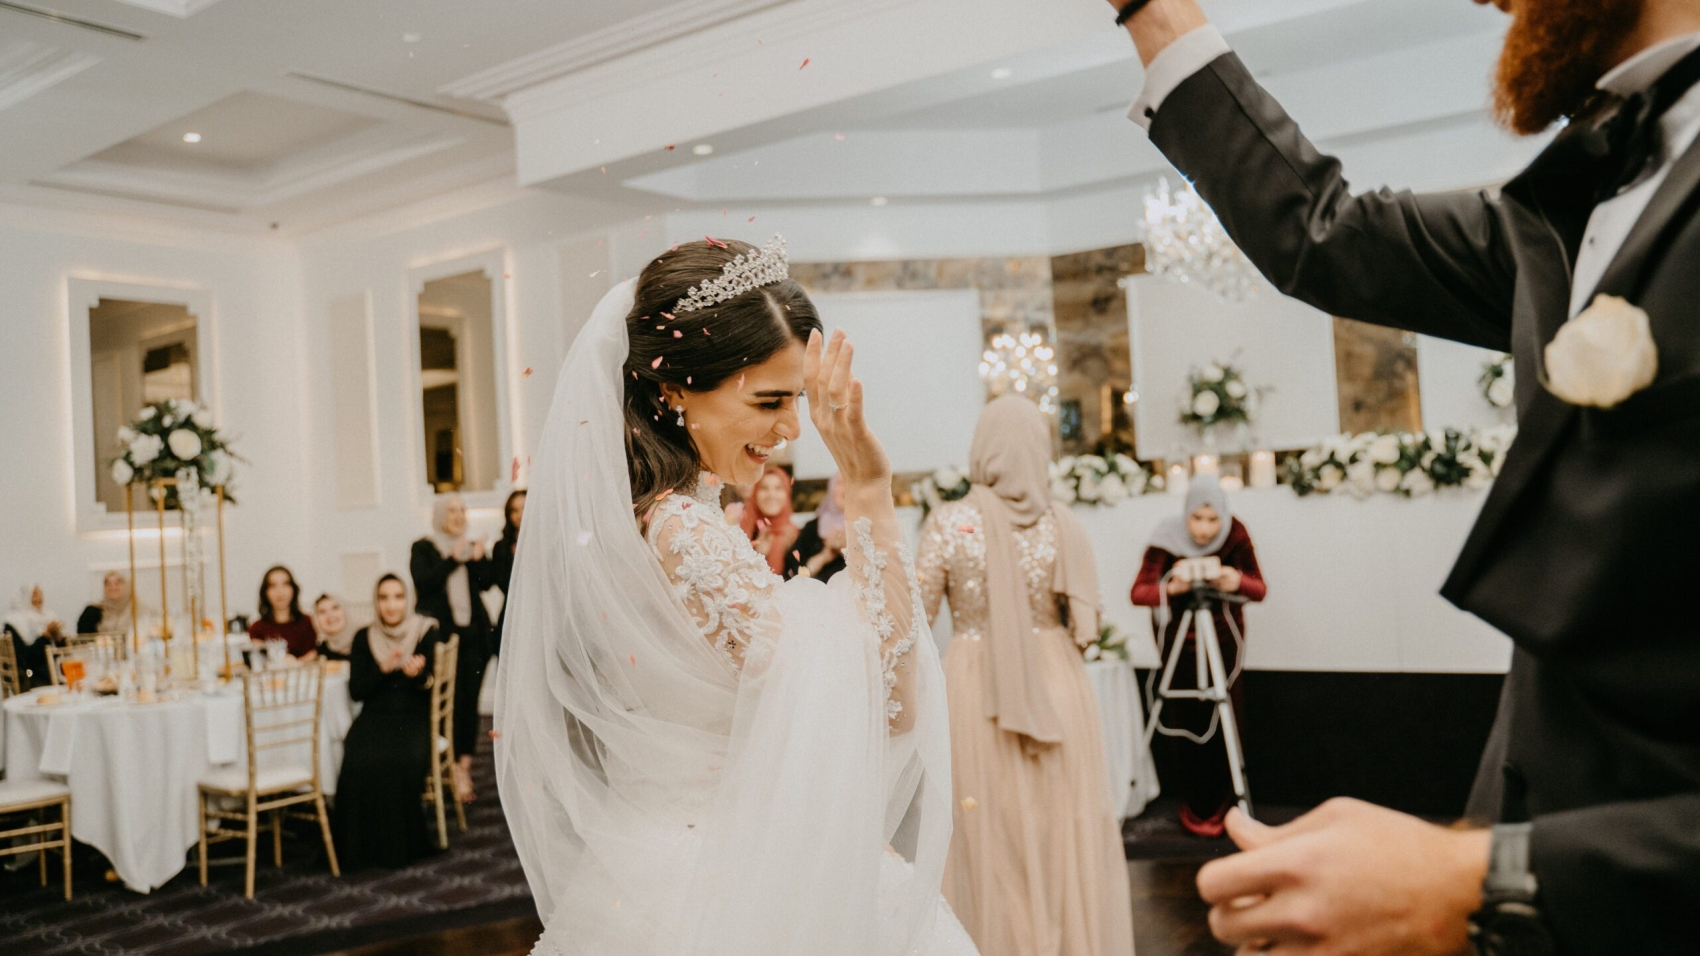
When it comes to Melbourne wedding photography, group portraits hold a special place as they capture the joy and togetherness of the couple with their loved ones. However, getting the perfect group portrait straight out of the camera is rare. Post – production editing plays a crucial role in optimizing the characters in these images to make them truly stand out.

wedding photography melbourne

Understanding the Challenges in Group Portraits

Before diving into the optimization process, it’s essential to recognize the common challenges that group portraits present.

Uneven Lighting on Faces

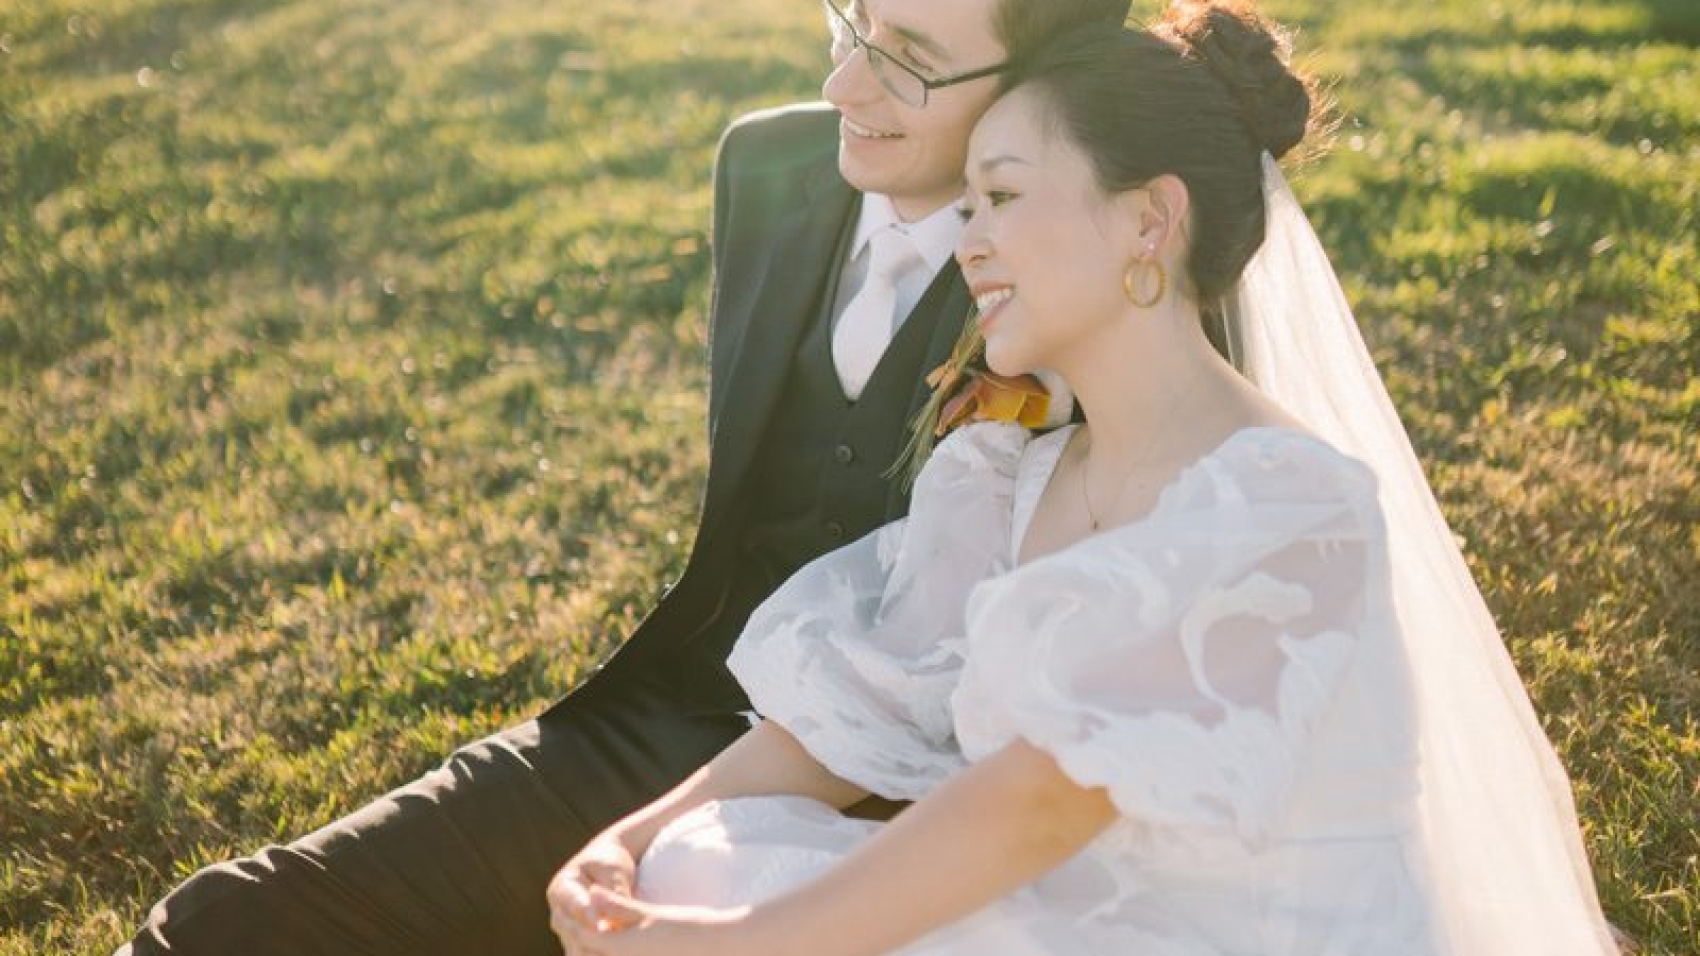
In a group setting, especially outdoors in Melbourne’s variable lighting conditions, it’s common for different faces to receive varying amounts of light. Some may be in direct sunlight, resulting in harsh shadows and overexposure, while others might be in the shade, appearing underexposed and lacking detail. This uneven lighting can make the group look unbalanced and take away from the overall harmony of the portrait.

Diverse Skin Tones and Textures

A wedding group often consists of people with different skin tones and textures. Some may have fair skin that is prone to redness, while others might have darker skin that can appear dull in certain lighting. Additionally, factors like acne, wrinkles, or blemishes can be more noticeable in a group portrait, affecting the overall aesthetic and the confidence of the individuals in the photo.

Distractions in the Background

Melbourne offers a variety of backdrops for wedding photos, from bustling city streets to serene parks. However, these backgrounds can sometimes contain distractions such as passing pedestrians, vehicles, or unsightly objects. These elements can draw attention away from the group and disrupt the focus of the portrait.

Lighting Optimization for Faces

Balancing the lighting on each face in a group portrait is a key step in character optimization.

Local Exposure Adjustments

Using the brush tool in photo – editing software, you can selectively adjust the exposure of individual faces. For faces that are underexposed, gently increase the exposure to bring out the details in the shadows. Be careful not to overdo it, as this can lead to a loss of contrast and an unnatural look. For overexposed faces, reduce the exposure to recover the highlights and create a more even tone. This targeted approach ensures that each person in the group is properly lit and stands out in the portrait.

Color Correction for Natural Tones

In addition to exposure, color correction is important for achieving natural – looking skin tones. Different lighting conditions can cause skin to appear too warm (yellow) or too cool (blue). By adjusting the white balance locally on each face, you can neutralize these color casts and create a more uniform and flattering appearance. For example, if a face has a yellow tint due to indoor lighting, you can cool it down slightly to match the more natural tones of the other faces in the group.

Highlight and Shadow Enhancement

Enhancing the highlights and shadows on the faces can add depth and dimension to the group portrait. Use the dodge and burn tools to selectively lighten the highlights, such as the tops of the cheeks or the bridge of the nose, to create a sense of volume. Similarly, darken the shadows, like the areas under the chin or around the eyes, to add contrast and make the facial features more defined. This technique helps to make each face in the group look more three – dimensional and lifelike.

Skin Tone and Texture Refinement

Addressing the diverse skin tones and textures in a group portrait requires a delicate touch to ensure that everyone looks their best while maintaining a natural appearance.

Evening Out Skin Tones

To create a more cohesive look in the group, you can use tools like the color balance or selective color adjustments to even out the skin tones. Identify the dominant skin tones in the group and make subtle adjustments to bring the others in line. For example, if most of the group has a warm, olive – toned skin, you can adjust the cooler – toned skin to match more closely, creating a harmonious overall look.

Reducing Blemishes and Imperfections

While it’s important to maintain the natural beauty of each individual, minor blemishes and imperfections can be distracting in a group portrait. Use the spot – healing or clone – stamp tool to gently remove acne, scars, or other small flaws. Be sure to sample from nearby skin areas to ensure a seamless blend and avoid creating an artificial – looking result. For larger imperfections, such as deep wrinkles, you can use the smoothing tool in moderation to soften their appearance without completely erasing them, preserving the character of the person.

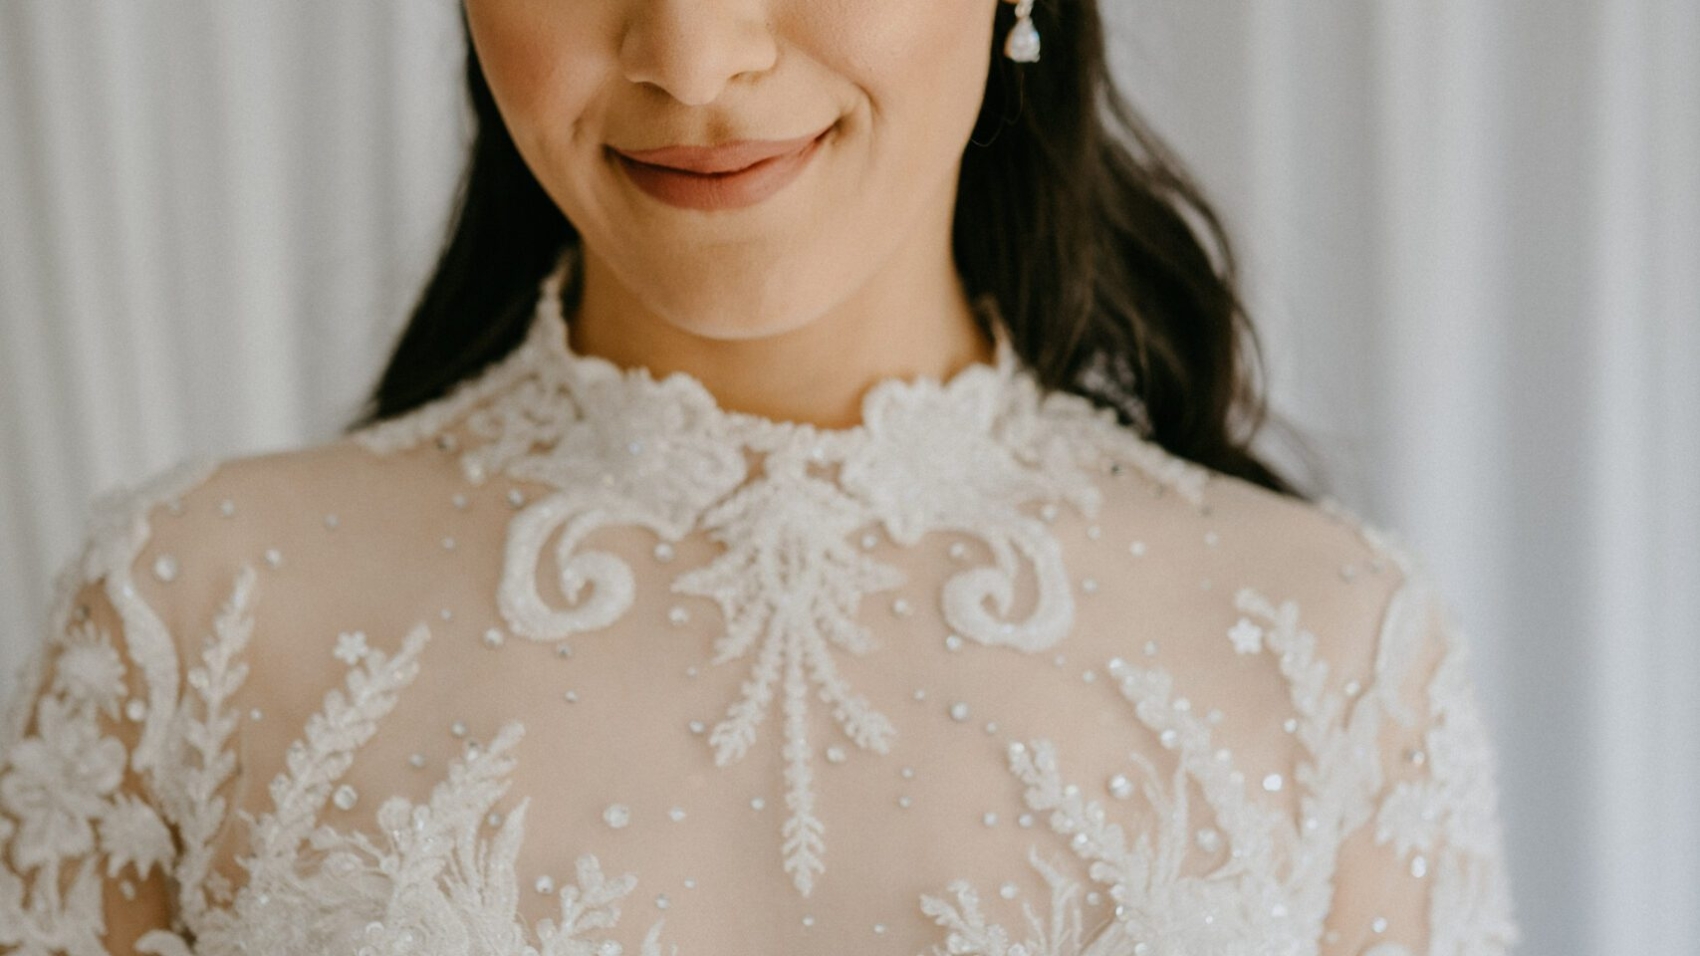
Enhancing Skin Texture

A healthy – looking skin texture can add to the overall appeal of a group portrait. Instead of completely smoothing out the skin, which can make it look plastic, you can use techniques to enhance the natural texture. For example, you can slightly increase the clarity or sharpness of the skin to bring out the fine details, such as the pores or the natural glow. This gives the skin a more realistic and vibrant appearance, making each person in the group look alive and radiant.

Background Distraction Removal

A clean and uncluttered background is essential for keeping the focus on the group in the portrait.

Cloning and Healing for Object Removal

If there are unwanted objects in the background, such as a trash can or a sign, you can use the clone – stamp or spot – healing tool to remove them. These tools allow you to sample from a nearby area of the background and paint over the object, effectively replacing it with the surrounding environment. Take your time to ensure a seamless blend, so that the removed object is not noticeable in the final image.

Blurring the Background

In some cases, even after removing visible distractions, the background may still be too busy or detailed, drawing attention away from the group. You can use a blurring effect, such as Gaussian blur or lens blur, to soften the background. Adjust the intensity of the blur to create a shallow depth of field effect, similar to what you would achieve with a wide – aperture lens. This helps to separate the group from the background and make them the clear focal point of the portrait.

Adding a Vignette

A vignette is a darkening of the edges of the image that can further draw the viewer’s eye towards the center, where the group is located. You can add a subtle vignette to the group portrait to create a sense of focus and intimacy. Adjust the size and strength of the vignette to ensure that it enhances the image without being too distracting. This simple technique can make a significant difference in the overall impact of the group portrait.

By following these steps for lighting optimization, skin tone and texture refinement, and background distraction removal, you can transform ordinary group portraits in Melbourne wedding photography into stunning images that capture the beauty and joy of the special day.

03082-79

Melbourne Wedding Photography: Salvaging Bad Shots for Post-Production Retouching

Rescuing Unusable Shots in Melbourne Wedding Photography through Post – Production Editing

Wedding photography in Melbourne is a blend of capturing the city’s unique charm and the couple’s precious moments. However, not every shot turns out perfect during the shoot. There are often so – called “waste shots” that seem unusable at first glance. But with the right post – production editing techniques, these images can be transformed into stunning keepsakes. Here’s how to go about it.

wedding photography melbourne

Identifying the Issues in Waste Shots

Before diving into the editing process, it’s crucial to accurately identify what makes a shot a waste in the first place. This understanding forms the basis for the appropriate corrective actions.

Poor Lighting Conditions

One of the most common problems in wedding photography, especially in outdoor Melbourne settings, is poor lighting. It could be an overexposed sky that makes the subjects look washed out or an underexposed area where details are lost in the shadows. For instance, if a photo was taken during mid – day under harsh sunlight, the bride’s face might have deep shadows, and the overall image could lack warmth. In indoor venues with inadequate artificial lighting, the images may appear flat and lack contrast.

Unflattering Composition

Composition plays a vital role in the visual appeal of a photograph. A waste shot might have a crooked horizon, making the scene look unbalanced. Or, the main subjects, the bride and groom, could be placed in an awkward position within the frame, drawing attention away from the intended focal point. Additionally, cluttered backgrounds can distract from the couple, turning an otherwise good moment into a less – than – ideal shot.

Focus and Sharpness Problems

Blurry images are a frequent issue in wedding photography. This could be due to camera shake, especially when shooting in low – light conditions without a tripod. Out – of – focus shots, where the wrong part of the image is in sharp focus, are also common. For example, the background might be crystal clear while the couple’s faces are blurred, which completely ruins the intended effect of the photograph.

Correcting Lighting Issues

Once the lighting problems are identified, there are several post – production techniques to fix them and bring the image back to life.

Adjusting Exposure and Contrast

For overexposed images, reducing the exposure in post – production can help recover some of the lost details in the highlights. This can be done using the exposure slider in editing software. At the same time, increasing the contrast can add depth to the image, making it look more three – dimensional. For underexposed photos, increasing the exposure can brighten up the dark areas, but care must be taken not to introduce too much noise. Using the shadows slider to selectively lighten the dark regions can also be effective, preserving the details in the highlights.

Balancing Color Temperature

The color temperature of an image can greatly affect its mood. If a photo has a cold, blue – tinted look due to incorrect white balance settings during the shoot, warming it up can create a more inviting and romantic atmosphere. Conversely, if the image appears too warm and yellow, cooling it down can restore a more natural color balance. Most editing software allows for precise adjustment of color temperature, enabling you to fine – tune the look of the image to match the desired aesthetic.

Enhancing Local Lighting

In some cases, only specific areas of the image need lighting adjustments. For example, if the bride’s face is in shadow while the rest of the image is well – lit, you can use local adjustment tools like the brush or gradient tool to selectively brighten up her face. This allows for more targeted and precise lighting corrections, ensuring that the overall image looks natural and balanced.

Improving Composition and Focus

Even if the initial composition or focus of a shot is less than ideal, post – production offers ways to enhance these aspects.

Cropping and Straightening

Cropping is a simple yet powerful tool for improving composition. By removing unnecessary elements from the edges of the image, you can draw more attention to the main subjects. For example, if there is a distracting object in the background, cropping it out can make the couple stand out more. Straightening the horizon is also essential for creating a balanced and visually pleasing image. Most editing software has an automatic straightening feature or a level tool that makes this process quick and easy.

Refocusing with Sharpening

If an image is slightly out of focus, sharpening techniques can help improve its perceived sharpness. However, it’s important to use sharpening sparingly, as over – sharpening can introduce artifacts and make the image look unnatural. Selective sharpening, where you only apply sharpening to the important parts of the image like the couple’s faces, can be more effective than global sharpening. This helps to emphasize the key elements and make them stand out.

Adding Depth with Vignetting

Vignetting is the darkening of the edges of an image, which can draw the viewer’s eye towards the center. This technique can be used to improve the composition of a shot by creating a sense of focus and depth. You can adjust the strength and radius of the vignette to achieve the desired effect, ensuring that it doesn’t overpower the main subjects but rather enhances the overall visual impact of the image.

By following these steps to identify and correct the issues in waste shots, Melbourne wedding photographers can turn seemingly unusable images into beautiful and memorable photographs that the couple will cherish for a lifetime.

WUU00296

Melbourne Wedding Photography Retouching, Layout Design and Production

Crafting Stunning Layout Designs for Melbourne Wedding Photography Final Prints

When it comes to presenting the cherished memories of a couple’s wedding day in Melbourne, the layout design of the final prints plays a pivotal role. A well – thought – out layout not only enhances the visual appeal of the photographs but also tells a cohesive and engaging story. Here’s how to create captivating layout designs for Melbourne wedding photography final prints.

wedding photography melbourne

Understanding the Essence of Melbourne Weddings

Melbourne is a city known for its unique blend of modernity and old – world charm. Its diverse landscapes, from the iconic Yarra River to the lush gardens and historic buildings, provide a rich backdrop for wedding photography. To create a layout that resonates with the spirit of a Melbourne wedding, it’s crucial to understand the couple’s story and the location’s significance.

Incorporating Local Elements

One way to infuse the layout with Melbourne’s essence is by incorporating local elements. For instance, if the wedding took place near the Royal Botanic Gardens, you could use floral motifs or green hues in the design to echo the natural surroundings. If the ceremony was held in a historic venue, adding subtle architectural details or vintage – inspired fonts can add a touch of elegance and nostalgia. These local elements help to create a sense of place and make the layout more meaningful to the couple.

Reflecting the Couple’s Personality

Every couple is unique, and their wedding layout should reflect their personalities. Consider the couple’s style, interests, and the overall theme of the wedding. If they have a love for art, you could incorporate abstract shapes or brush strokes into the design. For a couple who enjoys the outdoors, using earthy tones and nature – inspired patterns can create a warm and inviting layout. By aligning the design with the couple’s personality, you can create a one – of – a – kind keepsake that truly represents them.

Design Principles for Effective Layouts

Creating an effective layout requires a solid understanding of design principles. These principles help to organize the photographs in a visually pleasing way and guide the viewer’s eye through the story.

Balance and Symmetry

Balance is a fundamental principle in layout design. It involves distributing visual elements evenly across the page to create a sense of stability and harmony. Symmetry, on the other hand, creates a more formal and structured look. You can achieve balance by placing larger or more prominent photographs on one side of the page and smaller, complementary images on the other. Symmetry can be used to create a focal point, such as a central image surrounded by smaller ones in a symmetrical pattern. However, don’t be afraid to break the rules occasionally to add a touch of creativity and spontaneity to the layout.

Hierarchy and Emphasis

Hierarchy helps to establish the importance of different elements in the layout. By using size, color, and placement, you can guide the viewer’s attention to the most significant photographs first. For example, you could use a larger, full – page image as the main focal point of the layout, with smaller images arranged around it to support the story. Emphasis can be created by using contrasting colors or bold fonts to highlight key details, such as the couple’s names or the wedding date. This hierarchy ensures that the viewer can quickly understand the narrative of the wedding and appreciate the most memorable moments.

White Space and Negative Space

White space, also known as negative space, is the empty area around and between the photographs and design elements. It may seem counterintuitive, but white space is an essential part of layout design. It helps to reduce visual clutter, making the layout more readable and aesthetically pleasing. By leaving enough white space around the images, you allow them to breathe and stand out. You can also use white space to create a sense of separation between different sections of the layout, such as the ceremony and reception photos. This helps to organize the content and make it easier for the viewer to follow the story.

Storytelling Through Layout Sequencing

A wedding is a story with a beginning, middle, and end, and the layout should reflect this narrative flow. By sequencing the photographs in a logical and engaging way, you can take the viewer on a journey through the couple’s special day.

Starting with the Pre – Wedding Moments

Begin the layout with pre – wedding moments, such as the bride getting ready or the groom and his groomsmen sharing a laugh. These photos set the tone for the wedding day and give the viewer a glimpse into the couple’s emotions and excitement. You can arrange these images in a collage – style layout to show multiple perspectives at once, creating a sense of anticipation.

Highlighting the Ceremony

The ceremony is the heart of the wedding, and it should be given a prominent place in the layout. Use a combination of close – up shots of the couple exchanging vows and wider shots of the venue and guests to capture the significance of the moment. You can also include photos of the ring exchange, the first kiss, and the couple walking down the aisle together. Arrange these images in a chronological order to tell the story of the ceremony clearly.

Showcasing the Reception and Celebration

After the ceremony, the reception is a time for celebration and joy. Include photos of the couple’s first dance, the cutting of the cake, and the guests having a great time on the dance floor. You can use a more dynamic layout for these images, with overlapping photos or diagonal lines to convey the energy and excitement of the party. Don’t forget to include some candid shots of the couple and their guests laughing and enjoying each other’s company, as these moments often capture the true essence of the wedding.

By following these guidelines for understanding Melbourne weddings, applying design principles, and storytelling through layout sequencing, you can create stunning layout designs for Melbourne wedding photography final prints that will be treasured by the couple for a lifetime.