Melbourne wedding photography – post-production with film-like grain effect
Creating a Timeless Film Grain Aesthetic in Melbourne Wedding Photography Post-Production
Melbourne’s eclectic mix of urban charm and natural beauty provides the perfect backdrop for wedding photography that feels both modern and nostalgic. One way to achieve this is by adding a subtle film grain effect during post-production, which can evoke the warmth and authenticity of analog photography. This technique works especially well for couples who want their images to have a classic, enduring quality. Here’s how to master film grain in wedding photo editing without losing the essence of the moment.
Understanding the Appeal of Film Grain in Wedding Photography
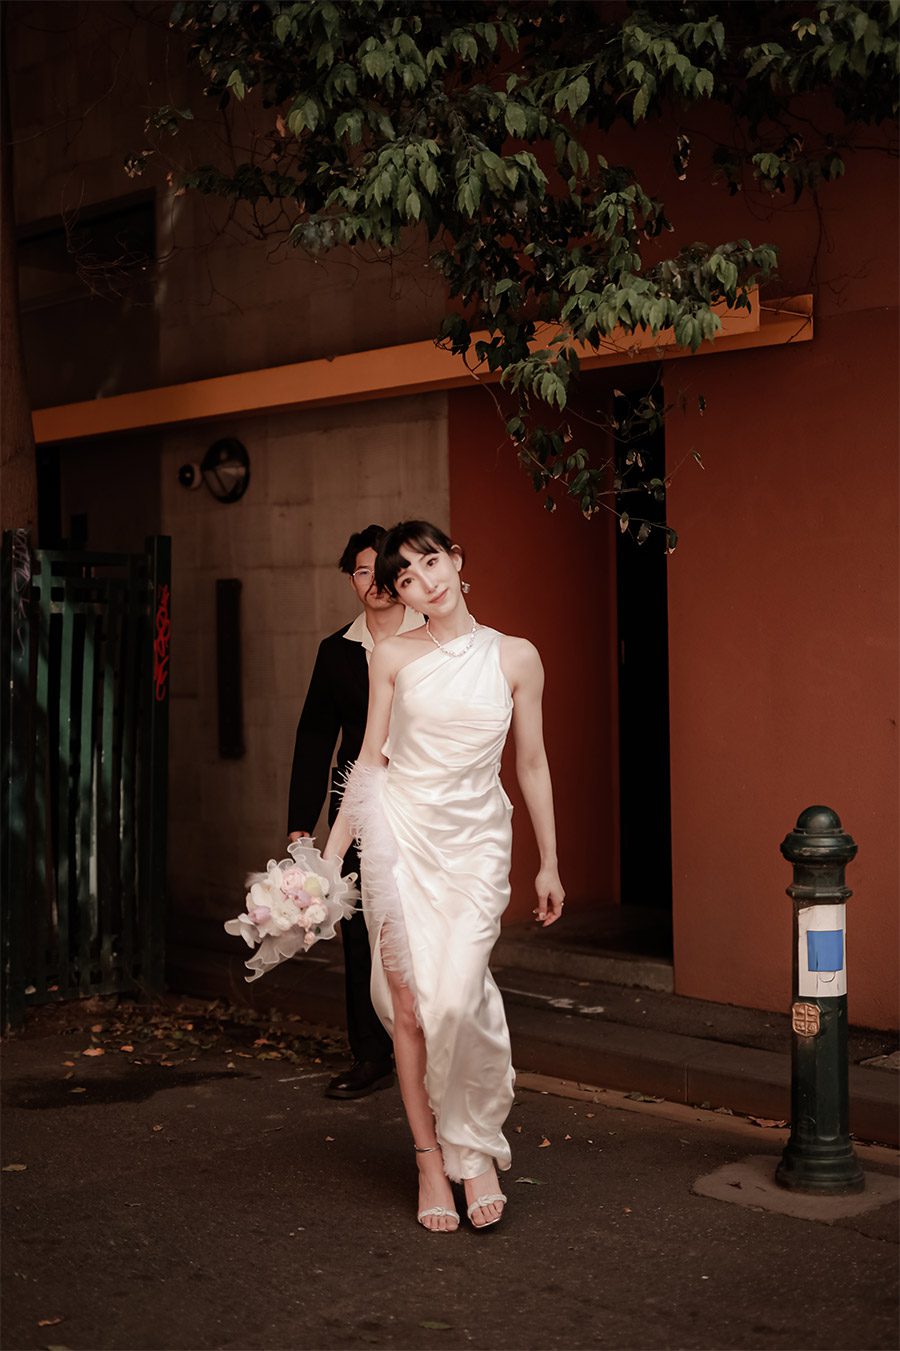
Film grain isn’t just about adding texture—it’s about creating a mood. Unlike digital noise, which often feels harsh or distracting, film grain adds a soft, organic layer that enhances the emotional depth of an image. For Melbourne weddings, this can mean transforming a bright, sunny day at the Royal Botanic Gardens into a dreamy, timeless scene or giving a rainy ceremony at a historic venue like Como House a romantic, moody atmosphere. The key is to use grain sparingly, ensuring it complements rather than overpowers the photo.
When to Use Film Grain
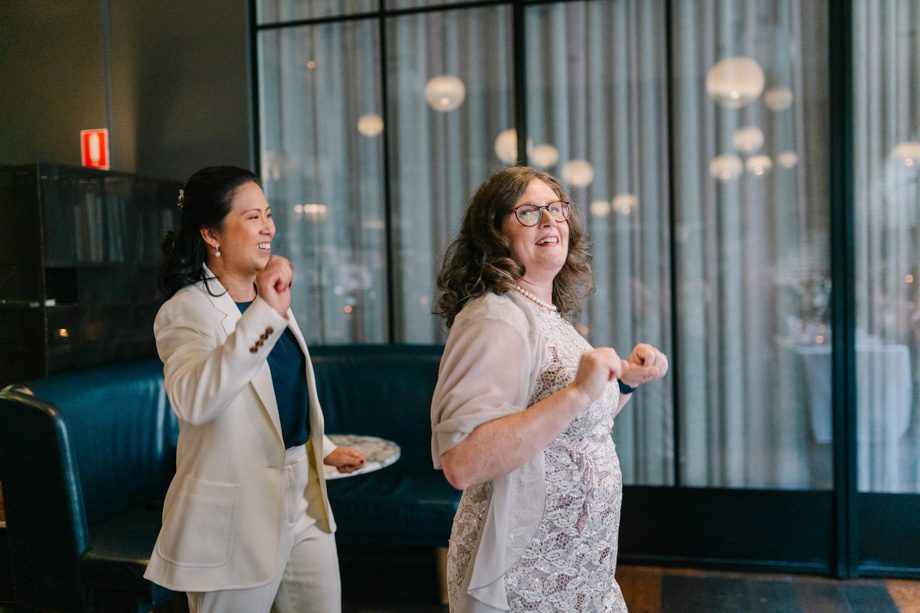
Not every wedding photo needs grain, but certain moments lend themselves beautifully to this effect. Candid shots, such as the couple sharing a laugh during speeches or a quiet moment before the ceremony, often benefit from the added warmth and intimacy. Portraits with soft lighting, like those taken during golden hour at St Kilda Beach, can also take on a magical quality with a light grain overlay. On the other hand, highly detailed images—such as close-ups of the wedding rings or the intricate lace on a dress—might not need grain, as it could obscure important details.
Choosing the Right Type of Grain
Film grain comes in many forms, from fine-grained textures reminiscent of 35mm film to coarser patterns that mimic medium-format or even vintage instant film. The choice depends on the mood you want to convey. For a delicate, romantic feel, opt for a fine, even grain that adds subtle texture without drawing attention to itself. For a more dramatic or retro look, a coarser grain can create a sense of nostalgia or grit. Experiment with different grain patterns to see which one best suits the photo’s lighting, composition, and emotional tone.
Applying Film Grain in Post-Production
Adding film grain is a relatively simple process, but doing it well requires attention to detail and a light touch. Here’s a step-by-step guide to achieving a natural, film-like effect.
Step 1: Start with a Clean Edit
Before adding grain, ensure your photo is properly edited for exposure, color balance, and contrast. Grain works best when applied to an image that already looks polished and balanced. For example, if you’re editing a photo taken during a cloudy day at Brighton Beach Bathing Boxes, first adjust the white balance to remove any bluish tints and brighten the shadows to reveal details in the colorful boxes. Once the colors and tones are accurate, you can move on to adding grain.
Step 2: Add the Grain Layer
Most photo editing software allows you to add grain through a dedicated filter or by creating a new layer with a noise texture. If using a filter, look for options like “grain” or “noise” in the effects panel and adjust the intensity to a low setting—around 5-10% is a good starting point. If creating a noise layer, fill a new layer with 50% gray, then apply the “add noise” filter. Set the layer’s blending mode to “overlay” or “soft light” and reduce the opacity until the grain looks natural.
Step 3: Refine the Grain Distribution
Not all areas of a photo need the same amount of grain. For example, in a portrait of the bride and groom, you might want the grain to be more pronounced in the background to create depth, while keeping the faces smoother to highlight their expressions. Use a layer mask to paint over areas where you want less grain, or adjust the opacity of the grain layer locally using a brush tool. This selective approach ensures the grain enhances the photo without distracting from the main subjects.
Balancing Grain with Other Elements
Film grain is just one part of the equation—it needs to work in harmony with the photo’s lighting, composition, and color palette to create a cohesive look.
Complementing Lighting Conditions
The type of lighting in your photo can influence how grain is perceived. Soft, diffused light—such as that found during golden hour or on an overcast day—pairs well with fine grain, as it adds texture without disrupting the gentle mood. Harsher lighting, like direct sunlight or artificial lights at a reception venue, might call for a slightly coarser grain to balance the contrast and prevent the image from looking too digital.
Enhancing Mood and Atmosphere
Grain can also be used to reinforce the emotional tone of a photo. For a romantic, dreamy feel, combine fine grain with soft focus and muted colors. For a more dramatic or vintage look, pair coarser grain with high contrast and warm tones. In a photo taken during a sunset ceremony at the Yarra River, for example, a light grain overlay with warm color grading can create a warm, nostalgic atmosphere that captures the magic of the moment.
Maintaining Detail and Clarity
While grain adds texture, it’s important not to let it obscure important details. In close-up shots of the wedding rings or the couple’s hands, keep the grain subtle to ensure the intricate details remain visible. You can also use sharpening tools to enhance clarity in key areas before adding grain, ensuring the photo looks polished even with the added texture.
Final Tips for a Natural Film Grain Effect
Achieving a believable film grain aesthetic takes practice, but these tips can help you get started on the right foot.
Use Grain Sparingly
Less is often more when it comes to film grain. Start with a low intensity and gradually increase it until you find the right balance. A heavy-handed approach can make the photo look dated or artificial, while a subtle touch adds timeless charm.
Test Different Grain Patterns
Not all grain is created equal. Experiment with fine, medium, and coarse patterns to see which one best suits the photo’s style and mood. You can even create custom grain textures by scanning real film or using high-resolution grain samples from trusted sources.
View Photos at Different Sizes
Grain can look different depending on how large the photo is displayed. After adding grain, zoom in and out to check how it appears at various sizes. What looks subtle on a small screen might become distracting when enlarged, so adjust accordingly.
By following these guidelines, you can add a beautiful film grain effect to your Melbourne wedding photos that feels authentic, timeless, and emotionally resonant. Whether you’re capturing the energy of a city wedding or the serenity of a coastal ceremony, grain can help turn ordinary moments into extraordinary memories.