wedding photography melbourne

Melbourne wedding photography – Retro veil styling and accessories combination

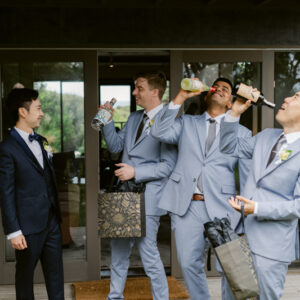
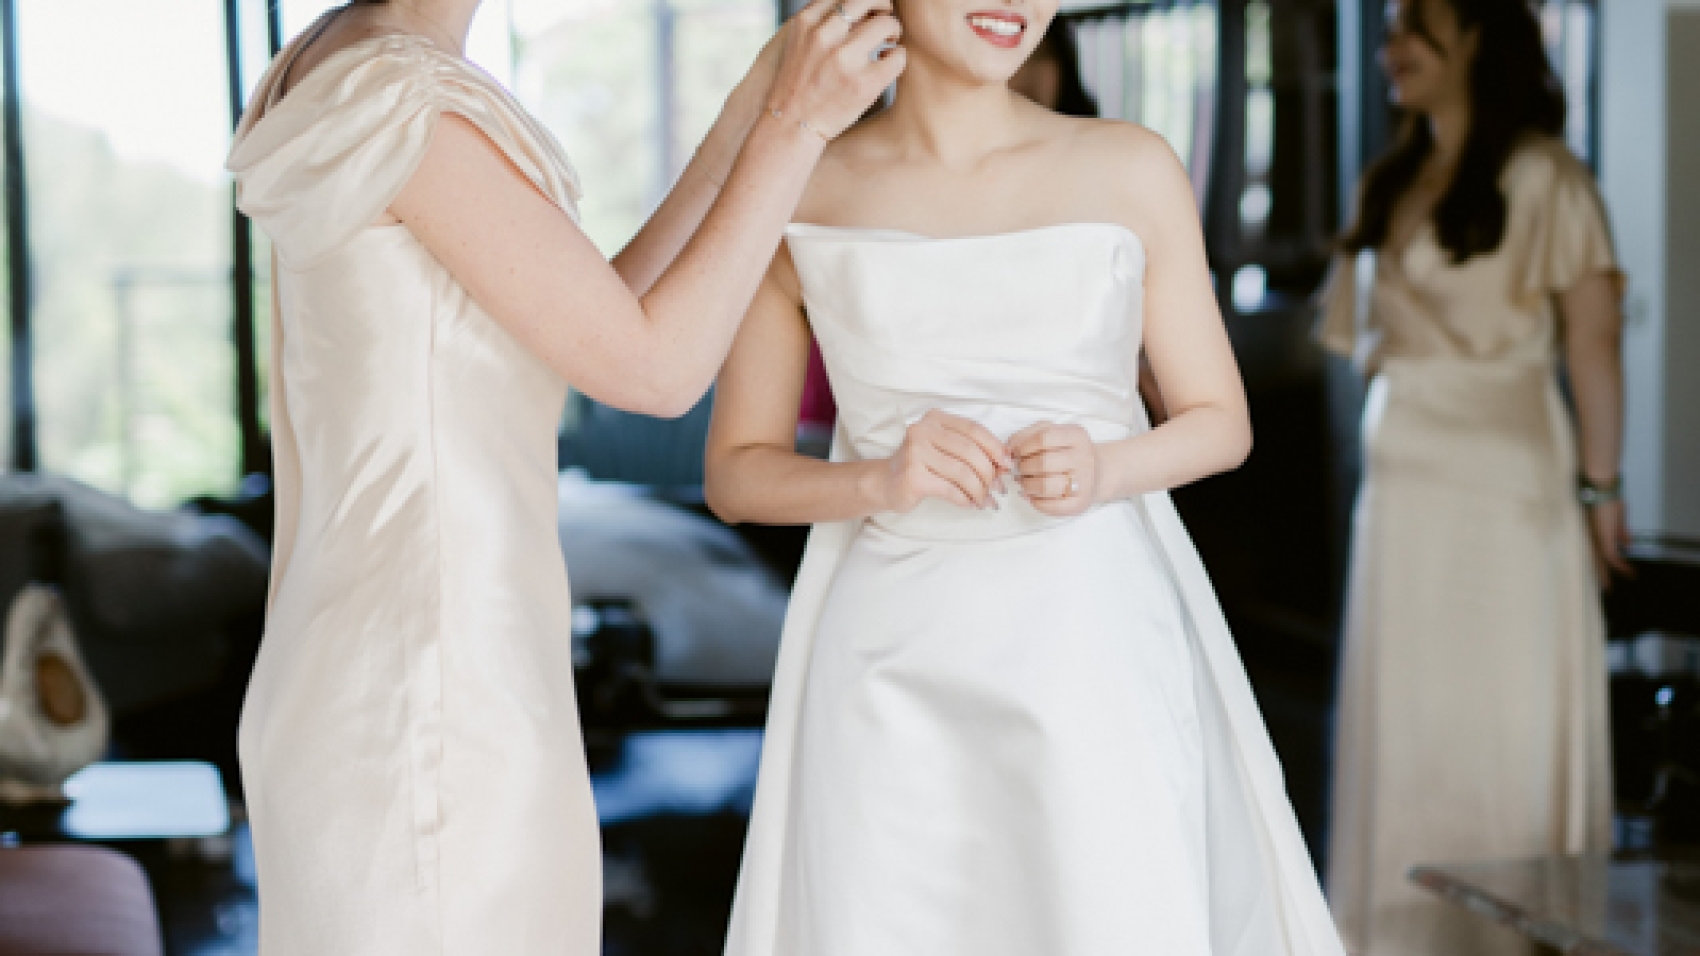
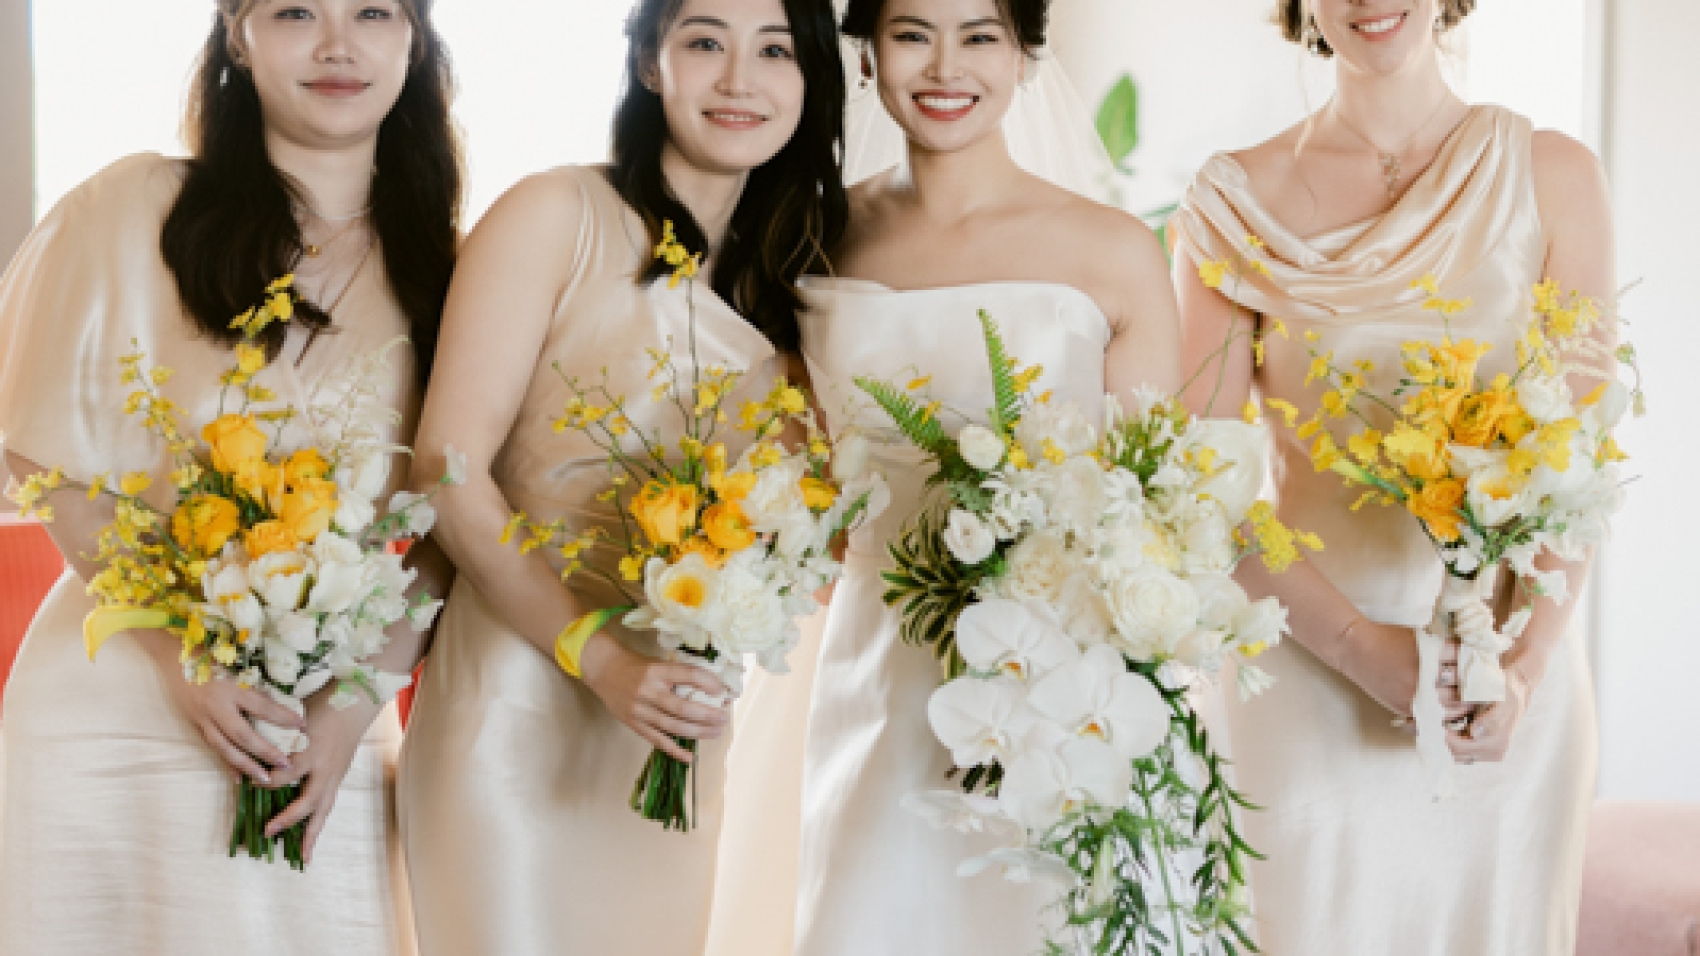
Vintage Veil Styling for Melbourne Wedding Photography: How to Pull Off the Retro Look Without Looking Costume-y

There’s something about a vintage veil that changes everything. It softens the jawline, adds a layer of mystery, and turns a regular wedding portrait into something that looks like it belongs in a film. In Melbourne, where the cityscape mixes old bluestone buildings with modern glass towers, a retro veil doesn’t just work — it thrives.

wedding photography melbourne

But pulling off a vintage veil isn’t as simple as grabbing an old lace piece and pinning it to your hair. The wrong length, the wrong fabric, the wrong placement — and suddenly you look like you’re dressing up for Halloween instead of getting married. Getting it right takes attention to detail, and that’s exactly what separates a timeless photo from a dated one.

Why Vintage Veils Are Having a Moment in Melbourne

The past few years have seen a massive shift away from the cathedral-length, ultra-puffy tulle veils that dominated the 2010s. Couples in Melbourne are moving toward shorter, simpler, more understated veils — the kind that whisper instead of shout.

This trend lines up perfectly with Melbourne’s photography scene. The city favors editorial, natural, and slightly moody aesthetics over the bright, glossy, over-the-top looks you see in other markets. A vintage veil fits that vibe like a glove. It adds texture without overwhelming the image. It creates movement without looking theatrical. And it photographs beautifully in both natural light and the warm glow of Melbourne’s night shoots.

The key word here is “vintage” — not “antique.” There’s a difference. A vintage-style veil is designed to look old but is made with modern materials that hold up better on camera. An actual antique veil from the 1940s might yellow under flash, fray at the edges, and fall apart mid-shoot. Know what you’re working with before you pin it in.

Choosing the Right Veil Length for Your Face Shape and Shoot Style

Veil length is the single biggest decision you’ll make, and it affects everything — how you move, how the photographer shoots you, and how the final image reads.

Fingertip Veils: The Sweet Spot for Most Brides

A fingertip veil — one that falls just past your fingertips when your arms are at your sides — is the most versatile option for Melbourne wedding photography. It’s long enough to create movement in wind and to frame your face in portraits, but short enough that it won’t get caught on things or drag through dirt during outdoor shoots.

This length works especially well in Melbourne’s laneways and urban settings. Hosier Lane, Degraves Street, Centre Place — these locations are tight, busy, and full of visual noise. A long cathedral veil would disappear into the chaos. A fingertip veil adds just enough softness to balance the grittiness without getting lost.

For outdoor garden shoots at the Royal Botanic Gardens or Carlton Gardens, a fingertip veil catches the breeze beautifully. It flutters just enough to add motion to the photo without covering your entire body.

Elbow-Length Veils: The Drama Option

If you want more presence, an elbow-length veil is the way to go. This is the length that screams old Hollywood — think Grace Kelly, think Audrey Hepburn. It creates a longer silhouette and adds a sense of grandeur to every shot.

But here’s the thing: elbow-length veils demand space. They need room to move, room to flow, and room to be seen. Shooting one in a cramped Melbourne laneway will look cluttered. Shooting one in a wide-open garden or along the Yarra River waterfront? Absolutely stunning.

This length also works incredibly well for night photography. The veil catches city light — street lamps, neon reflections, the glow from the river — and creates a halo effect that’s almost impossible to achieve with a shorter veil.

Birdcage Veils: The Bold Choice

A birdcage veil covers just the face — sometimes just the eyes — and stops above the chin. It’s the most daring option, and it’s not for everyone. But when it works, it works hard.

In Melbourne, birdcage veils have become a favorite for couples doing urban or edgy shoots. They add a vintage edge without the romantic softness of a longer veil. Paired with a modern dress and bold makeup, a birdcage veil creates a look that feels intentionally retro — not accidentally old-fashioned.

The downside: birdcage veils are unforgiving. They sit right on your face, so your makeup needs to be flawless. Any smudge, any uneven contour, and the veil highlights it. They also don’t photograph well in wind — they shift constantly and can end up covering one eye in every other shot.

Fabric Matters More Than You Think

A veil is only as good as its fabric. The material determines how it moves, how it catches light, and how it photographs — especially in Melbourne’s mix of harsh sun, soft overcast, and dramatic night lighting.

Lace vs. Tulle vs. Silk: What Photographs Best

Lace is the classic vintage choice, and for good reason. It has texture, it has pattern, and it creates beautiful shadows on the face in side-lit shots. But not all lace is equal. Heavy, thick lace can look bulky on camera and flatten your features. Fine, delicate lace — the kind with small floral motifs — photographs much better because it lets light pass through and creates a soft, diffused glow.

Tulle is lighter and more airy. It moves beautifully in wind and creates a dreamy, ethereal look that works perfectly for outdoor Melbourne shoots. The problem? Tulle can look cheap on camera if it’s too shiny or too stiff. Matte tulle is always the better choice. It diffuses light naturally and doesn’t create harsh reflections under flash.

Silk veils are the underrated option. They have a subtle sheen that catches light in a way that lace and tulle can’t. In night photography, a silk veil picks up ambient city light and creates a luminous effect that’s genuinely cinematic. The downside is that silk wrinkles easily and needs to be steamed right before the shoot.

Edge Details That Make or Break the Photo

The edge of the veil matters more than most brides realize. A raw, cut edge looks modern and minimal. A scalloped lace edge looks romantic and vintage. A beaded or embroidered edge adds sparkle and weight.

For Melbourne wedding photography, the edge you choose should match the overall vibe of the shoot. A raw edge works for urban, editorial shoots in the CBD or laneways. A scalloped lace edge is perfect for garden or waterfront locations. A beaded edge shines in night photography where it catches every point of light.

Avoid heavy beadwork on a long veil. The weight pulls the fabric down, creates uneven draping, and can actually distort the shape of your head in photos. If you want sparkle, keep it to the edges — not the entire surface.

How to Style a Vintage Veil With Modern Hair

The veil and the hairstyle need to work together, not against each other. This is where most couples go wrong. They pick a gorgeous veil and then pair it with a hairstyle that either hides it completely or fights with it.

Updos That Let the Veil Shine

A vintage veil looks best when your hair is pulled back and out of the way. A low chignon, a soft French twist, or a slicked-back bun all work beautifully because they give the veil room to drape without competing with loose strands.

For Melbourne’s windy conditions, an updo is also the practical choice. A down hairstyle with a long veil will turn into a tangled mess in minutes. Pin the veil close to the crown of your head — not the back — so it falls forward over your face. This creates a framing effect that photographs incredibly well from every angle.

If you want a half-up style, keep the veil attached at the back of the head and let it fall behind your shoulders. This works for shorter veils but can look awkward with longer ones because the fabric bunches where it meets the hair.

Loose Hair With a Veil: When It Works and When It Doesn’t

Some brides want to wear their hair down with a vintage veil. It can look stunning — think bohemian, think 1970s, think effortless romance. But it only works if the veil is short.

A fingertip or birdcage veil with loose hair creates a beautiful layered look. The veil adds structure while the hair adds softness. But a cathedral-length veil with loose hair? It tangles, it hides your face, and it looks messy in every photo.

For Melbourne outdoor shoots, if you’re going with loose hair, choose a shorter veil and use bobby pins to secure the veil at multiple points along the hairline. This keeps it in place without creating visible pins that show up in close-up shots.

Night Photography and the Vintage Veil

Melbourne’s night shoots are some of the most popular in the country, and a vintage veil transforms completely after dark. During the day, it’s a soft accessory. At night, it becomes a lighting tool.

How Veils Behave Under Artificial Light

Street lamps, neon signs, car headlights — Melbourne’s night light is warm, directional, and dramatic. A vintage veil catches this light in ways that daylight never could. The fabric glows. The lace pattern creates shadows on your face. The edges pick up rim light and separate you from the background.

The best veils for night shoots are sheer or semi-sheer. A heavy opaque veil blocks light and looks flat under flash. A sheer veil lets light pass through, creating a diffused glow around your face that’s incredibly flattering.

Pairing the Veil With Night Makeup

Night makeup for a vintage veil look is different from daytime. You need more contrast, more definition, because the veil softens everything. Stronger eyeliner, bolder lips, more contouring — these compensate for the diffusing effect of the veil and make sure your features still read on camera.

Avoid matte foundation at night. Dewy or luminous foundation works better because it catches the same light that the veil catches, creating a cohesive glow across the entire image.

Common Mistakes That Ruin the Vintage Veil Look

The veil is too far back on the head. This is the most common mistake. When the veil sits at the back of the crown, it falls behind you in every photo and you might as well not be wearing one. Place it forward — right at the hairline or just behind it — so it frames your face from the front.

The veil doesn’t match the dress era. A 1920s-style beaded veil with a 1950s ballgown creates visual confusion. Pick a veil style that matches the decade or aesthetic of your dress. If you’re unsure, go with a simple fingertip lace veil — it works with literally everything.

Forgetting about wind. Melbourne is windy. A veil that looks perfect indoors will flip inside out the second you step outside. Practice walking with the veil before the shoot. Get used to how it moves. Have someone hold the edge during still shots. And always have a backup pin ready.

The veil is wrinkled. This sounds obvious, but it happens more than you’d think. A vintage veil that’s been sitting in a box for months will have creases that show up in every photo. Steam it the morning of the shoot, not the night before. Steam removes wrinkles without damaging delicate fabrics, and it takes about ten minutes.

Matching the Veil to Melbourne’s Iconic Backdrops

Different locations in Melbourne call for different veil styles. Getting this right makes the photos feel intentional rather than random.

Bluestone Buildings and Heritage Venues

Melbourne’s bluestone lanes — Fitzroy, Collingwood, Carlton — have a warm, textured quality that pairs beautifully with lace veils. The rough stone contrasts with the delicate fabric, creating a visual tension that photographs incredibly well. A mid-length lace veil with a scalloped edge is the ideal match here.

Waterfront and Garden Settings

The Yarra River, St Kilda, Brighton Beach, the Botanic Gardens — these locations are soft, open, and full of natural light. A tulle veil in fingertip or elbow length catches the breeze and creates movement that feels organic. Avoid heavy lace here — it looks too formal against the casual, natural backdrop.

Laneways and Urban Night Shoots

Hosier Lane, AC/DC Lane, Degraves Street at night — these are edgy, colorful, and full of artificial light. A birdcage veil or a short lace veil with raw edges works best. It adds vintage charm without overpowering the urban grit. Long veils get lost in these tight spaces and create visual clutter.

DSC06184

Melbourne wedding photography – Light wedding dress styling and matching

Light Wedding Dress Styling for Melbourne Photoshoots: How to Nail the Effortless Look

The traditional white gown is beautiful, but it’s not the only way to look stunning on your wedding day. Light wedding dresses — think flowing chiffon, delicate lace, shorter hemlines, and softer silhouettes — have taken over Melbourne’s photography scene for good reason. They move better in the wind, they photograph beautifully in natural light, and they let your personality show through instead of hiding behind layers of tulle.

wedding photography melbourne

But here’s the catch: a light dress only works if the styling around it is right. The wrong shoes, the wrong hair, the wrong accessory — and the whole look falls apart. Getting the balance right is what separates a casual-chic wedding photo from a messy one.

What Makes a Light Wedding Dress Work for Photography

Not every “light” dress photographs the same way. The fabric, the cut, and the color all play a role in how the image turns out — especially in Melbourne’s mix of urban backdrops and natural landscapes.

Fabric Choices That Photograph Beautifully

Chiffon and crepe are the go-to fabrics for light wedding dresses, and for good reason. They drape naturally, they catch the wind without looking stiff, and they create movement in photos that static fabrics like satin simply can’t match.

Lace works too, but it’s trickier. Heavy lace can look busy on camera, especially in close-up shots. Delicate, sheer lace with a solid lining underneath gives you the texture without the visual noise. Tulle is another popular choice, but it tends to poof up in ways that don’t always photograph well — unless you’re going for a very specific fairy-tale look.

For Melbourne’s often windy conditions, fabrics with some weight to them are smarter than ultra-light options. A breeze that looks romantic in person can turn into a wardrobe malfunction on camera if the dress is too flimsy.

Color Trends That Stand Out in Melbourne Settings

White is still the most popular, but it’s no longer the only option. Ivory, champagne, blush pink, and even soft sage green are showing up more and more in Melbourne wedding shoots — and they photograph incredibly well against the city’s backdrop.

The Royal Botanic Gardens, with all that green, makes a blush or sage dress pop in a way that white sometimes doesn’t. The bluestone buildings of the CBD create a warm contrast against champagne tones. And at night, near the Yarra River or in the laneways, a soft pink dress catches the ambient light in a way that feels almost cinematic.

The key rule: avoid pure white if you’re shooting in bright midday sun. It blows out on camera and loses all detail. Off-white and ivory tones hold up better in harsh light and give the photos a warmer, more editorial feel.

Styling the Look: Hair, Shoes, and Accessories

The dress is only half the equation. How you style everything around it determines whether the photos look cohesive or like you threw things together five minutes before the shoot.

Hair That Complements a Lighter Dress

With a light wedding dress, the hair should feel equally effortless. Tight updos can look too formal and clash with the casual vibe of the dress. Loose waves, a soft low bun, or even half-up half-down styles work much better.

For outdoor shoots in Melbourne — think the Botanic Gardens, Brighton Beach, or Fitzroy Gardens — wind is a factor. Hair that’s too polished will get destroyed in minutes. A loose, textured style not only survives the wind but actually looks better when it moves.

If you’re doing a night shoot, consider adding a hair accessory that catches light. A crystal pin, a delicate chain, or even small fresh flowers will show up beautifully in flash photography and give the image a focal point.

Shoes That Match the Mood

This is where most couples make a mistake. They pick a gorgeous light dress and then pair it with strappy heels that sink into the grass. For Melbourne wedding photography, your shoes need to work with the location.

For garden or park shoots, flat sandals or low block heels are the move. They keep you stable on uneven ground, they won’t leave footprints in the dirt, and they photograph just as well as heels — sometimes better, because your legs look longer when you’re not teetering.

For urban shoots in the CBD or laneways, a low heel or even a clean white sneaker can work surprisingly well. The contrast between a delicate dress and casual shoes creates an editorial look that’s very popular in Melbourne right now. Just make sure the shoes are clean and in good condition — scuffed sneakers ruin the shot.

Location-Based Outfit Pairing for Melbourne

Melbourne’s diversity is one of its biggest advantages for wedding photography. But each location demands a slightly different approach to your light dress styling.

Urban Laneways and Street Shoots

Hosier Lane, Degraves Street, Centre Place — Melbourne’s laneways are iconic, but they’re also gritty. A flowy light dress can get lost against the busy walls if the styling isn’t intentional.

Keep accessories minimal. One statement earring. A simple clutch. Let the dress be the star. Avoid anything too bohemian — it clashes with the urban edge of the laneways. A more structured light dress with clean lines works better here than a super flowy, romantic one.

Footwear matters most in the laneways. The ground is uneven, often wet, and covered in paint. Closed-toe shoes are safer, and a shorter hemline — just above the ankle — keeps the dress from dragging through puddles.

Waterfront and Garden Locations

The Yarra River, St Kilda Pier, Royal Botanic Gardens, Carlton Gardens — these locations call for a softer, more romantic styling approach.

Longer hemlines work beautifully here, especially in wide shots where the dress interacts with the environment. A train that trails behind you on the grass or along the waterfront creates a stunning silhouette. But make sure someone is holding the train during the shoot, or it’ll end up in every single frame.

For these locations, bare feet or simple flat sandals photograph incredibly well. The natural, relaxed vibe matches the setting, and you avoid the awkward “heel stuck in mud” shots that plague outdoor shoots.

Night Shoots and City Lights

A light dress at night behaves completely differently than during the day. The fabric picks up ambient light — street lamps, neon signs, car headlights — and creates a glow that’s hard to replicate.

For night shoots, go with fabrics that have some sheen. Satin, silk, or a dress with subtle sequins will catch the city light and make you stand out against the dark background. Matte fabrics tend to disappear at night.

Accessories should sparkle. Crystal earrings, a beaded headpiece, a clutch with metallic detail — anything that reflects light will add dimension to the photos. Keep the rest simple. Too many shiny elements compete with each other on camera.

Working With Your Partner’s Look

Your light dress doesn’t exist in a vacuum. How your partner dresses affects how your photos look together, and getting this right takes more thought than most couples realize.

Matching Without Matching

The old rule was that the couple should coordinate colors. That still works, but it doesn’t have to be literal. If you’re in a blush dress, your partner doesn’t need a blush tie. A neutral suit — charcoal, navy, or even a light grey — creates a softer contrast that photographs more cleanly.

Avoid both of you wearing white. It looks washed out in photos, especially outdoors. One person in white and the other in a darker tone creates depth and makes both of you stand out.

Groom’s Styling for a Casual Bride

If you’re going the light dress route, your partner’s outfit should lean slightly more relaxed too. A full three-piece suit with a stiff collar can feel too formal next to a flowy, casual dress. A two-piece suit with an open collar, no tie, or even a linen blazer over a simple shirt creates a visual balance that feels intentional rather than mismatched.

In Melbourne’s summer weddings, linen is your best friend. It photographs well, it’s comfortable in the heat, and it has a texture that looks great in close-up shots. Avoid shiny synthetic fabrics — they reflect flash harshly and look cheap on camera.

Common Styling Mistakes to Avoid

Even with a beautiful light dress, a few styling missteps can tank your photos.

Over-accessorizing is the number one problem. One or two statement pieces max. Everything else should stay simple. The camera should land on you, not on a dozen competing details.

Wearing the wrong undergarments is another silent killer. Visible bra straps, bunched fabric, awkward lines — these show up in every photo, especially in back shots and side angles. Get a dress fitted properly with the right undergarments before the shoot, not during.

And finally, ignoring the weather. Melbourne’s weather can shift in an hour. If it’s windy, don’t wear a dress with a massive train. If it’s going to rain, a light chiffon dress will cling to your body in ways that aren’t flattering. Check the forecast, plan your outfit around it, and bring a backup layer — even if it’s just a simple wrap that photographs well when draped over the shoulders.

wedding photography melbourne

Melbourne wedding photography: High-quality shooting results delivered in multiple formats

Melbourne Wedding Photography Delivery: What You Actually Get and Why Format Matters

You spent months picking the venue, the flowers, the dress. The photos are done, they look incredible, and then you get a hard drive in the mail. Or maybe a link to a gallery. Or a box of prints. But what exactly should you expect when your Melbourne wedding photos are delivered? And more importantly, which formats actually matter for how you’ll use those images in ten, twenty, thirty years?

wedding photography melbourne

The delivery process is one of the most overlooked parts of wedding photography. Couples focus so hard on the shoot itself that they forget to ask what comes after. That’s a mistake. Because the format your photos are delivered in determines how long they last, how they look on your wall, and whether your kids will ever actually see them.

What Multi-Format Delivery Actually Means

When photographers talk about multi-format delivery, they’re not just handing you a folder of JPEGs. A proper delivery package covers multiple use cases — digital files for sharing, print-ready files for albums and canvases, and sometimes even video or slideshow formats. Each serves a completely different purpose, and skipping any of them means losing something.

Digital Files: The Foundation of Everything

Every delivery should start with high-resolution digital files. These are the originals — usually in JPEG and sometimes RAW — that give you the freedom to do whatever you want with the images. Print them yourself. Share them on social media. Send them to family overseas.

The resolution matters more than people think. A standard JPEG from a camera is fine for Instagram, but if you want to print a 24×36 inch canvas or a double-page album spread, you need files with enough pixel density to hold up at that size. Most Melbourne wedding photographers deliver files in the 300 DPI range for print work, which is the minimum you should accept.

File organization also matters. A messy folder with 800 unnamed images is useless. A well-structured delivery separates the images by category — ceremony, reception, portraits, details — and uses consistent naming. It saves hours of sorting later.

Print-Ready Files for Albums and Wall Art

Digital files are great, but they don’t hang on your wall. For that, you need print-ready files — images that have been color-corrected, cropped, and resized specifically for print.

This is where most couples get confused. A photo that looks perfect on a phone screen can look completely different when printed. Colors shift. Contrast drops. Skin tones go muddy. Print-ready files are pre-adjusted for the specific medium — whether that’s a matte album page, a glossy canvas, or a metal print.

In Melbourne, many couples opt for large-format prints of their favorite shots. A single image blown up to 40×60 inches needs a file that’s been prepared with exact bleed and crop marks. Without that, the print will look amateur no matter how good the original photo was.

Why One Format Is Never Enough

Relying on a single delivery format is like keeping all your eggs in one basket. Hard drives fail. Cloud links expire. Prints fade. The whole point of multi-format delivery is redundancy — making sure your photos survive no matter what happens.

Online Gallery: The Easy Sharing Option

Almost every Melbourne wedding photographer includes an online gallery as part of the delivery. This is the fastest way to share photos with family, especially guests who weren’t at the wedding. Parents overseas, friends in other states, cousins who couldn’t make it — they all get a link and can browse at their own pace.

Galleries also let you download individual images, which is handy for social media posts or sending to a printer. But here’s the catch: galleries expire. Most are set to go offline after 30 to 90 days. If you don’t download your favorites before that window closes, they’re gone. Always grab the high-res files first, then use the gallery for quick sharing.

Slideshow and Video Formats: The Emotional Layer

Photos tell a story. But a slideshow set to music tells it faster. Many Melbourne wedding photographers now include a video slideshow or a short cinematic film as part of the delivery. These aren’t replacements for the photos — they’re a complement.

A 3-to-5-minute highlight reel gives you something you can play at anniversaries, send to relatives, or post online without sifting through 500 images. It captures the energy of the day in a way that static photos can’t. The laughter, the dancing, the tearful vows — it all comes alive in motion.

Some teams also deliver a full-length edited film, not just a highlight reel. This runs 15 to 30 minutes and covers the entire day from start to finish. It’s the closest thing to reliving the wedding, and it’s becoming a standard expectation in Melbourne.

Print Products: What’s Worth Ordering and What’s Not

Not every print product is worth the investment. Here’s how to think about it.

The Album: Still the Most Important Print Product

Despite everything going digital, a wedding album remains the one thing couples actually treasure. It’s physical. It’s tangible. You can hold it, pass it around, and hand it to your kids someday.

Melbourne couples tend to favor lay-flat albums with thick pages — the kind that open completely flat so the image spans both sides without a gap in the middle. This format works best for wide shots of venues like the Royal Botanic Gardens or the Yarra River waterfront, where you want the full scene visible.

A good album should have between 40 and 60 spreads. More than that and it becomes a slog to flip through. Less than that and you’re missing too many moments. The sequencing matters too — it should follow the day chronologically, not just group similar shots together.

Canvas and Wall Art: Pick Your Best Single Images

Canvas prints are popular in Melbourne for a reason. They’re affordable, they look modern, and they make a statement. But the mistake most couples make is printing too many. One or two large canvases of your absolute favorite shots will always look better than five mediocre ones crowding the wall.

For wall art, go with images that have strong composition and don’t rely on context. A close-up of intertwined hands works. A wide shot of a crowded dance floor does not — it looks flat and confusing without the story behind it.

Metal prints are another option gaining traction in Melbourne. They have a sleek, contemporary look that works well in modern apartments and lofts. The colors pop more than on canvas, and they don’t fade as quickly under UV light. If your home gets a lot of sun, metal prints are the safer bet.

How to Organize Your Delivery Like a Pro

Getting the files is only half the battle. If you don’t organize them properly, you’ll lose track of everything within a year.

Naming Conventions That Actually Work

When you receive your files, rename them immediately. Don’t leave them as DSC_0047.jpg. Use a system that makes sense: YYYY-MM-DD_Ceremony_001, YYYY-MM-DD_Reception_015, and so on. This way, when you search for a specific moment five years from now, you’ll actually find it.

Create folders by category and by date. One master folder for the wedding, subfolders for each segment of the day. Back everything up in at least two places — an external hard drive and a cloud service. Hard drives die. Clouds get hacked. Two backups means you’re covered either way.

What to Do With Files You Don’t Use Right Away

Most couples get 400 to 800 images from a full Melbourne wedding day. You’ll post maybe 50 on social media. You’ll print 20. The rest? They sit on a hard drive and never get seen.

Don’t let that happen. Set a reminder for six months after the wedding to go through the full gallery and pick your favorites for a second album or a parent album. Many couples do a smaller, more affordable album specifically for their parents — just 20 to 30 pages of the moments that mattered most to the family. It’s one of the best gifts you can give, and it uses photos that would otherwise sit forgotten.

The Format Question Nobody Asks Until It’s Too Late

Here’s the thing most couples don’t think about until after the wedding: file formats degrade. JPEGs compress every time you save them. Hard drives fail without warning. Cloud services change their terms and delete old content.

The safest long-term strategy is this: keep your original high-res files in at least two physical locations, convert a set of prints or a metal print for display, and order an album within the first year while the memories are still sharp. Don’t wait five years and wonder where everything went.

Melbourne wedding photographers who deliver in multiple formats aren’t just being thorough — they’re thinking about how you’ll actually use these images for the rest of your life. The shoot captures the day. The delivery makes sure you never lose it.