Melbourne Wedding Photography Retouching Techniques for Natural Color Adjustment
Melbourne Wedding Photo Retouching – Natural Color Grading Techniques That Actually Work
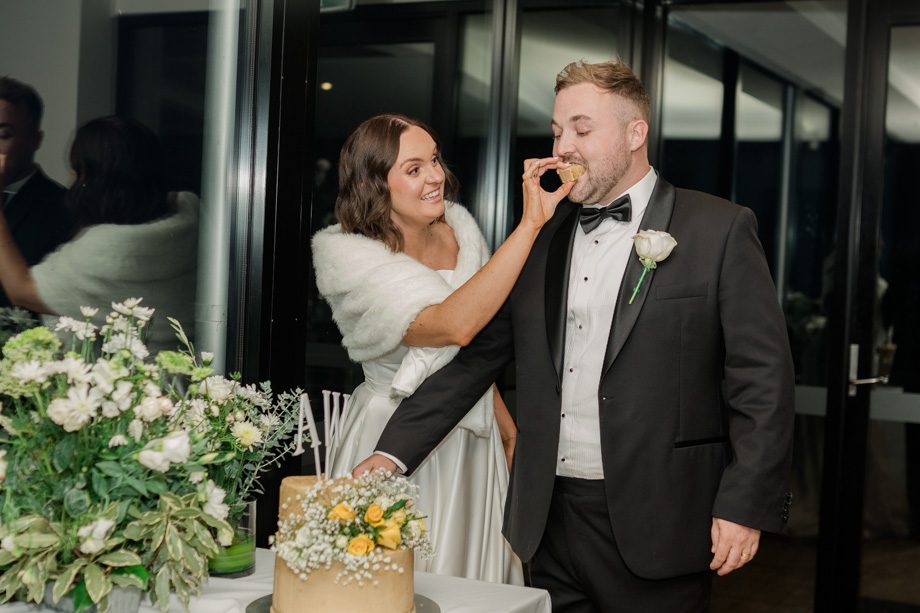
There is a fine line between a retouched wedding photo and an over-edited one. Most couples in Melbourne have seen both. The first kind makes you feel something. The second kind makes you squint. Natural color grading is not about doing less. It is about doing the right things in the right order so the final image still looks like the day it was shot.

Melbourne light is tricky. It shifts from warm gold in the afternoon to steel blue in winter to harsh white in summer. A retouching workflow that works in Sydney will fall apart here. You need techniques built for Melbourne's unpredictable skies, moody overcast days, and that signature golden hour that hits different depending on which suburb you are standing in.
Why Natural Grading Beats Heavy Filters Every Time
The trend a few years back was to slap a heavy filter on everything and call it a style. That is over. Clients in Melbourne now want photos that look like their actual wedding day, just better. Skin should look like skin. The sky should look like the sky they remember. The dress should still be the color they chose.
Natural grading respects the original capture. It fixes what needs fixing without rewriting the whole image. And here is the thing most people do not realize. A well-graded natural photo ages better than a heavily filtered one. Open that album in twenty years and the natural edit will still feel right. The filtered one will look dated before the ink dries.
The Difference Between Correction and Manipulation
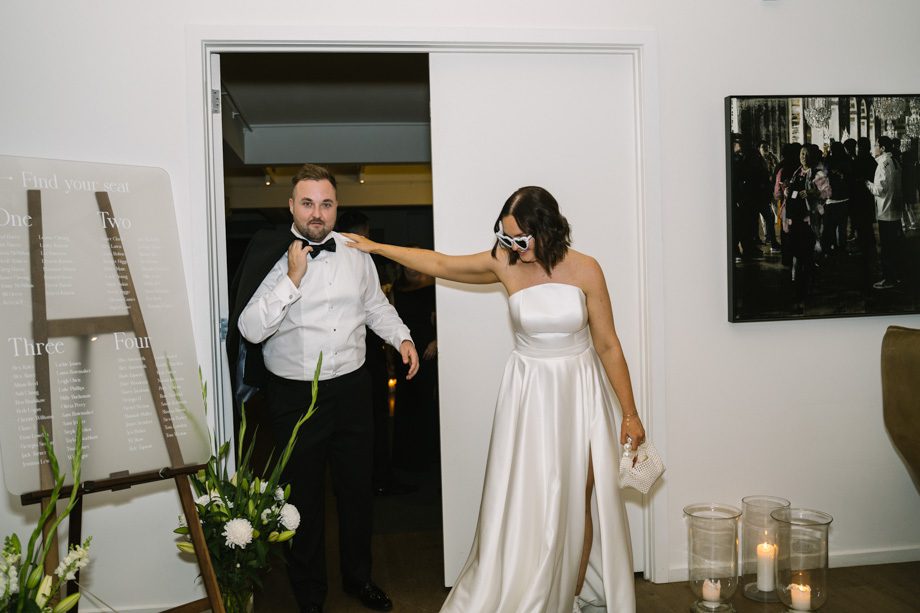
Correction is adjusting exposure so the bride's face is not washed out. Manipulation is changing her skin from warm to cool just because a preset told you to. Correction is removing a stray wire from the background. Manipulation is replacing the entire sky because the original was cloudy.
The best Melbourne wedding photographers and retouchers understand this boundary. They use color grading to enhance mood, not to fabricate one. If the day was moody and grey, the edit should feel moody and grey, just cleaner. If the day was bright and warm, the edit should glow, not turn orange.
The Step-by-Step Workflow for Natural Melbourne Wedding Grading
Do not open Photoshop and start painting. That is how you end up with plastic skin and teal shadows. Follow a structured workflow and the results will be consistent every single time.
Start in Camera Raw or Lightroom – Do Not Skip This
The foundation of any natural edit happens before you ever touch Photoshop. Open the RAW file in Camera Raw or Lightroom and set your white balance first. Melbourne's mixed lighting — sun plus cloud plus bounce from buildings — means auto white balance will fail you every time. Set it manually based on the skin tones, not the background.
Then adjust exposure, highlights, and shadows to get a balanced image. Pull back highlights so the wedding dress retains detail. Lift the shadows just enough to see the groom's face without making the image look flat. Do your color grading here too. Push the temperature slightly warm for autumn shoots. Pull it slightly cool for winter shoots. Keep saturation low. You are building a neutral base, not a finished image.
Export a TIFF, not a JPEG. You need every bit of data for what comes next.
Skin Toning – The Part That Makes or Breaks the Photo
Skin is where most retouching goes wrong. The instinct is to smooth everything out. Resist that. Real skin has texture. Pores, fine lines, slight unevenness — that is what makes a photo look alive.
Use frequency separation or the高低频 technique to smooth tone without destroying texture. The high frequency layer holds all the detail. The low frequency layer holds all the color and tone. Work on the low frequency layer to even out skin tone, then paint back detail on the high frequency layer where you need it. This gives you smooth skin that still looks like skin.
For Melbourne's tricky light, skin often picks up color casts from the environment. A winter shoot near the Yarra will throw blue onto faces. A summer shoot in the Royal Botanic Gardens will push green. Use the color mixer or HSL sliders to neutralize these casts. Reduce blue in the shadows if the photo feels too cool. Add a touch of warmth to the midtones if the skin looks sallow. But never overcorrect. A slight cast is better than skin that looks painted.
Color Grading With Curves – Not Presets
Presets are a starting point, not a destination. If you use a preset, dial it back to about fifty percent and then adjust from there. The real power comes from curves.
Open the curves adjustment layer and work on each channel separately. In the red channel, lift the bottom of the curve slightly to add warmth to the shadows. In the blue channel, push the top of the curve down a little to cool the highlights. This creates a subtle warm-to-cool split tone that mimics how film renders color. It is the single most effective natural grading technique in wedding photography.
For Melbourne's overcast days, push the blue channel up in the midtones to bring back some of that moody atmosphere. For golden hour shots, keep the warm tones dominant and let the shadows stay slightly cool. The contrast between warm and cool is what gives the image depth without looking processed.
Handling Melbourne's Specific Lighting Challenges
Every city has its own lighting personality. Melbourne's is defined by rapid changes, heavy cloud cover, and that low-angle winter sun that creates long shadows and deep contrast. Your grading technique needs to account for all of it.
Overcast Days – Embrace the Soft Light
Most photographers treat overcast days as a problem. They are not. Overcast light is the most flattering natural light for skin. It wraps around faces evenly. It does not create harsh shadows under the eyes or nose. The trick is to not over-brighten the image in post.
Keep the mood soft. Do not crank up clarity or contrast. Let the image breathe. If the sky is grey, let it stay grey. A blue sky in an overcast photo looks fake and clients notice immediately. Instead, use the grey to your advantage. Desaturate the background slightly so the couple pops. Drop the background luminance just enough to separate subject from environment. That is all you need.
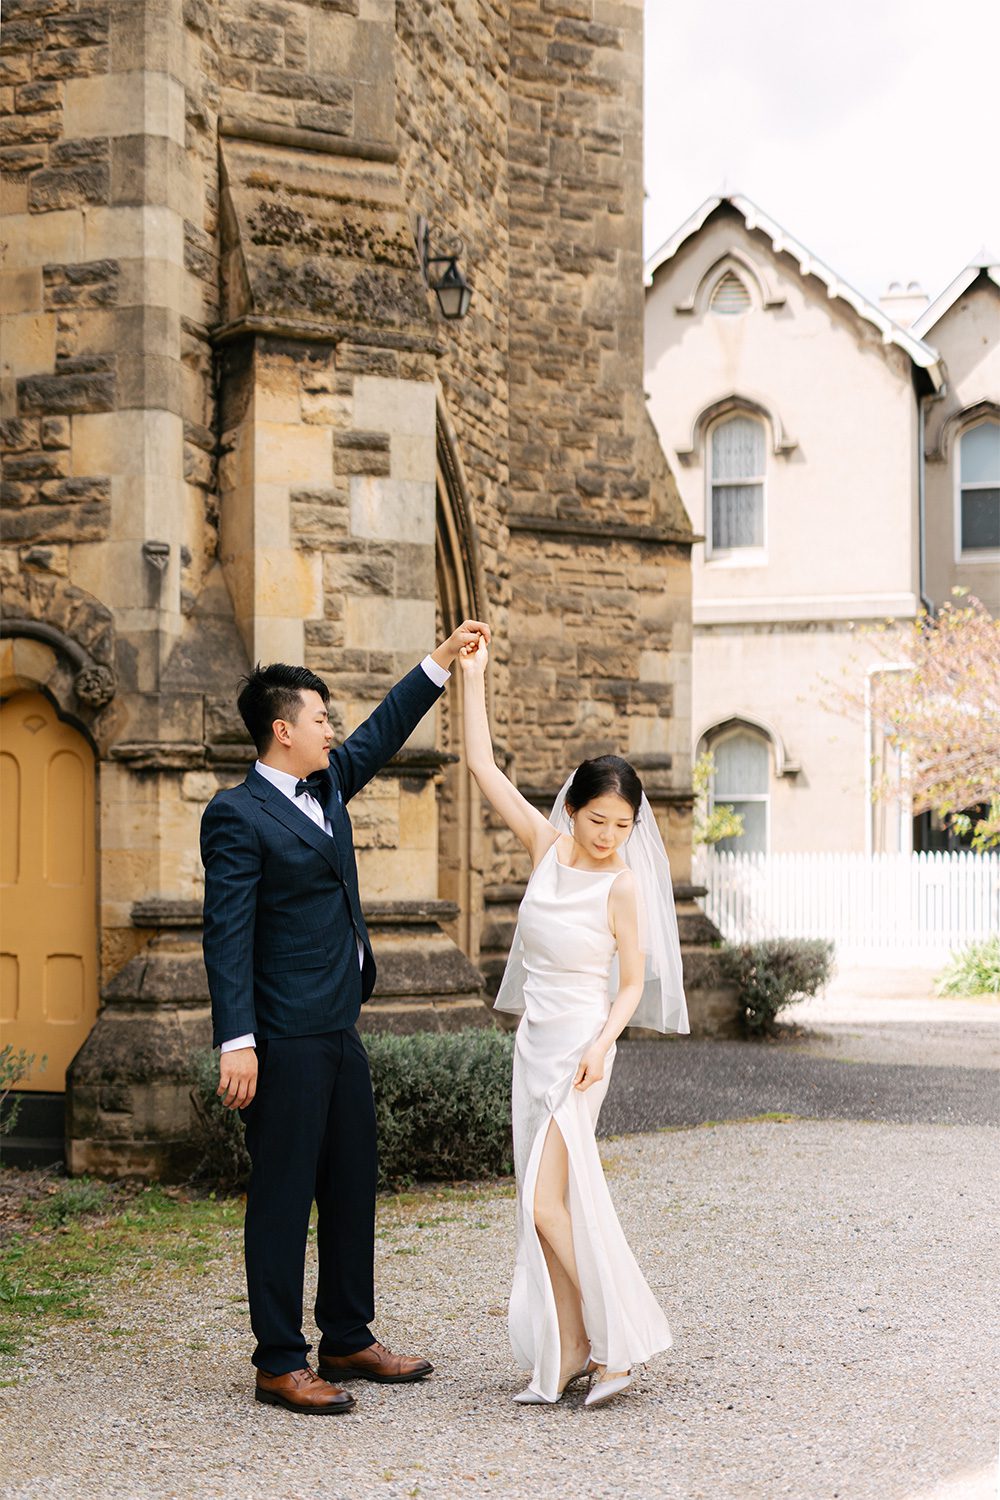
Golden Hour – Protect the Warmth Without Going Orange
Melbourne's golden hour in summer can be brutally bright. The sun sits low and the light turns everything amber. The mistake is to cool the entire image to compensate. That kills the mood.
Instead, protect the highlights. Use the highlight slider in Lightroom to pull back any blown-out areas on the dress or skin. Let the warm tones live in the midtones and shadows. Add a slight orange shift to the highlights if needed, but keep it subtle. The goal is to preserve that golden feeling without making the bride look like she is standing inside a tanning bed.
For winter golden hour, the light is already softer and more directional. Use this to your advantage. Let the shadows stay deep. Do not lift them too much. The contrast between the warm light and cool shadows is what makes winter Melbourne wedding photos look cinematic. Resist the urge to flatten it.
Rainy Day Shoots – The Secret Weapon
Rain is not the enemy of good wedding photos. Wet surfaces reflect light. Colors get deeper. The whole scene looks richer. But rain also creates color casts and dullness that need to be handled carefully.
In post, boost saturation slightly — not across the board, but selectively. Greens in the garden shots, reds in the flower details, the warm tones of skin. Use HSL to target specific colors rather than a global saturation slider. Add a touch of clarity to bring back detail that the rain softened. And if there is visible breath in the cold air, do not remove it. That is atmosphere. That is emotion. That is what makes the photo feel real.
Final Touches That Separate Good From Great
The heavy lifting is done. Now it is about the small details that most people skip.
Dodge and Burn for Dimension
Before you flatten the image with a global contrast adjustment, use dodge and burn to sculpt light manually. Lighten the areas where light naturally hits — forehead, cheekbones, the bridge of the nose. Darken the areas that should be in shadow — under the jaw, the sides of the face, the hollows of the collarbone.
This technique, borrowed from Renaissance painting, gives the image three-dimensional depth that no slider can replicate. It takes time. It takes patience. But it is the difference between a photo that looks retouched and one that looks painted.
Grain – The Final Secret
Add a small amount of grain at the very end. Not the heavy film grain of a vintage preset. Just enough to unify the image and give it texture. Grain hides minor imperfections in the skin. It ties the color grading together. And it gives the photo a tactile quality that digital files often lack.
For Melbourne wedding photos, a fine grain at about fifteen to twenty percent opacity works best. It is subtle enough that nobody notices it consciously, but the image feels complete. It feels like a photograph, not a render.
Sharpen Selectively, Not Globally
Global sharpening destroys skin texture and creates halos around edges. Sharpen selectively. Use a high-pass filter set to a low radius for skin areas. Use a higher radius for the dress, the rings, the architecture in the background. This way the bride's face stays soft and natural while the details that need to pop actually pop.
The dress fabric, the lace, the bouquet — these are the elements that benefit from sharpness. The skin does not. Know the difference and apply sharpness accordingly. That is what natural grading really means. Knowing what to touch and what to leave alone.