WUU00289

Lighting arrangement tips for interior studio wedding photography in Melbourne

Mastering Indoor Studio Lighting for Melbourne Wedding Photography

Creating timeless wedding portraits in Melbourne’s indoor studios hinges on strategic lighting setups that balance creativity with technical precision. Unlike outdoor shoots, studio environments demand meticulous control over light intensity, direction, and quality to achieve professional results. Here’s a guide to elevating your indoor wedding photography through advanced lighting techniques.

wedding photography melbourne

Understanding Core Lighting Principles

Every effective studio setup begins with mastering foundational lighting concepts. The interplay between key lightfill light, and background light determines the mood, dimensionality, and overall aesthetic of your images.

Key Light: The Dominant Force

The key light serves as the primary illumination source, shaping the subject’s facial features and body contours. For wedding portraits, place the key light at a 45-degree angle to the subject’s face, slightly elevated to mimic natural sunlight. This angle creates gentle shadows that enhance depth without appearing harsh.

When working with couples, adjust the key light’s height to ensure both faces are evenly lit. For example, positioning the light 1.5 meters above ground level and angled downward prevents flat lighting, which can make subjects appear washed out.

Fill Light: Balancing Shadows

Fill light softens the shadows cast by the key light, preventing excessive contrast. Use a secondary light source—such as a softbox or reflector—placed opposite the key light at a lower intensity. The goal is to maintain a 2:1 or 3:1 light ratio (key light twice or three times brighter than fill light) for a natural, flattering effect.

In group shots, position fill lights at waist level to avoid overexposing facial details. A white foam board reflector can also serve as a cost-effective fill light alternative, bouncing ambient light onto darker areas of the frame.

Background Light: Setting the Scene

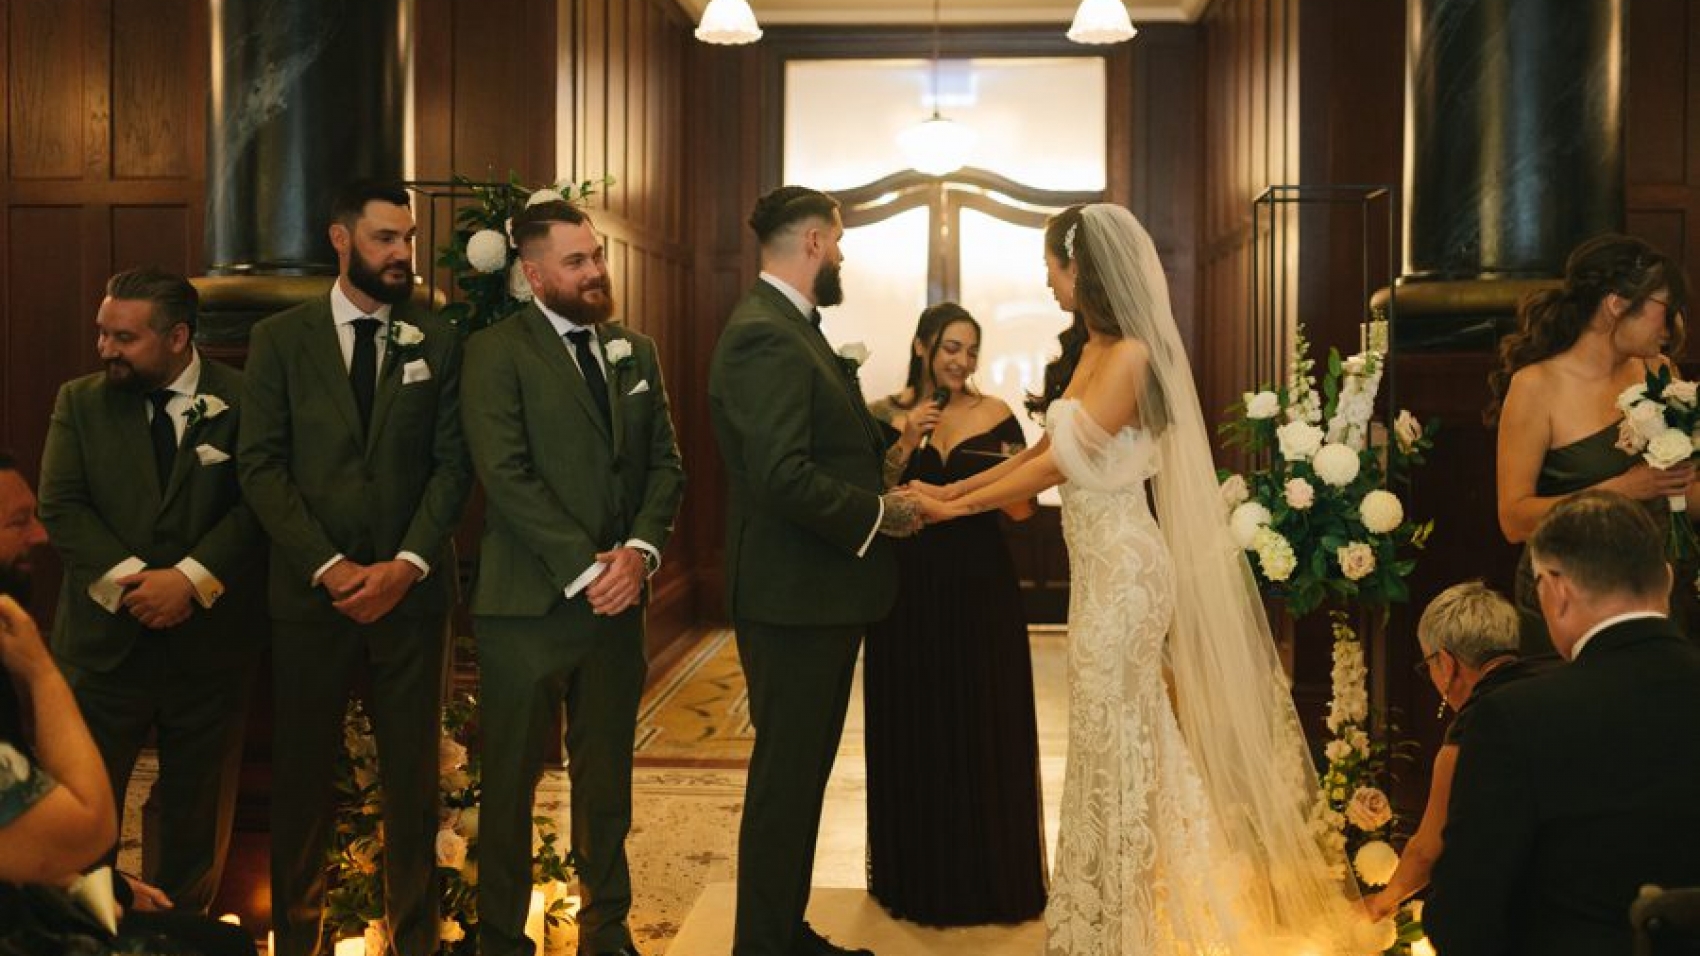
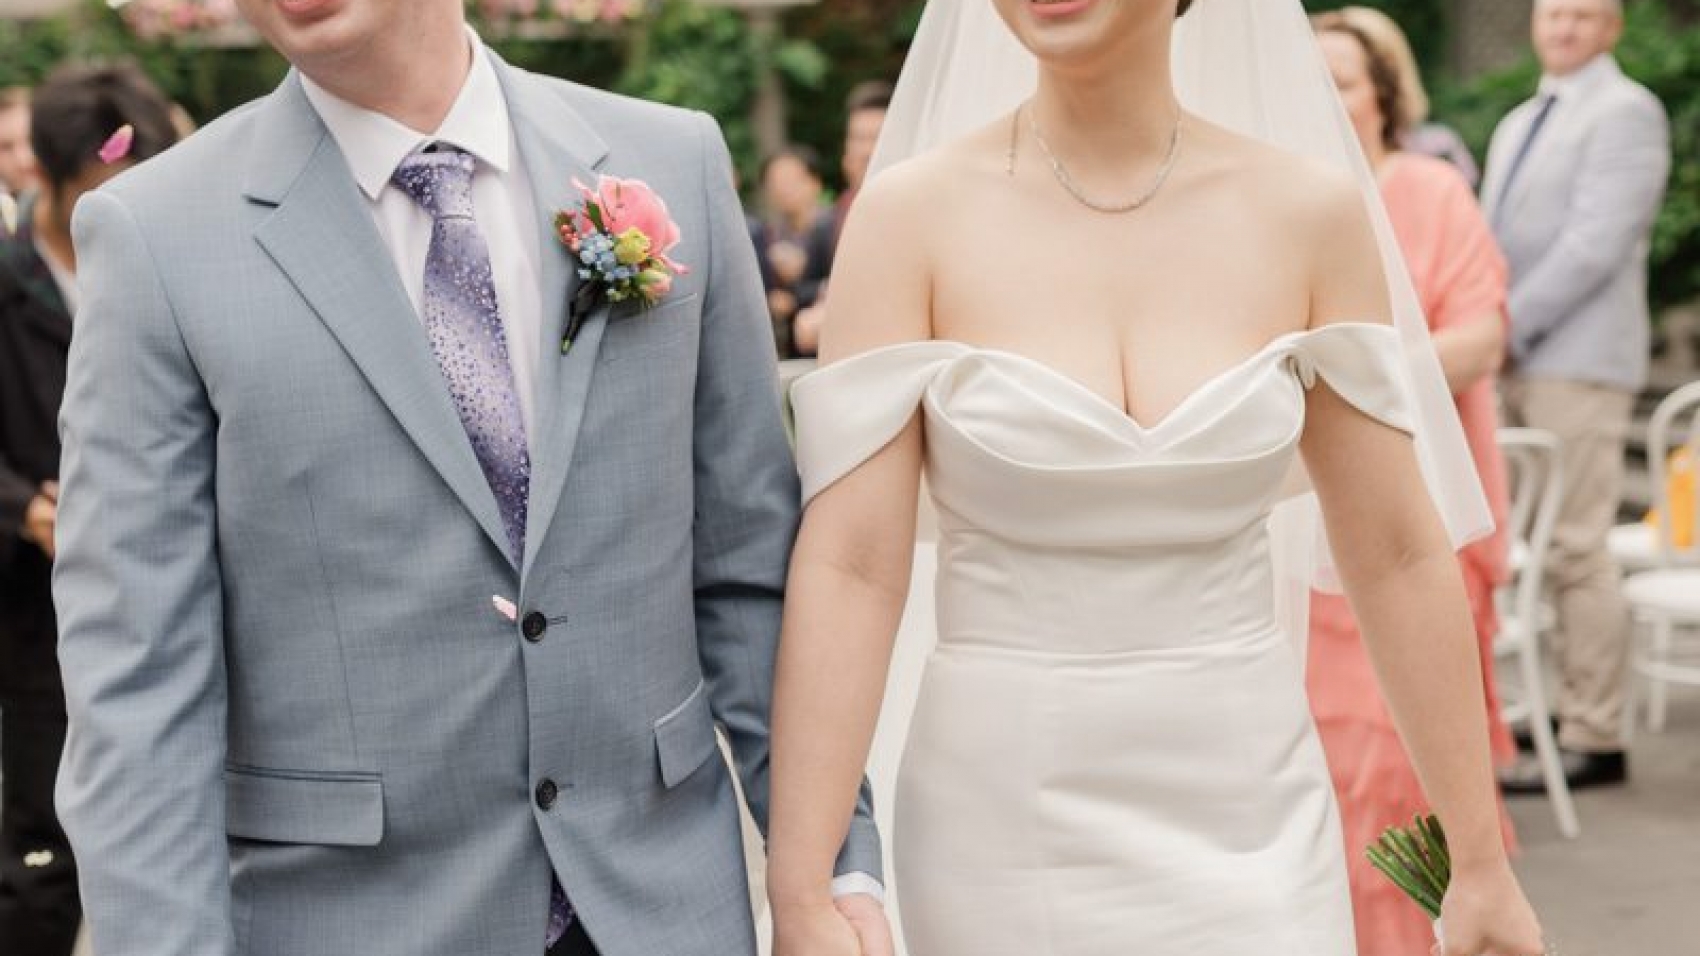
Background lighting isolates subjects from their surroundings, adding depth and context. For clean, minimalist portraits, use a single background light positioned behind the subject to create a subtle gradient. To emphasize texture, such as in bridal gown details, add a second background light at a 90-degree angle to highlight patterns or fabric folds.

When photographing couples against textured backdrops, like wooden panels or floral walls, adjust background light intensity to avoid overpowering the subject. A dimmer switch allows for real-time adjustments during the shoot.

Advanced Techniques for Dynamic Portraits

Beyond the basics, incorporating specialized lighting setups can transform ordinary shots into cinematic masterpieces.

Rim Lighting: Adding Drama

Rim lighting outlines the subject’s edges with a delicate glow, separating them from the background. Position a strip light or snooted flash behind the subject at a 135-degree angle to the camera. This technique works exceptionally well for bridal veil shots, where the light accentuates the fabric’s transparency and flow.

For couples, use rim lighting to highlight interaction details, such as intertwined hands or shared glances. Keep the rim light’s power 1–2 stops below the key light to maintain balance.

High-Key vs. Low-Key Lighting

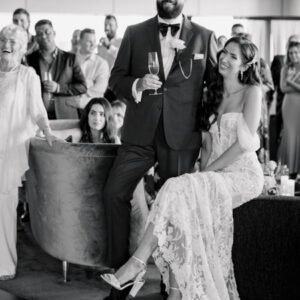
High-key lighting produces bright, airy images with minimal shadows, ideal for cheerful, romantic themes. Achieve this by surrounding the subject with multiple softbox lights at equal intensity. Low-key lighting, conversely, uses deep shadows and focused illumination to convey intimacy or mystery. Position the key light close to the subject and eliminate fill light entirely for a moody effect.

When shooting in Melbourne’s compact studios, high-key setups require careful placement of lights to avoid spillage onto walls. Use black flags or barn doors to control light direction.

Creative Light Modifiers

Modifiers like grids, gels, and gobos add artistic flair. A grid attached to a softbox narrows the light beam, creating precise highlights on facial features or gown details. Colored gels can evoke seasonal themes—warm amber for autumn weddings or cool blue for winter ceremonies.

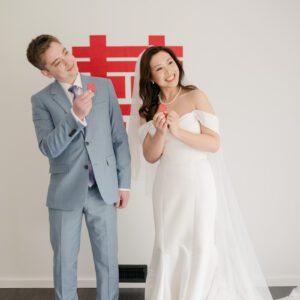
For a unique touch, project patterns onto the background using a gobo (a stencil placed over the light source). This technique works well for themed shoots, such as vintage or bohemian weddings.

Practical Tips for Melbourne Studios

Melbourne’s variable weather and studio sizes necessitate adaptable lighting strategies.

Adapting to Studio Size

In small studios (under 50 square meters), prioritize compact light sources like LED panels or portable strobes. Use bouncers or reflectors to maximize natural light from windows. For larger spaces, invest in ceiling-mounted lights to free up floor area and ensure consistent illumination.

Managing Mixed Lighting

Many Melbourne studios combine tungsten, fluorescent, and LED lights. To avoid color casts, set your camera’s white balance to “auto” or use a gray card for custom calibration. During post-processing, adjust highlights and shadows individually to maintain skin tone accuracy.

Client Communication

Before the shoot, discuss lighting preferences with the couple. Some may prefer soft, even lighting for a timeless look, while others might opt for dramatic contrasts. Show them mood boards or test shots to align expectations.

During the session, use a monitor or tethered shooting setup to review images in real time. This allows for immediate adjustments to lighting or composition, ensuring client satisfaction.

Final Considerations

  • Test Your Setup: Conduct a lighting test before the shoot to identify and resolve issues like glare or uneven exposure.
  • Safety First: Secure all lights and cables to prevent tripping hazards, especially in busy studios.
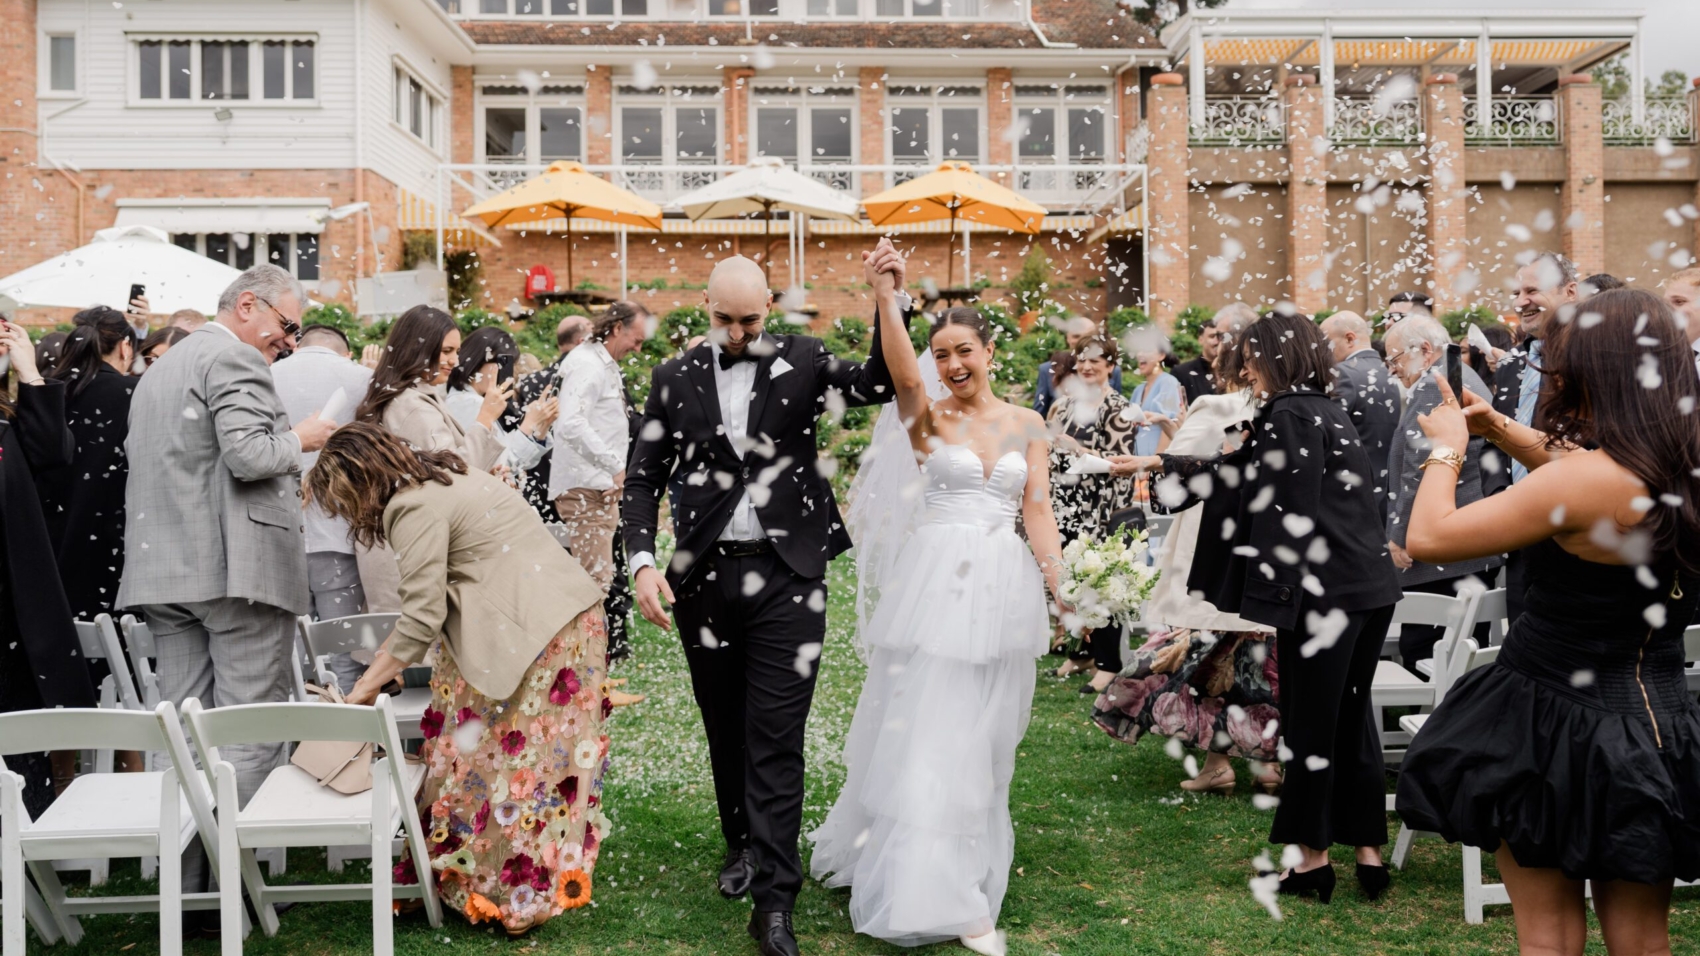
  • Stay Flexible: Be prepared to tweak your setup based on the couple’s poses, expressions, or unexpected changes in weather (if shooting near windows).

By combining technical expertise with creative experimentation, you can craft indoor wedding portraits that capture the essence of Melbourne’s romantic charm. Whether you’re working in a cozy boutique studio or a spacious warehouse, these lighting techniques will elevate your craft and delight your clients.

DSC02004

Preparations for planning the shooting route of wedding photography in Melbourne

Crafting a Seamless Melbourne Wedding Photography Itinerary: Key Planning Considerations

Planning a wedding photoshoot in Melbourne requires balancing iconic landmarks, natural beauty, and logistical efficiency. From navigating traffic to maximizing golden-hour light, a well-structured route ensures you capture every memorable moment without stress. Here’s how to design a photography itinerary tailored to Melbourne’s unique offerings.

wedding photography melbourne

Understanding Melbourne’s Seasonal and Lighting Dynamics

Melbourne’s weather and daylight hours vary dramatically across seasons, impacting everything from location accessibility to the quality of natural light. Tailor your route to align with these factors.

Sunrise and Sunset Timing

Golden-hour light—the period shortly after sunrise or before sunset—creates soft, flattering shadows and warm tones. Use online tools to determine exact times for your shoot date. For sunrise sessions, prioritize locations east of the CBD, such as Brighton Beach or the Royal Botanic Gardens’ eastern lawns. For sunset, head west to spots like Williamstown or the Melbourne SkyDeck observation deck. Avoid midday shoots in summer, when harsh overhead light can cause unflattering shadows.

Weather Contingency Planning

Melbourne’s reputation for “four seasons in one day” demands flexibility. If rain is forecast, identify indoor alternatives with natural light, such as art galleries, historic libraries, or cafes with large windows. For windy conditions, choose sheltered locations like arcaded laneways in the CBD or covered walkways in parks. Communicate backup plans with your photographer in advance to avoid last-minute scrambles.

Seasonal Highlights and Crowds

Spring and autumn offer mild temperatures and vibrant foliage, making parks like Fitzroy Gardens or the University of Melbourne’s grounds ideal. Summer attracts crowds to popular beaches and outdoor venues, so arrive early or consider weekday shoots. Winter’s crisp air and golden afternoon light suit cozy urban settings, such as the State Library of Victoria or cozy alleyways in Degraves Street.

Mapping Out Logistical Flow and Accessibility

A smooth route minimizes travel time between locations, leaving more time for creative shots. Consider distance, transportation, and venue-specific rules when planning your path.

Proximity Between Locations

Group nearby landmarks to reduce transit delays. For example, combine a CBD shoot with stops at Flinders Street Station, Hosier Lane, and the Yarra River, all within walking distance. If moving between districts, use trams or rideshare services to avoid parking hassles. For multi-region itineraries (e.g., St. Kilda to the Dandenong Ranges), allocate buffer time for traffic, especially during peak hours.

Venue Entry Requirements

Some iconic locations, like the Royal Exhibition Building or St. Paul’s Cathedral, require permits for commercial photography. Contact venue managers weeks in advance to secure permissions and clarify restrictions (e.g., tripod use, flash photography). For private properties or gardens, obtain written consent from owners. Keep copies of permits and contact details handy during the shoot.

Transportation and Parking Considerations

Melbourne’s CBD has limited parking, so opt for public transport or rideshares for urban shoots. If driving, research nearby parking garages or street parking rules. For beach locations like Port Melbourne or Elwood, arrive early to secure spots. If your route includes remote areas, such as the Yarra Valley wineries, consider hiring a driver or renting a vehicle with ample trunk space for equipment.

Curating a Mix of Iconic and Hidden Gems

Balance Melbourne’s famous sights with lesser-known spots to create a unique, personalized itinerary.

Iconic Melbourne Landmarks

Include must-visit locations like the Melbourne SkyDeck for panoramic city views, the Brighton Bathing Boxes for colorful coastal shots, or the State Library’s grand dome for timeless portraits. These spots offer recognizable backdrops but can be crowded, so schedule them during off-peak hours (e.g., early morning for the Bathing Boxes).

Lesser-Known Photogenic Spots

Explore hidden gems like the Abbotsford Convent for bohemian vibes, the Collins Street arcades for vintage charm, or the Westgate Park salt lakes for surreal, otherworldly photos. These locations often provide more privacy and creative freedom. Research local blogs or photography forums for up-and-coming spots that align with your aesthetic.

Combining Urban and Natural Settings

Melbourne’s diverse landscape allows for dynamic contrasts. Pair a gritty urban shoot in Hosier Lane with a serene nature walk in the Royal Botanic Gardens, or contrast the industrial docks of Docklands with the lush greenery of Albert Park. This variety adds depth to your photo gallery and showcases Melbourne’s multifaceted character.

Final Tips for a Stress-Free Shoot Day

  • Scout Locations in Advance: Visit each site at the same time of day as your shoot to assess lighting, crowds, and accessibility.
  • Build in Buffer Time: Add 15–30 minutes between locations to account for unexpected delays like traffic or reshooting due to lighting changes.
  • Communicate with Your Photographer: Share your priority locations and any physical limitations (e.g., difficulty walking long distances) to tailor the route accordingly.

By thoughtfully planning your Melbourne wedding photography itinerary, you’ll create a day that flows effortlessly while capturing the city’s magic. Flexibility, preparation, and a mix of iconic and intimate spots ensure your photos tell a story as unique as your love.

71407_Farm_Vigano_SELECTION_0012

Preparations for emergency makeup touch-ups in Melbourne wedding photography

Essential Touch-Up Makeup Items for Melbourne Wedding Photography: Preparation Guide

Melbourne’s unpredictable weather and long wedding days can challenge even the most flawless makeup looks. Whether dealing with humidity, wind, or tears of joy, having the right touch-up tools ensures you stay photo-ready from ceremony to sunset. Here’s what to pack for seamless makeup maintenance during your shoot.

wedding photography melbourne

Skin-Specific Touch-Up Essentials

Your skin type dictates which products work best for maintaining a fresh look. Tailor your kit to address oiliness, dryness, or sensitivity without clogging pores or causing irritation.

Oil Control for Humid Days

Melbourne’s coastal areas and summer months often bring high humidity, leading to shine and makeup breakdown. Pack oil-absorbing sheets or a translucent powder to mattify your T-zone without adding layers of product. For sensitive skin, opt for blotting papers infused with soothing ingredients like aloe vera or chamomile. Avoid heavy powders that can look cakey in photos.

Hydration for Dry or Windy Conditions

Cold winds or indoor heating can leave skin feeling tight and flaky. Carry a travel-sized hydrating mist to refresh your complexion between shots. Look for formulas with glycerin or hyaluronic acid to lock in moisture without disrupting makeup. A lightweight, non-greasy moisturizer is also useful for spot-treating dry patches on cheeks or around the nose.

SPF Protection for Outdoor Shoots

If your photoshoot includes outdoor locations like gardens or beaches, sun protection is non-negotiable. Choose a sunscreen with SPF 30 or higher that doubles as a primer to prevent makeup from sliding. Mineral-based options with zinc oxide or titanium dioxide are ideal for sensitive skin and won’t leave a white cast in flash photography. Reapply every two hours, especially if sweating or swimming.

Makeup Longevity Enhancers

Extending the life of your foundation, lipstick, and eye makeup requires strategic products that resist fading, creasing, or smudging. These items help your look stay intact through hugs, kisses, and emotional moments.

Setting Sprays for All-Day Wear

A quality setting spray acts as a protective barrier against humidity, sweat, and accidental touches. Opt for a matte finish if you have oily skin or a dewy formula for dry complexions. Mist your face lightly after applying makeup and again before heading outdoors. Some formulas even contain skin-nourishing ingredients like vitamins or antioxidants.

Lip Color Refreshers

Long-wearing lipsticks often fade unevenly, leaving a ring of color around the lips. Pack a lip liner in a matching shade to redefine edges and prevent feathering. A small tube of tinted lip balm or a sheer lipstick can replenish moisture and color without requiring a full reapplication. For bold shades, bring a cotton swab dipped in micellar water to clean up mistakes quickly.

Eye Makeup Fixers

Eyeliner smudges and mascara flakes are common issues during emotional ceremonies or windy outdoor shoots. A waterproof eyeliner and mascara are must-haves, but even these can weaken over time. Carry a compact mirror and a Q-tip to wipe away smudges discreetly. For creased eyeshadow, a neutral eyeshadow stick or a small palette with matte shades can touch up the crease without starting from scratch.

Emergency Tools for Quick Fixes

Unexpected issues like runny mascara, static hair, or a broken lipstick require fast solutions. These compact tools fit easily into a clutch or bridesmaid’s bag for on-the-go repairs.

Portable Mirrors and Lighting

A small, foldable mirror with built-in LED lights ensures you can check your makeup in any setting, from dimly lit venues to bright outdoor locations. Look for models with adjustable brightness levels to mimic natural light. Some mirrors even attach to keychains or phones for convenience.

Cotton Swabs and Pads

Cotton swabs are versatile for fixing eyeliner mistakes, cleaning up lipstick smudges, or dabbing away excess powder. Pre-moistened cotton pads with micellar water are handy for removing sweat or oil without stripping makeup. Pack them in individual packets to keep them clean and portable.

Hair and Makeup Clips

Static electricity or wind can wreak havoc on carefully styled hair, causing flyaways or strands sticking to lips. Keep a few small clips or bobby pins in your kit to secure loose sections. A travel-sized hairspray or anti-static spray can also tame frizz without leaving residue. For makeup, clips can hold back hair while touching up your face.

Final Tips for Stress-Free Touch-Ups

  • Test Products Beforehand: Use your touch-up items during your makeup trial to ensure they work well with your skin and don’t cause reactions.
  • Organize Your Kit: Use a small, clear cosmetic bag to separate products by category (e.g., skin, lips, eyes) for easy access.
  • Delegate Responsibilities: Assign a bridesmaid or family member to carry your touch-up kit and remind you to reapply sunscreen or blot oil.

By packing these essentials, you’ll be prepared for Melbourne’s unpredictable weather and the demands of a full-day wedding shoot. Staying proactive about touch-ups ensures your photos capture your best self, no matter what surprises come your way.