Melbourne Indoor Wedding Photoshoot Process: A Step-by-Step Guide
Planning an indoor wedding photoshoot in Melbourne requires careful coordination of styling, location, and timing. Unlike outdoor shoots, indoor sessions offer controlled lighting and weather-independent settings, making them ideal for couples seeking a polished, intimate atmosphere. This guide breaks down the process into manageable steps, from initial preparations to final touches, ensuring a seamless experience.

Selecting the Right Indoor Venue and Theme
Indoor venues in Melbourne range from historic studios to modern lofts, each offering unique aesthetic opportunities. When choosing a location, consider factors like ceiling height, natural light access, and decor flexibility. For example, a studio with exposed brick walls and large windows suits rustic or bohemian themes, while a minimalist white space complements contemporary or elegant styles.
Discuss your vision with the photographer to align the venue with your desired mood. If you envision a romantic ambiance, opt for soft lighting and neutral tones. For a bold, artistic look, prioritize venues with geometric patterns or vibrant backdrops. Always visit the space beforehand to assess its suitability for your chosen outfits and poses.
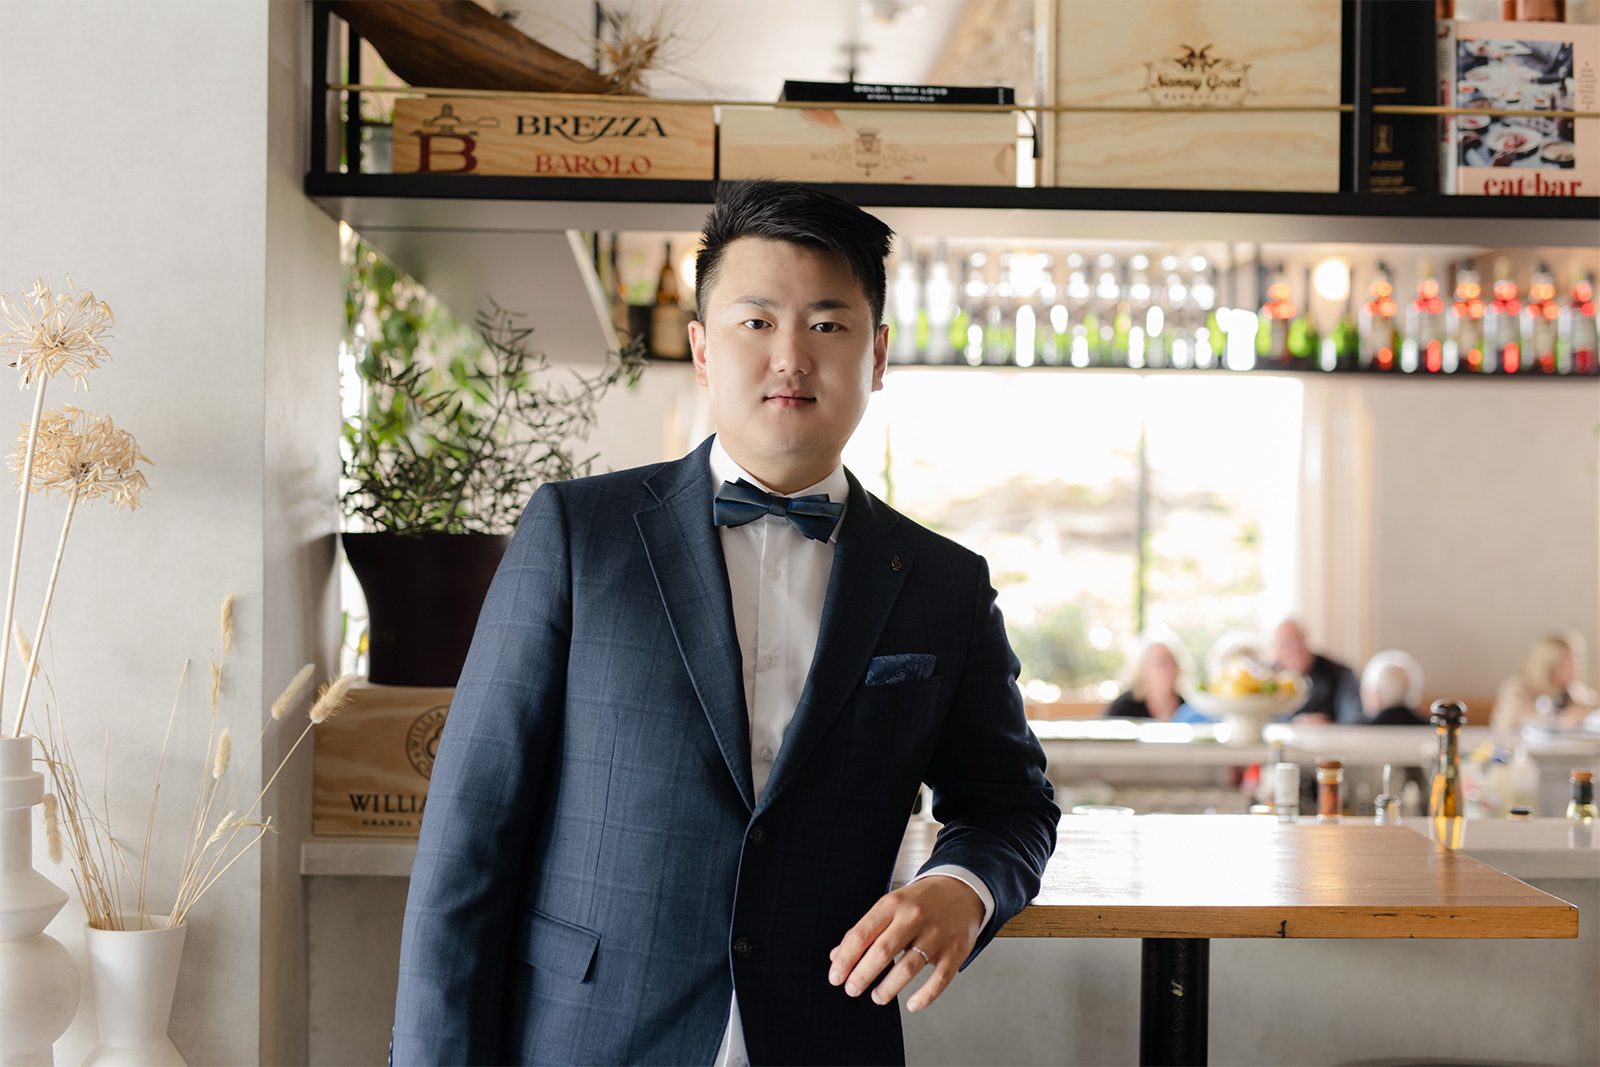
Coordinating Outfits and Accessories for Indoor Settings
Indoor lighting, whether natural or artificial, interacts differently with fabrics and colors than outdoor sunlight. Choose materials like silk, satin, or velvet that reflect light elegantly, avoiding heavy textures that may appear dull under studio lamps. For formal portraits, opt for classic silhouettes like ball gowns or tailored suits, while casual themes allow for flowy dresses or relaxed separates.
Accessories should enhance the theme without overwhelming the frame. Delicate jewelry or a simple veil works well for traditional settings, while statement pieces like bold earrings or a patterned tie add personality to modern shoots. Bring versatile items like a shawl or jacket to adapt to temperature changes in air-conditioned studios.
Timing and Logistics for a Smooth Indoor Shoot
Indoor shoots typically follow a structured timeline to maximize efficiency. Begin by arriving early to finalize outfit selections and hair styling, which often take longer than expected. Allocate 30–45 minutes per look for adjustments, ensuring each ensemble is photographed from multiple angles.
Work with your photographer to create a shot list, prioritizing must-have poses and groupings. For example, schedule couple portraits during the golden hour if the studio has windows, or use artificial lighting for dramatic effects later in the day. Break the session into segments—individual shots, partner interactions, and family portraits—to maintain focus and energy.
Managing Lighting and Posing in Confined Spaces
Indoor lighting requires strategic planning to avoid harsh shadows or uneven exposure. Natural light from windows is ideal for soft, flattering images, but studios often rely on artificial setups. Discuss lighting preferences with your photographer beforehand, whether you prefer warm tones for a cozy feel or cool hues for a modern edge.
Posing indoors differs from outdoor shoots due to limited space. Focus on intimate, close-up shots that highlight emotions rather than sweeping landscapes. Experiment with angles—sit on a staircase for depth, lean against a wall for a casual vibe, or use furniture to create dynamic compositions. Encourage natural interactions, like whispering or holding hands, to capture genuine chemistry.
Final Checks and Post-Shoot Considerations
Before wrapping up, review the day’s shots with your photographer to ensure no key moments were missed. Check for wardrobe malfunctions, such as loose straps or wrinkled fabric, and touch up makeup if needed. If the studio offers immediate previews, use this time to confirm satisfaction with the results.
After the shoot, communicate with your photographer about delivery timelines for digital proofs and edited images. Specify preferences for retouching, such as skin smoothing or background adjustments, to align the final product with your vision. Store digital files securely and consider printing favorites for display at home or as gifts for family.
By following these steps, couples can navigate Melbourne’s indoor wedding photoshoot process with confidence, resulting in timeless images that reflect their unique style and love story.