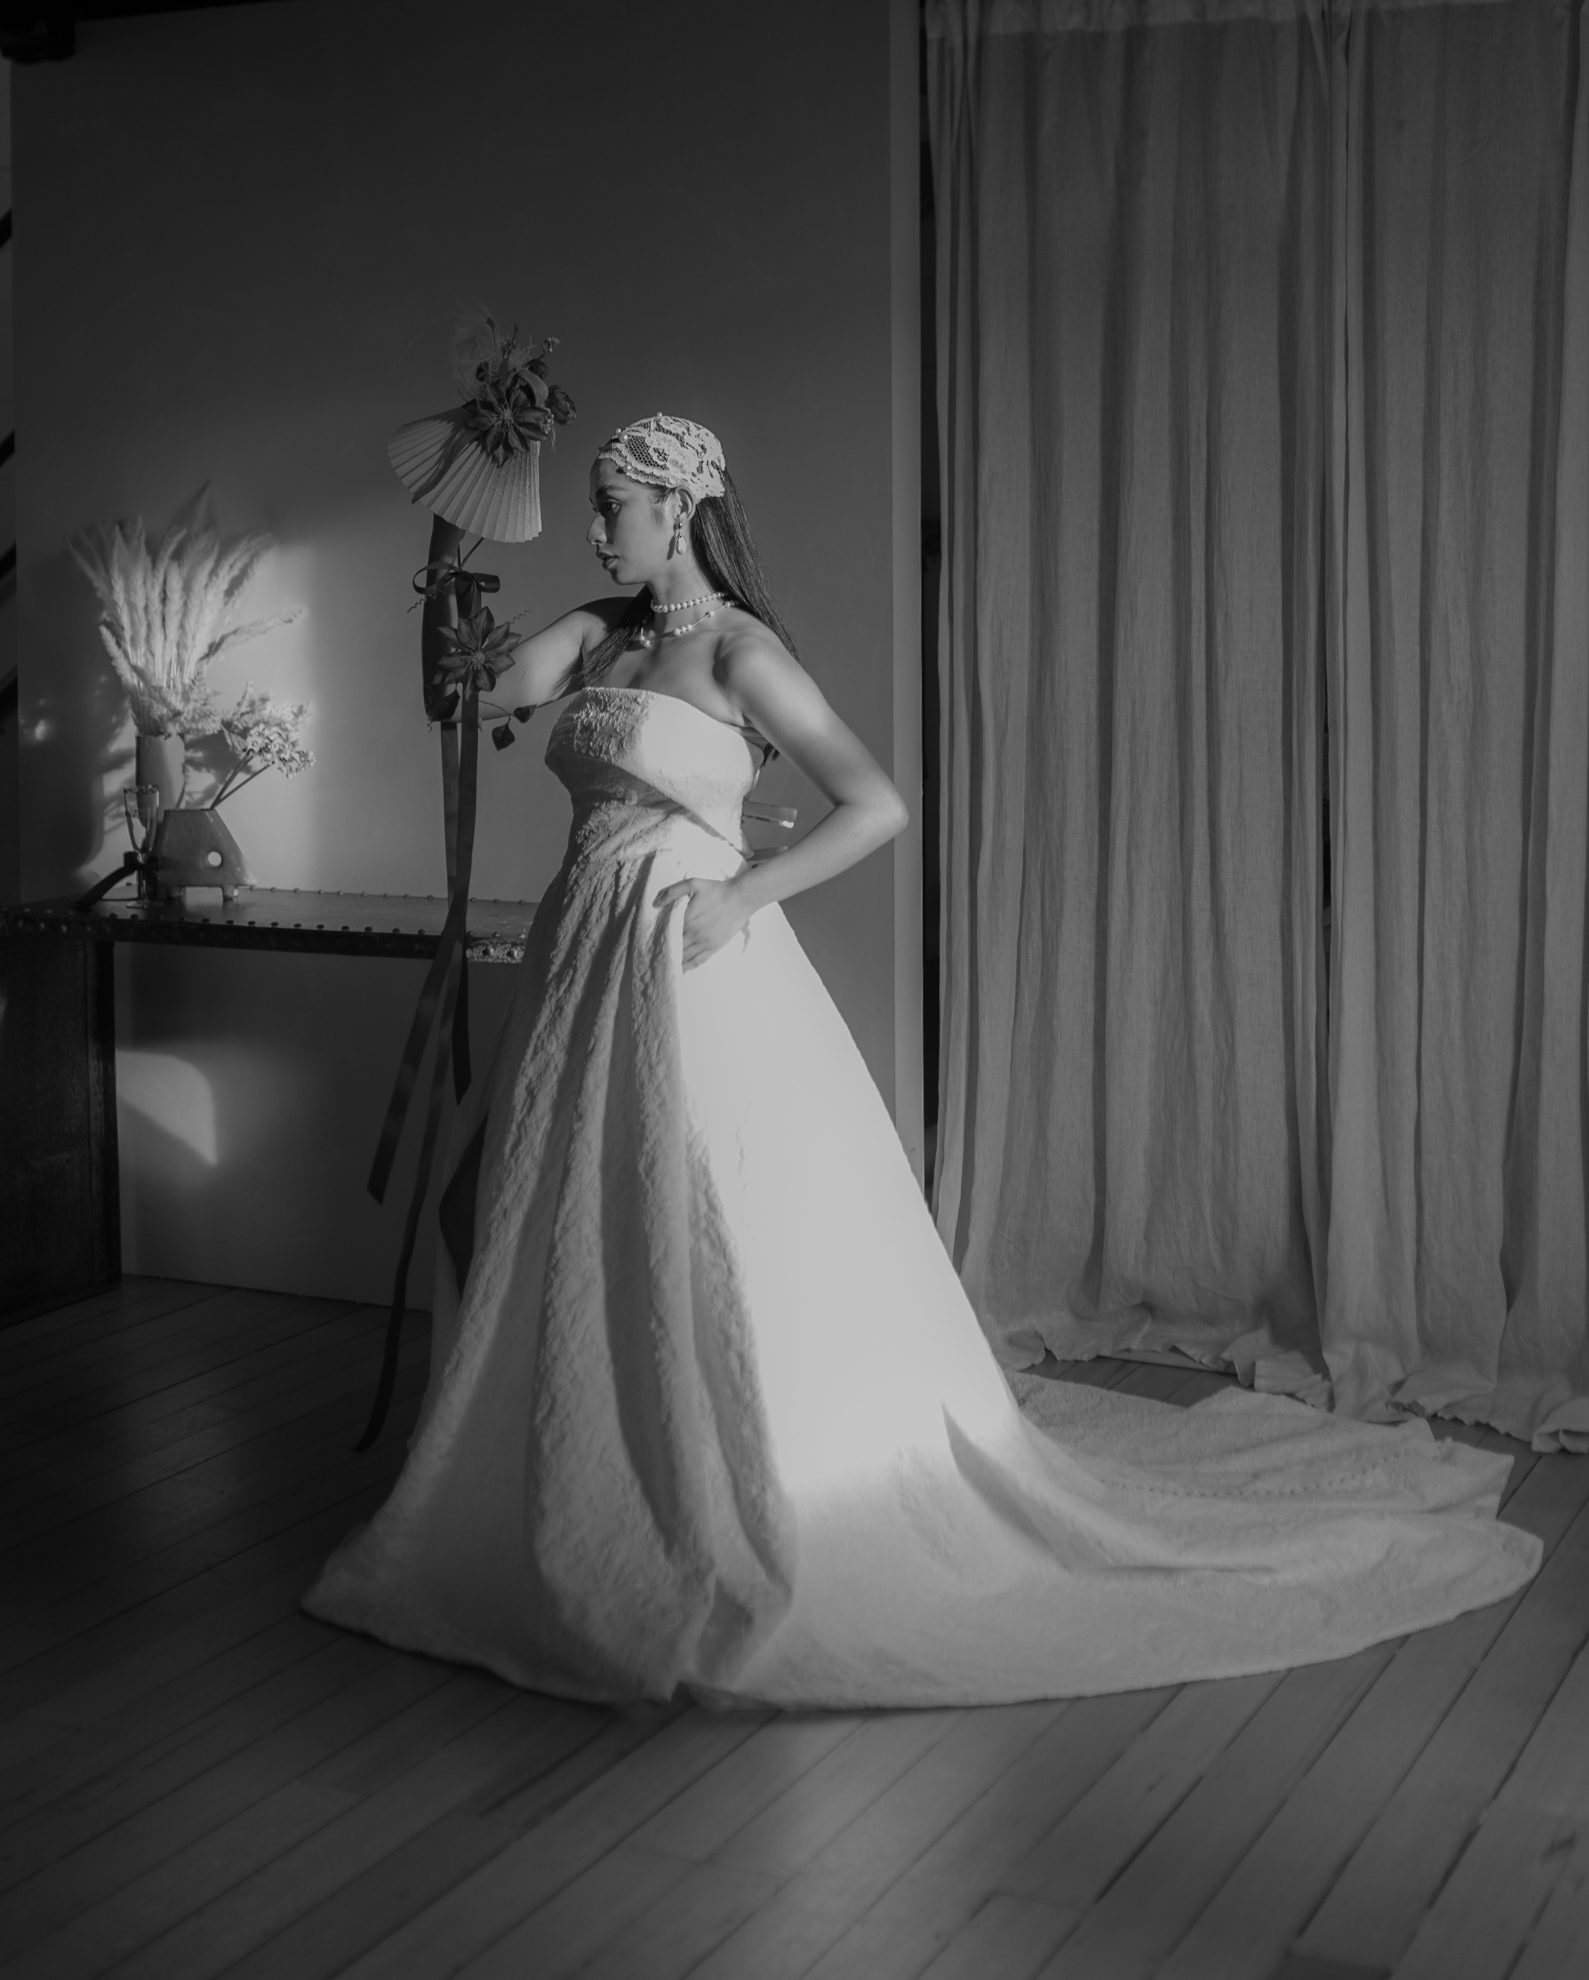
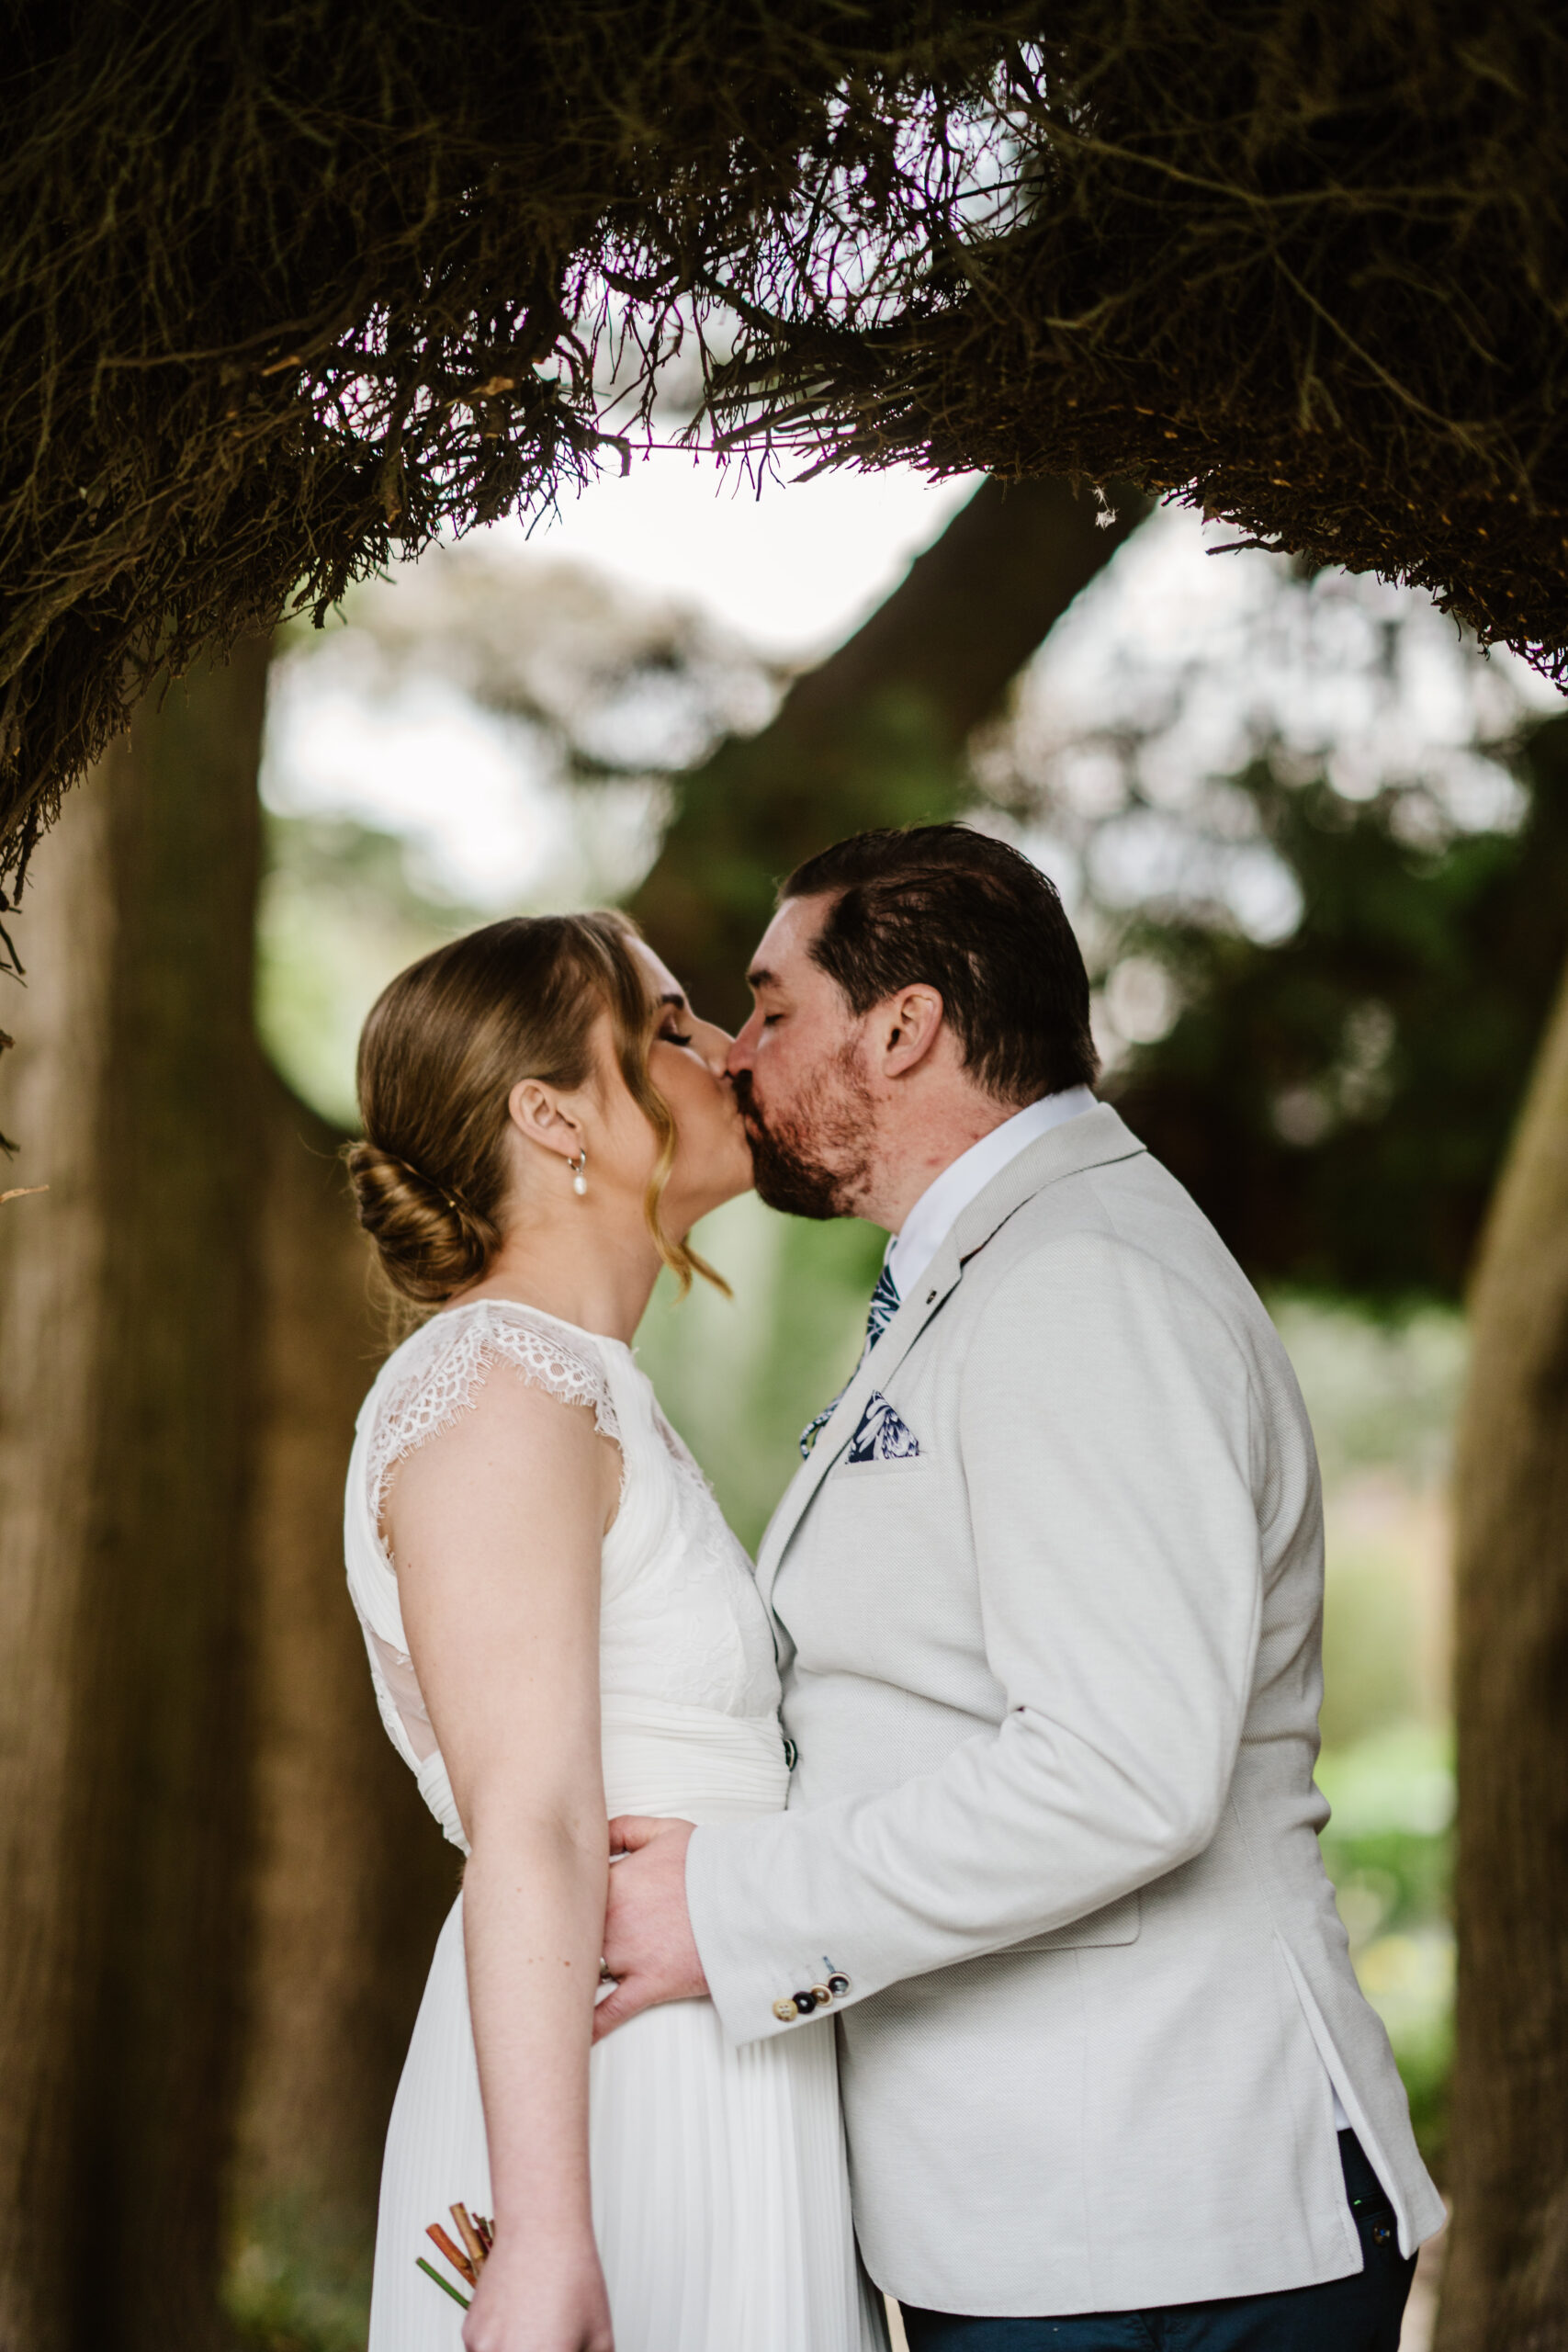
Melbourne Wedding Photography Pre-Shoot Makeup Trial Process: A Step-by-Step Guide
For couples planning a wedding in Melbourne, a makeup trial is a critical step in ensuring the bride (and sometimes the groom) looks flawless on camera. This process helps refine the makeup style, test product longevity, and build confidence before the big day. Here’s how to navigate the pre-shoot makeup trial for Melbourne wedding photography.
Setting Up the Makeup Trial Appointment
The first step is scheduling a trial with a professional makeup artist who understands wedding photography’s unique demands. Timing and preparation are key to a productive session.
Choosing the Right Makeup Artist
- Portfolio Review: Look for artists whose work aligns with your vision, whether it’s natural glow, bold colors, or vintage glamour. Check their social media or website for photos of past clients in similar lighting conditions (e.g., outdoor ceremonies, indoor receptions).
- Availability and Location: Ensure the artist is available on your trial date and can travel to your preferred location (e.g., your home, a salon, or the photography studio). Proximity reduces stress on the trial day.
- Communication Style: Reach out via email or phone to gauge their responsiveness. A makeup artist who asks detailed questions about your skin type, allergies, and preferred styles is more likely to deliver personalized results.
Pro Tip: Ask if the artist has experience working with wedding photographers, as they’ll understand how to balance makeup for both close-up shots and full-body portraits.
Pre-Trial Preparation Checklist
- Skin Care Routine: Follow your regular skincare regimen leading up to the trial to ensure your skin is in its natural state. Avoid trying new products 2–3 days before to prevent breakouts or irritation.
- Inspiration Photos: Collect images of makeup styles you love, noting specific elements like lip color, eye shadow intensity, or contouring. Share these with the artist during the trial.
- Hair Accessories: If you plan to wear a veil, headpiece, or hairpins, bring them to the trial. The artist can adjust makeup to complement these accessories (e.g., avoiding heavy blush near a high ponytail).
Real-World Example: A bride brought a lace veil to her trial, prompting the makeup artist to soften her eye makeup to avoid clashing with the intricate details.
Trial Day Timeline and Logistics
- Start Early: Schedule the trial at least 3–4 hours before any evening plans to allow time for adjustments without rushing.
- Lighting Test: If possible, conduct the trial in natural light similar to your wedding venue (e.g., a bright room for an outdoor ceremony or dimmer lighting for an evening reception).
- Photography Snapshot: Take a few test photos with your phone or camera to see how the makeup translates on camera. Adjust shades or intensity if needed.
Case Study: A couple tested makeup in a dimly lit room, only to realize later that the foundation appeared too pale in daylight photos. Now, they request trials in natural light.
During the Makeup Trial: Collaboration and Adjustments
The trial is a collaborative process where the bride and artist refine the look together. Open communication ensures the final style matches expectations.
Building the Base: Foundation and Concealer
- Skin Tone Matching: The artist should test foundation shades on your jawline or neck to find the closest match. Avoid overly matte or dewy finishes unless they suit your skin type.
- Coverage Level: Discuss whether you prefer light, medium, or full coverage. For photography, medium coverage often balances flaws and natural texture.
- Concealer Placement: Focus on under-eye darkness, blemishes, or redness. The artist may use color-correcting primers (e.g., peach for dark circles) before applying concealer.
Pro Tip: Ask the artist to apply foundation with a brush first, then blend with a damp sponge for a seamless finish.
Eye Makeup: Defining Features for Camera
- Eye Shape Enhancement: The artist will tailor techniques to your eye shape (e.g., hooded, round, almond). For photography, slightly bolder liner or shadow can prevent eyes from looking washed out.
- Lash Options: Decide between natural lashes, individual extensions, or strip lashes. Test how they feel and look in photos, as heavy lashes can sometimes overshadow eye makeup.
- Brow Grooming: Well-defined brows frame the face. The artist may fill sparse areas with pencil or powder, ensuring symmetry and a natural arch.
Real-World Example: A bride with hooded eyes opted for a winged liner that lifted her eyes in photos, a technique she hadn’t considered before the trial.
Lip Color and Final Touches
- Longevity Testing: Choose lip products that last through eating and drinking. Matte formulas or lip stains often perform better than glossy finishes, which can fade or transfer.
- Blush and Highlighter: Soft blush adds warmth, while highlighter on cheekbones and the Cupid’s bow catches light beautifully in photos. Avoid overly shimmery products for a polished look.
- Setting Spray: A lightweight setting spray helps lock in makeup, especially important for long wedding days. The artist may use a dewy or matte formula based on your preference.
Case Study: A bride’s lipstick smudged during her trial kiss test with her partner, leading them to switch to a transfer-proof formula for the wedding.
Post-Trial Follow-Up: Ensuring Perfection for the Wedding Day
After the trial, a few final steps help solidify plans and address any concerns before the wedding.
Documenting the Makeup Look
- Photo Documentation: Take clear, well-lit photos of your makeup from multiple angles (front, side, close-up). Share these with the artist and your photographer to ensure consistency on the wedding day.
- Product List: Ask the artist to list all products used, including shades and brands. This helps replicate the look if you need touch-ups or want to purchase items for your kit.
- Adjustments Notes: Jot down any changes you’d like (e.g., “less blush,” “bolder lip”) to discuss with the artist before the wedding.
Pro Tip: Create a shared digital folder (e.g., Google Drive) to store photos, product lists, and notes for easy access.
Confirming Details with the Makeup Artist
- Final Schedule: Confirm the artist’s arrival time on the wedding day, allowing buffer time for unexpected delays (e.g., traffic, hair styling running late).
- Backup Plans: Discuss contingencies if the artist falls ill or encounters an emergency. Some artists work with a network of colleagues who can step in if needed.
- Payment and Contracts: Review payment terms (e.g., deposit, final balance) and sign a contract outlining services, timelines, and cancellation policies.
Real-World Example: A bride’s makeup artist had a family emergency, but because they’d discussed backups, a trusted colleague stepped in seamlessly.
Skin Care Leading Up to the Wedding
- Consistent Routine: Stick to your skincare regimen to maintain a healthy complexion. Avoid drastic changes (e.g., new facials, aggressive exfoliation) 1–2 weeks before the wedding.
- Hydration and Diet: Drink plenty of water and eat balanced meals to keep skin looking fresh. Limit alcohol and salty foods, which can cause puffiness.
- Stress Management: High stress can trigger breakouts or dull skin. Practice relaxation techniques like meditation, yoga, or walks to stay calm.
Case Study: A bride incorporated daily face masks into her routine two weeks before her wedding, resulting in a radiant complexion that needed minimal foundation.
By approaching the makeup trial with preparation, collaboration, and follow-up, Melbourne couples can ensure their wedding day look is both camera-ready and true to their style. Clear communication and attention to detail turn a simple trial into a confidence-boosting experience.