The collaboration process of a wedding photography team in Melbourne
Streamlining Teamwork for Melbourne Wedding Photography: A Collaborative Workflow Guide
Capturing a couple’s special day in Melbourne requires more than just technical skill—it demands seamless coordination among photographers, assistants, stylists, and clients. A well-defined team workflow ensures every moment is documented beautifully while minimizing stress. Here’s how to structure collaboration for a flawless Melbourne wedding photoshoot.
Pre-Shoot Preparation: Setting the Foundation for Success
The groundwork for a smooth photoshoot begins long before the wedding day. Clear communication and organized planning prevent misunderstandings and ensure everyone understands their roles.
Client Consultations and Vision Alignment
- Detailed Questionnaires: Send clients a comprehensive questionnaire to gather preferences on locations, styles, and must-have shots. Ask about cultural traditions or family dynamics that might influence the shoot.
- Mood Boards and Inspiration: Create shared Pinterest boards or digital galleries to align the team’s vision. Include examples of lighting, poses, and compositions that match the couple’s aesthetic.
- Location Scouting Reports: If the team hasn’t visited the venue, assign someone to scout in advance. Note lighting conditions, crowd patterns, and logistical challenges (e.g., parking, permits).
Real-World Example: A photography team used a shared Google Drive folder to store client questionnaires, mood boards, and location photos, ensuring everyone accessed the same information.
Equipment and Logistics Checklist
- Gear Allocation: Assign specific cameras, lenses, and lighting equipment to each team member. For example, one photographer might handle wide-angle shots while another focuses on details.
- Backup Plans: Prepare for weather changes or equipment failures by packing extras (e.g., batteries, memory cards, reflectors) and identifying indoor alternatives for outdoor shoots.
- Transportation Coordination: If the team is splitting up to cover multiple locations, confirm transportation arrangements (e.g., car rentals, rideshares) and share contact details.
Pro Tip: Use a checklist app like Trello or Asana to track equipment readiness and assign tasks like charging batteries or packing reflectors.
Role Clarity and Communication Channels
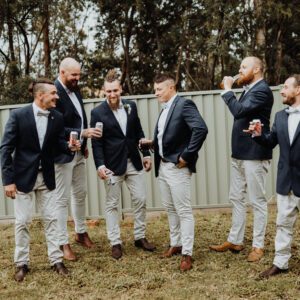
- Defined Responsibilities: Clearly outline each team member’s role (e.g., lead photographer, second shooter, assistant, stylist) to avoid overlap or gaps. For instance, the assistant might manage props while the stylist adjusts the bride’s veil.
- Real-Time Updates: Establish a communication method for the shoot day, such as a group chat or walkie-talkies. Use this to share location changes, lighting adjustments, or client requests.
- Emergency Contacts: Compile a list of vendor contacts (e.g., florists, venues) and share it with the team in case of last-minute issues like delayed deliveries or venue changes.
Case Study: A team avoided a crisis by using a group chat to quickly relay that a bride’s bouquet was stuck in traffic, allowing the stylist to improvise with venue flowers.
Shoot Day Execution: Synchronizing for Efficiency
On the wedding day, timing and adaptability are key. A structured yet flexible approach ensures the team captures all essential moments without disrupting the couple’s flow.
Timeline Management and Pacing
- Buffer Zones: Build 10–15-minute buffers between scheduled segments (e.g., getting ready, ceremony, portraits) to account for delays like traffic or hair touch-ups.
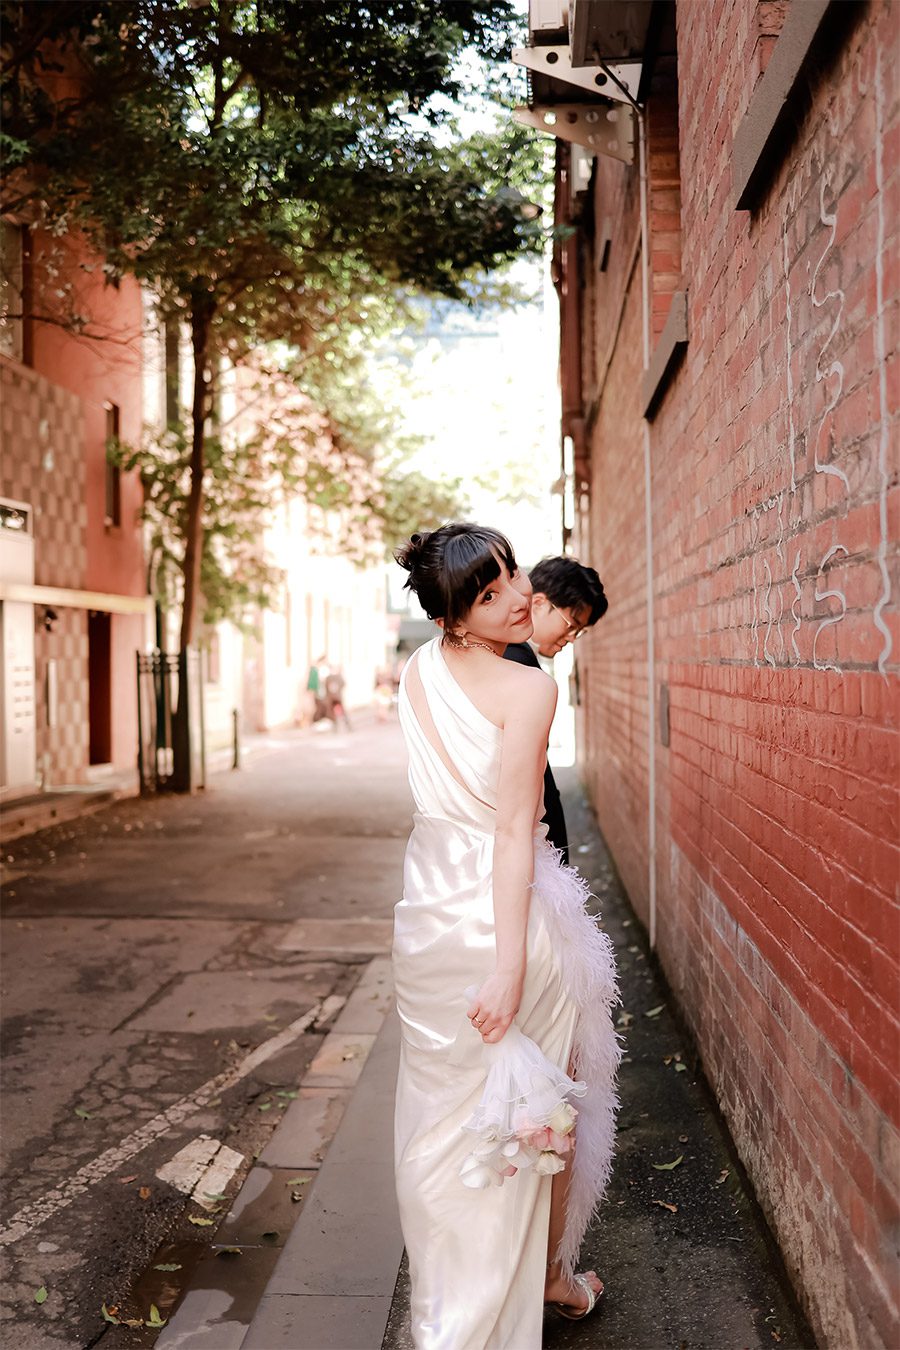
- Priority Shots List: Create a ranked list of must-have photos (e.g., family portraits, first look) and tackle them early in the day when energy levels are high.
- Signal Systems: Use discreet cues (e.g., a hand gesture or whispered keyword) to coordinate transitions between poses or locations without alarming the couple.
Example: A team used a “quiet signal” (a tap on the shoulder) to prompt the bride to turn slightly during portraits, avoiding verbal interruptions.
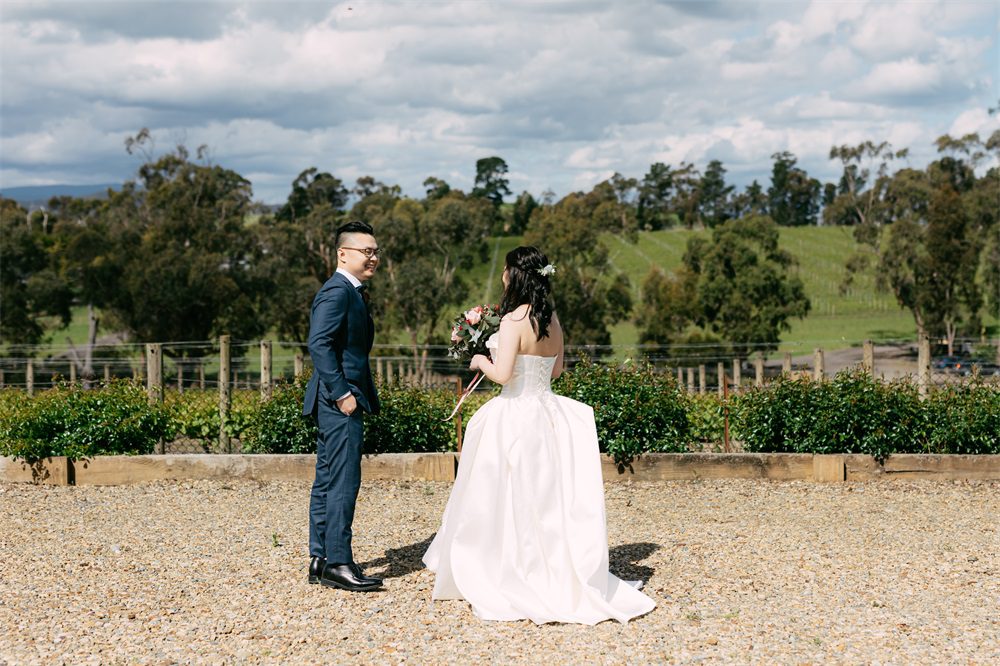
Lighting and Composition Coordination
- Natural Light Tracking: Assign one team member to monitor sunlight direction and quality, especially for outdoor shoots. Use apps like Sun Surveyor to predict golden hour timing.
- Artificial Light Setup: For indoor or low-light scenes, pre-position flashes or continuous lights to minimize setup time. Test angles beforehand to ensure flattering results.
- Shared Frame Awareness: Ensure photographers avoid crossing paths or blocking each other’s shots. For example, one might shoot from a low angle while another captures overhead views.
Pro Tip: Use wireless triggers to sync flashes across multiple cameras, ensuring consistent lighting even when photographers are spread out.
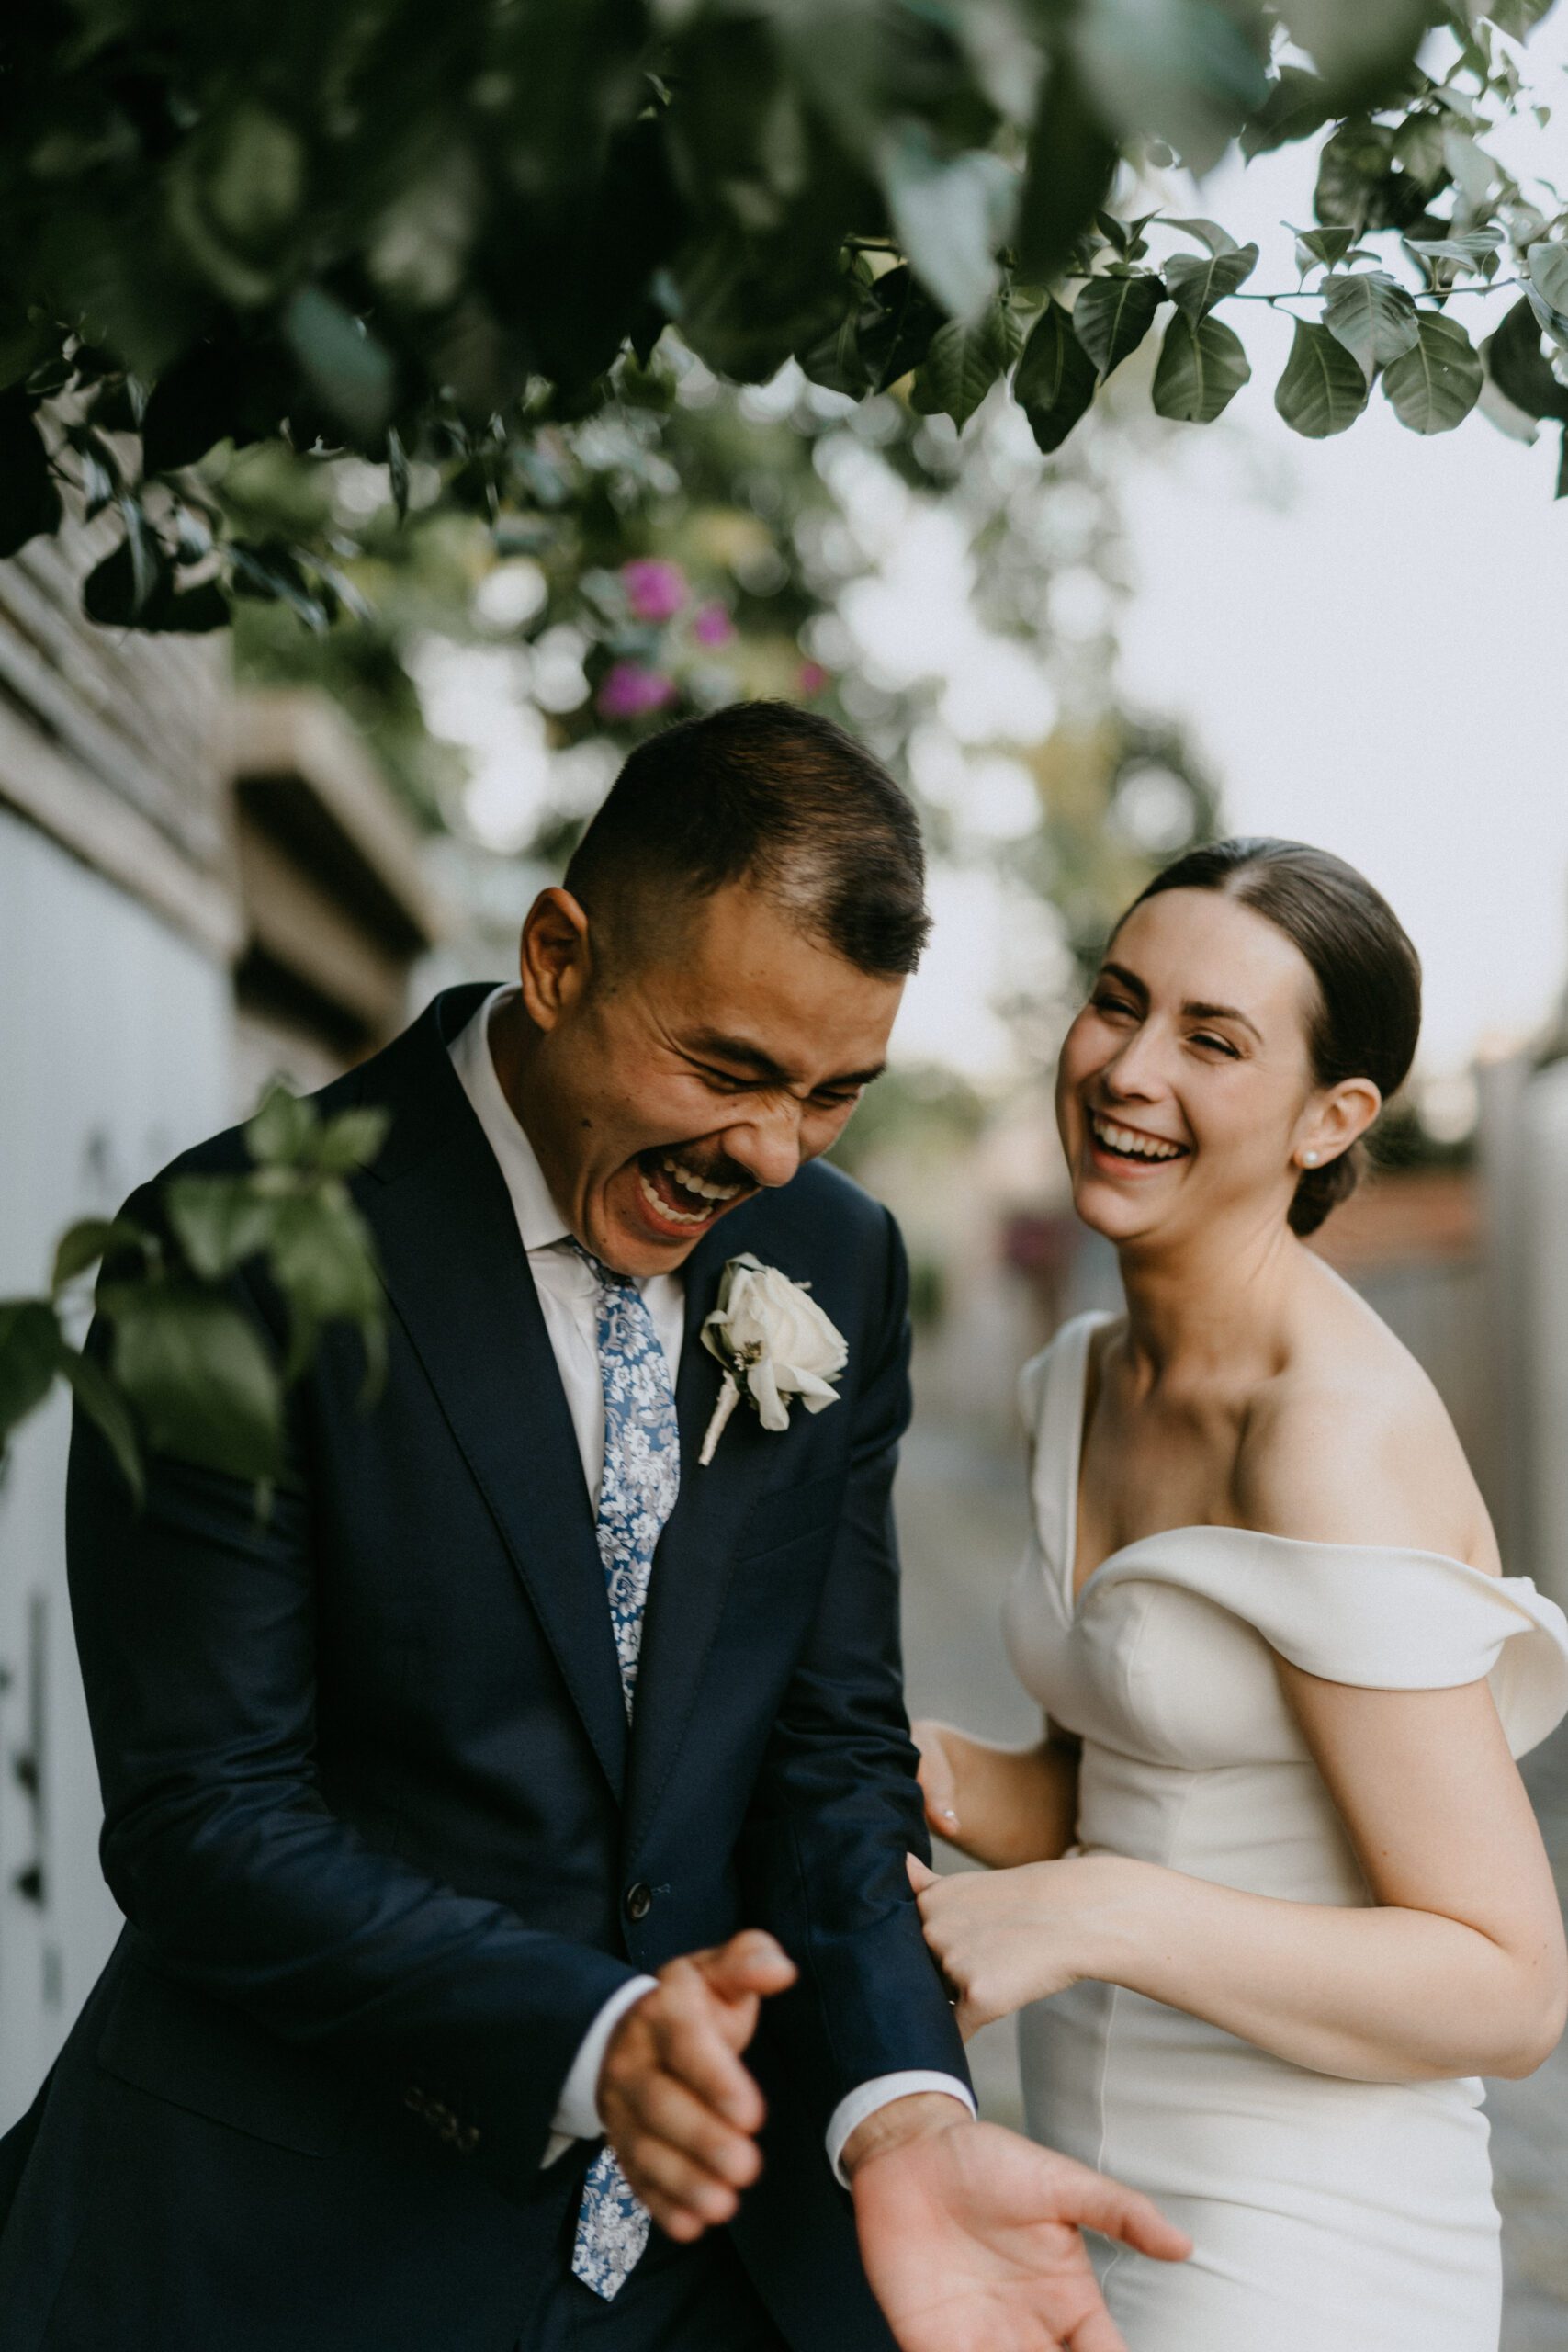
Client Interaction and Comfort
- Calming Presence: Designate a team member (often the lead photographer or assistant) to engage with the couple, offering reassurance and humor to ease nerves.
- Pose Direction Balance: Provide clear but gentle guidance on poses to avoid stiffness. Use phrases like “Try leaning your shoulder toward him” instead of rigid instructions.
- Hydration and Breaks: Schedule short water breaks, especially during outdoor shoots in warm weather. Keep snacks on hand to maintain energy levels.
Case Study: A team kept a bride hydrated during a summer beach shoot by handing her a water bottle between poses, preventing fatigue and ensuring natural expressions.
Post-Shoot Collaboration: Refining and Delivering Results
The work doesn’t end after the last shot. Post-production collaboration ensures the final images meet the couple’s expectations while maintaining the team’s creative standards.
Image Culling and Organization
- Initial Sorting: The lead photographer typically culls images first, selecting the best shots from each segment (e.g., ceremony, portraits). Use software like Lightroom’s “Star Rating” system to flag favorites.
- Second Opinion Review: Have a second team member (e.g., the second shooter) review the cull to catch any missed gems or technical issues (e.g., blurry shots, closed eyes).
- Client Preview Selection: Curate a smaller set of images (50–100) for the couple’s preview gallery, ensuring diversity in poses, locations, and emotions.
Real-World Example: A team used a shared Lightroom catalog to collaborate on culling, with each member adding stars to their top picks before finalizing the selection.
Editing Consistency and Style Alignment
- Style Guides: Develop a preset or editing style guide (e.g., color tones, contrast levels) to apply uniformly across all images. Share this guide with editors or assistants.
- Batch Processing: Use Lightroom’s batch editing tools to apply base adjustments (e.g., exposure, white balance) to entire folders before fine-tuning individual photos.
- Quality Checks: Assign someone to review edited images for consistency, checking for issues like uneven skin tones or mismatched lighting in group shots.
Pro Tip: Create a “master preset” that captures your signature style, then tweak it slightly for different lighting conditions (e.g., bright daylight vs. indoor tungsten).
Client Delivery and Feedback Loops
- Secure Galleries: Use cloud-based platforms like Pixieset or ShootProof to deliver final images, ensuring clients can download high-resolution files and share links with family.
- Feedback Requests: Include a brief survey asking clients about their favorite shots and areas for improvement. Use this data to refine future workflows.
- Follow-Up Communication: Send a thank-you note or small gift (e.g., a printed photo) to strengthen the relationship and encourage referrals.
Case Study: A team increased client satisfaction by adding a “favorite photo” feature to their gallery, allowing couples to tag images they loved for easy album creation.
By prioritizing preparation, synchronization, and post-shoot refinement, Melbourne wedding photography teams can deliver stunning, stress-free results. Clear communication, adaptability, and a focus on the couple’s experience turn technical expertise into timeless memories.