Steps for adjusting the lighting for wedding photography in Melbourne
Melbourne Wedding Photography Lighting Adjustment Guide
Mastering lighting for wedding photography in Melbourne’s diverse settings—from sunlit beaches to dimly lit venues—requires adaptability and technical precision. Proper lighting enhances mood, highlights details, and ensures the couple looks their best in every shot. This guide breaks down step-by-step adjustments for common lighting scenarios, helping photographers achieve professional results without relying on specific equipment brands or budget constraints.
Natural Light Optimization for Outdoor Shoots
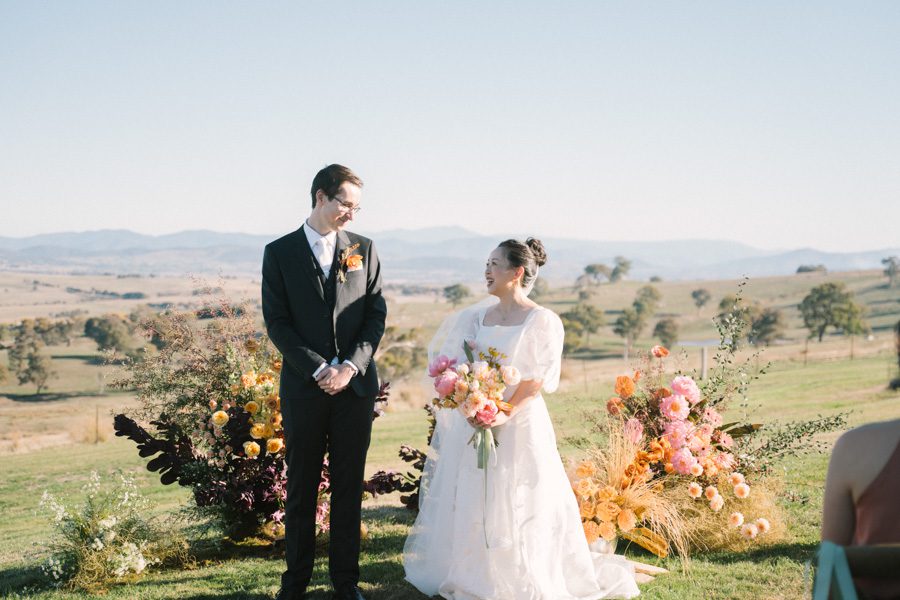
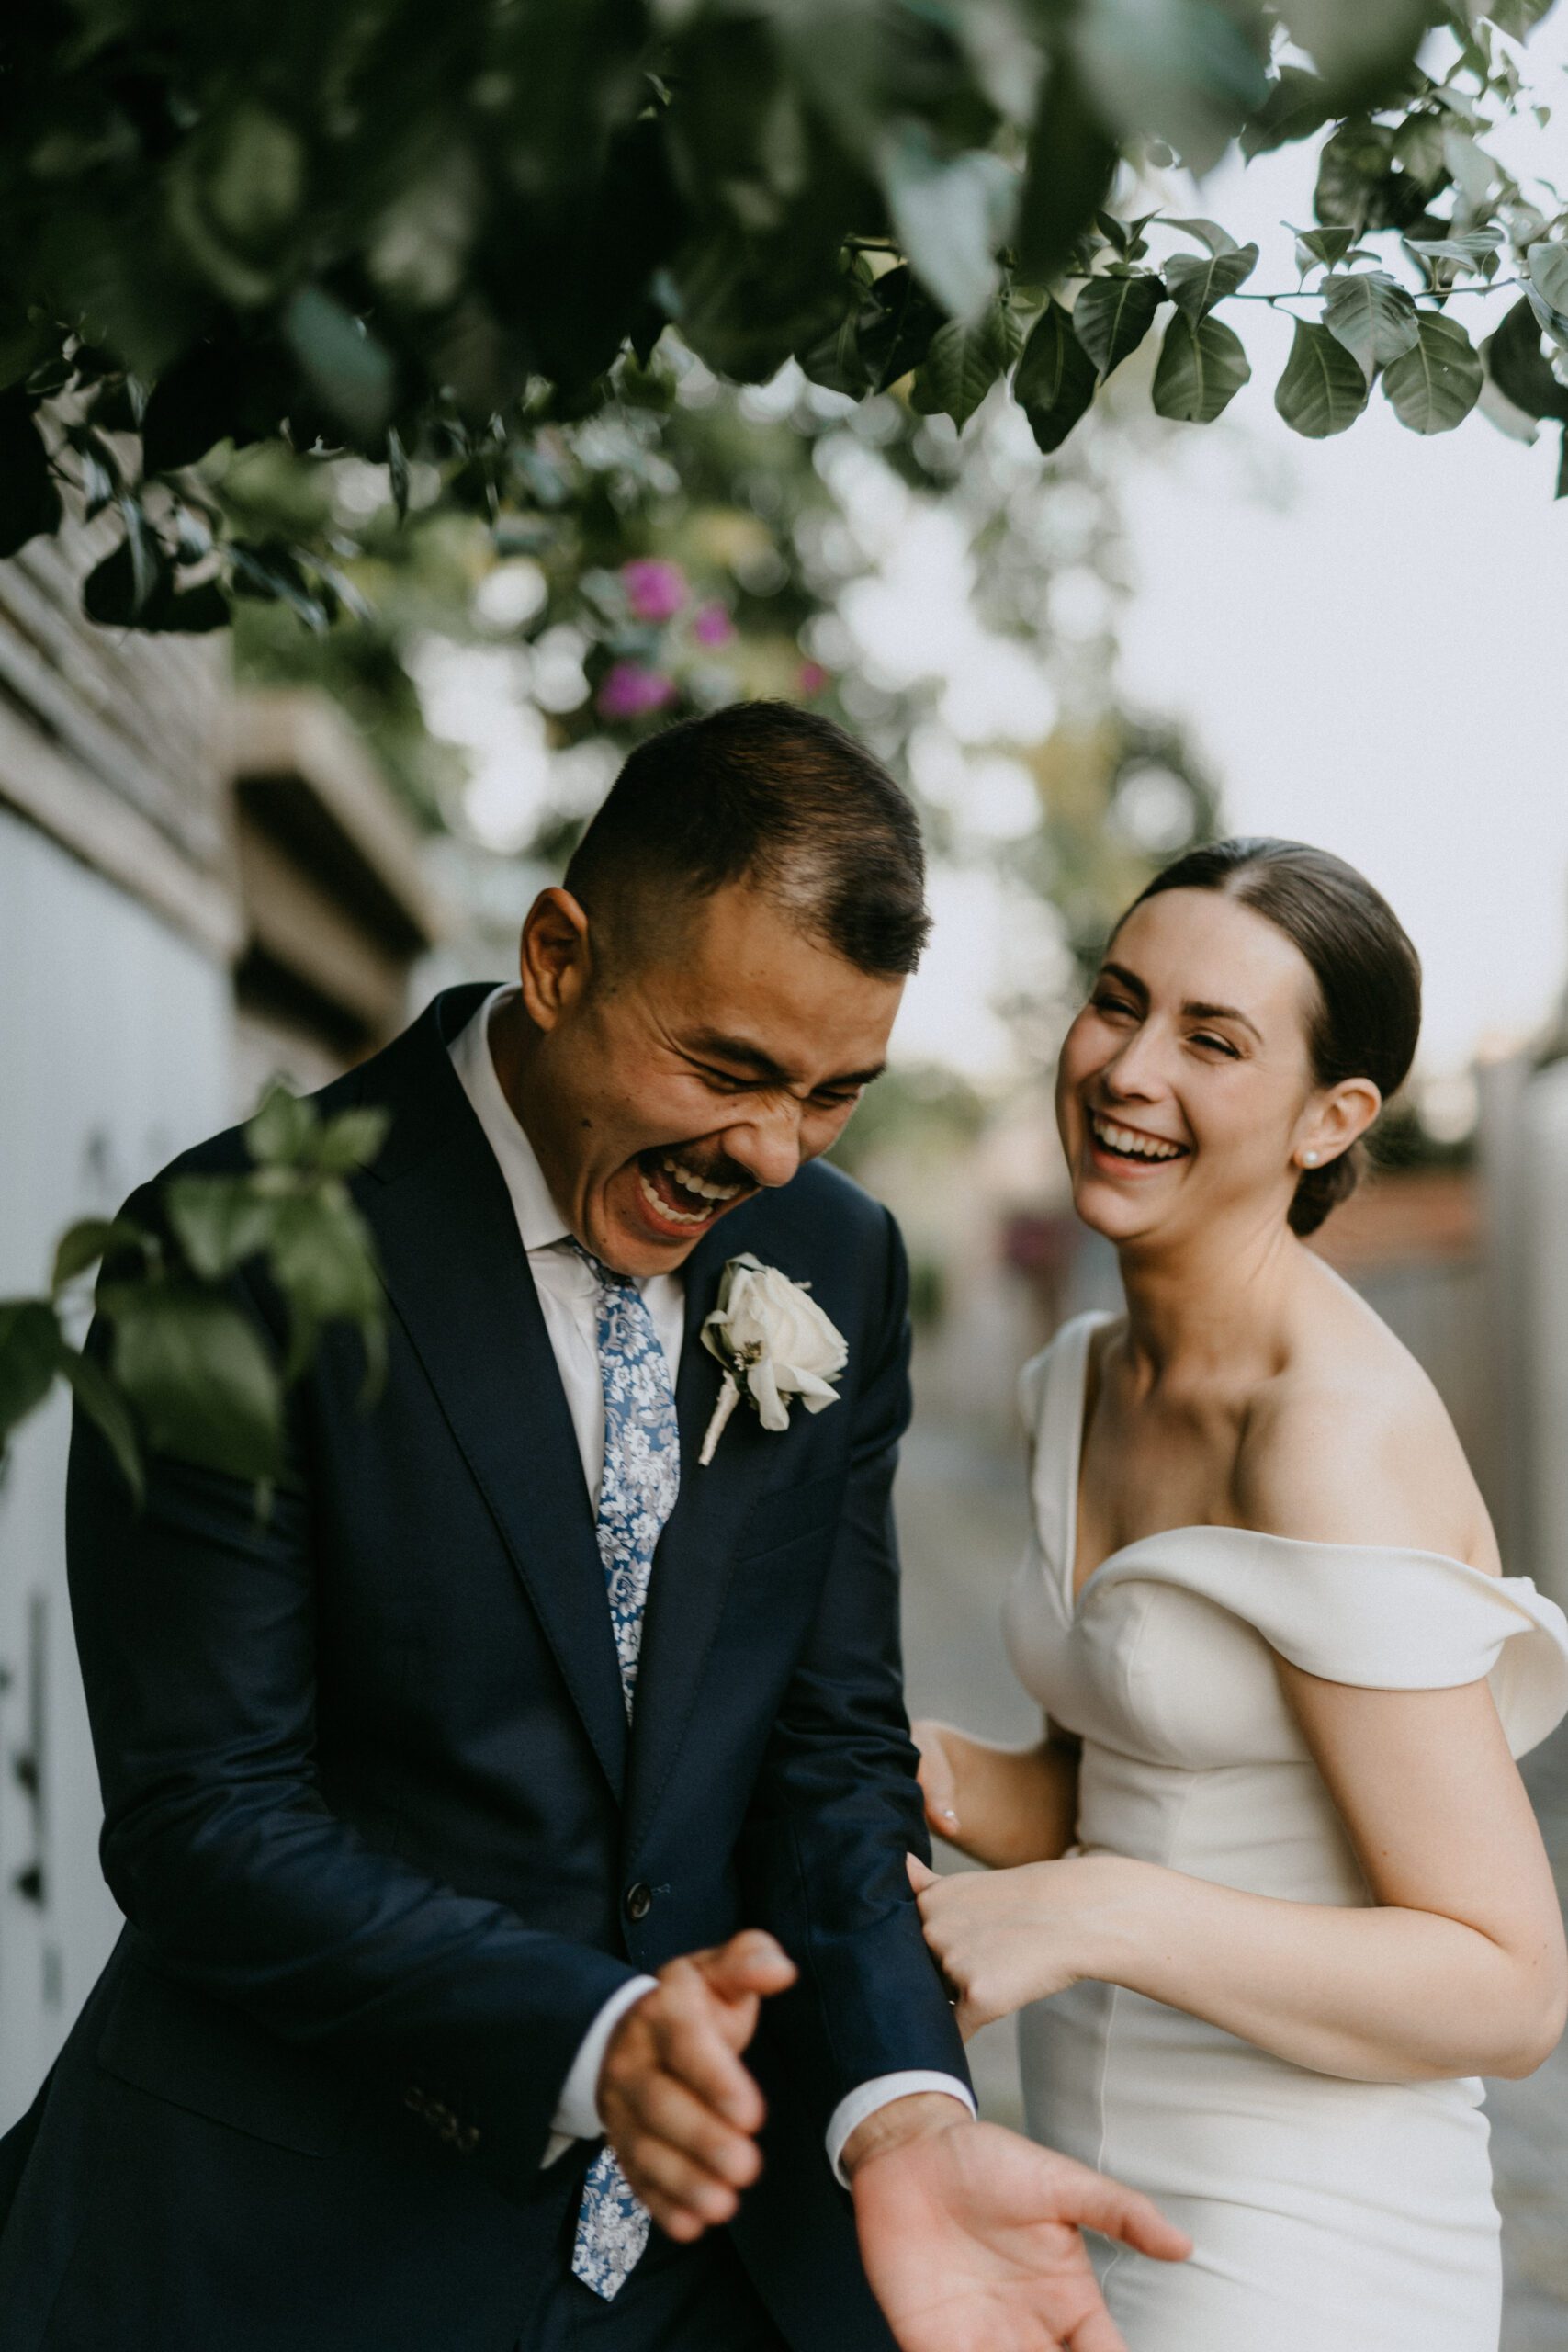
Melbourne’s unpredictable weather demands flexibility when working with natural light. Start by assessing the time of day and weather conditions. For midday shoots under harsh sunlight, position the couple in shaded areas like under trees or near buildings with overhangs. Use a reflector to bounce soft light onto their faces, reducing shadows and creating a balanced look.
During golden hour—the hour before sunset—take advantage of warm, directional light. Face the couple toward the sun to capture golden highlights in their hair and a natural glow on their skin. If the sun is too intense, use a diffuser to soften its intensity while maintaining warmth. For backlit shots, adjust exposure settings to prevent silhouettes, or embrace the dramatic effect by framing the couple against the sun with a wide aperture for bokeh.
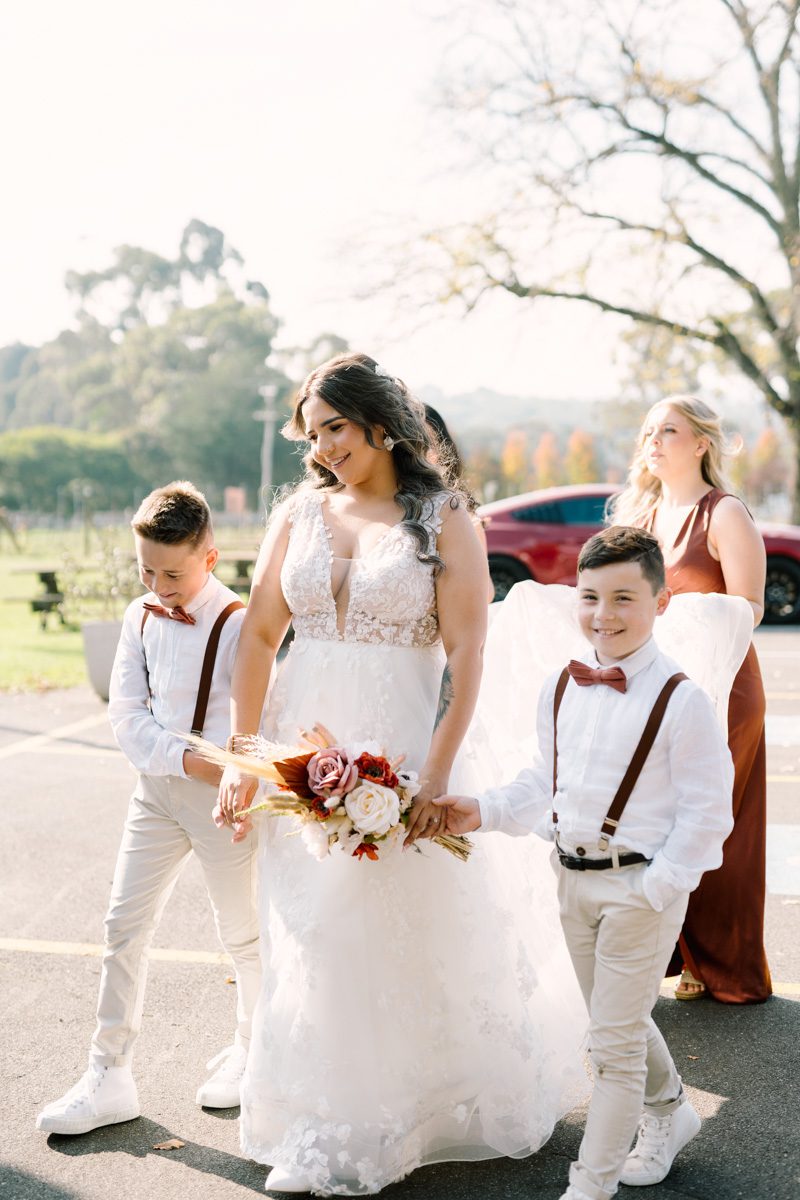
Tip for Cloudy Days: Overcast skies act as a natural diffuser, providing even lighting. Use this to your advantage by shooting wide-angle shots of the couple in open spaces, ensuring their faces are well-lit without harsh contrasts.
Indoor Venue Lighting Adjustments
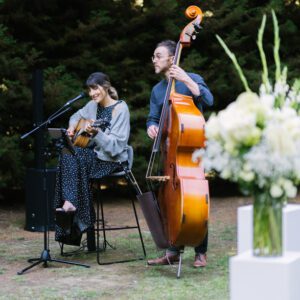
Indoor venues like banquet halls, churches, or studios often have mixed lighting sources, including overhead fluorescents, chandeliers, or colored uplighting. Start by turning off all automatic settings on your camera to maintain control over exposure and white balance. Use a gray card or white balance tool to calibrate colors accurately, especially in venues with tungsten or LED lighting that casts warm or cool tones.
For dimly lit spaces, increase ISO settings gradually to capture ambient light without introducing excessive noise. Pair this with a wide aperture (e.g., f/1.8 or f/2.8) to let in more light and create a shallow depth of field, isolating the couple from the background. If flash is necessary, bounce it off ceilings or walls to diffuse harsh direct light, or use a flash diffuser for softer results.
Venue-Specific Strategy: In venues with large windows, position the couple near the light source during the day for natural fill light. At night, use window reflections or city lights outside as creative backdrops, adjusting shutter speed to capture motion blur if desired.
Mixed Lighting Scenarios: Balancing Natural and Artificial Sources
Combining natural and artificial light—such as shooting indoors near windows during daylight or using flash outdoors at dusk—requires careful balancing. Start by setting your white balance to “daylight” or “auto” as a baseline, then fine-tune using custom settings if colors appear off. For example, if window light is cool and indoor tungsten light is warm, adjust white balance to neutralize extremes or embrace the contrast for artistic effect.
When using flash outdoors, sync it with ambient light to avoid overpowering natural tones. Set flash power to a low output (e.g., 1/16 or 1/32) and use high-speed sync if shooting in bright conditions to maintain a natural look. For indoor-outdoor transitions, carry a portable LED panel or continuous light to supplement natural light during cloudy spells or in shaded areas.
Creative Technique: Use gels on flashes or LEDs to match artificial light with ambient tones. For instance, a blue gel can mimic twilight skies, while an orange gel can warm up cool indoor lighting.
Low-Light and Nighttime Shooting Techniques
Melbourne’s evening scenes—from waterfront promenades to rooftop bars—offer romantic backdrops but pose challenges for lighting. In low-light conditions, prioritize stability by using a tripod to avoid camera shake. Switch to manual mode and adjust shutter speed, aperture, and ISO to capture enough light without sacrificing image quality.
For nighttime portraits, use a combination of ambient light and supplemental sources. Position the couple near streetlights, neon signs, or lampposts for natural fill light, then use a flash or LED panel to highlight their faces. Experiment with long exposures to capture light trails from passing cars or ferries, adding dynamic elements to the composition.
Safety Note: When shooting in dark or crowded areas, ensure the couple remains visible to the team and avoid obstructing pathways for others.
Dynamic Lighting for Creative Portraits
To add drama or whimsy to wedding portraits, manipulate light creatively. Use a prism or crystal to refract light onto the couple’s faces, creating rainbow-like patterns or lens flares. For bokeh effects, shoot with a wide aperture and position the couple near light sources like fairy lights, candles, or city lights.
In studio-style setups, experiment with backlighting by placing a light source behind the couple to outline their silhouette. Combine this with a front-facing light at a lower intensity to reveal facial details without losing the ethereal glow. Use colored gels or LED strips to cast hues like gold, pink, or blue for mood-specific shots.
Tip for Movement: If the couple is dancing or walking, use rear-curtain sync flash to freeze their motion while capturing light trails behind them, adding energy to the image.
By mastering these lighting adjustments, photographers can adapt to Melbourne’s ever-changing environments, ensuring every wedding photo tells a story with clarity, emotion, and artistic flair. Whether shooting under bright skies or starlit nights, thoughtful lighting techniques transform ordinary moments into extraordinary memories.