Precautions for lighting up wedding dresses on a cloudy day in Melbourne
Overcast Sky Wedding Photography in Melbourne: Essential Lighting Tips for Brides and Grooms
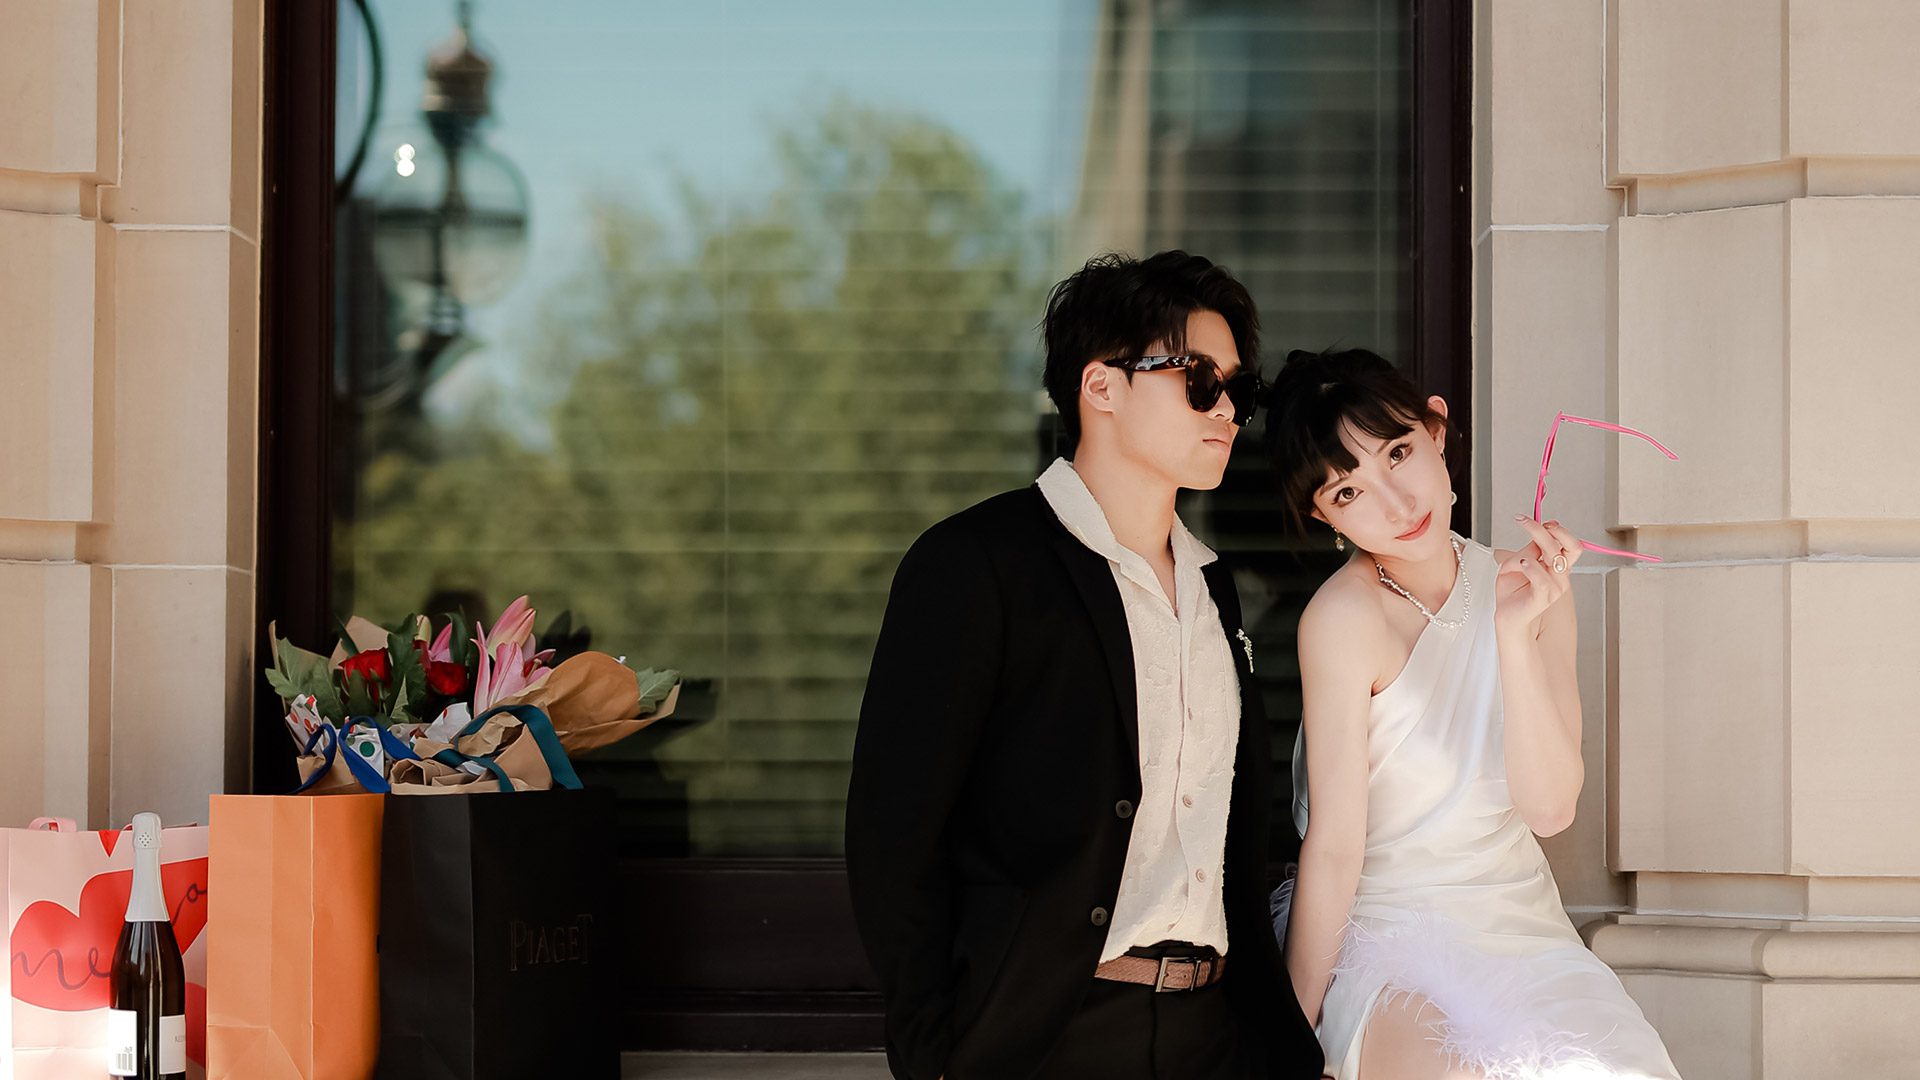
Melbourne’s frequent overcast days can create a soft, diffused light that’s flattering for portraits but may lack the warmth or depth needed for truly striking wedding photos. Without direct sunlight, shadows flatten, and skin tones can appear dull if not properly lit. Fortunately, with a few strategic adjustments, you can transform gray skies into a dreamy backdrop that enhances your wedding attire and emotions. Here’s how to master lighting on Melbourne’s cloudy wedding days.
Understanding Overcast Light: Benefits and Challenges
Cloud cover acts as a natural diffuser, spreading sunlight evenly across the scene. This eliminates harsh shadows and reduces the risk of overexposure, making it easier to capture balanced exposures without blowing out highlights. However, overcast light can also feel cold, flat, or lacking in contrast, especially in midday shots. The key is to use supplemental lighting to add warmth, dimension, and a sense of atmosphere to your images.
The Role of Color Temperature
Overcast skies often cast a blueish tint, which can make skin tones look washed out or cool. To counteract this, adjust your camera’s white balance settings to “Cloudy” or “Shade,” which adds warmth to the scene. If shooting in RAW format, you can fine-tune color temperature during editing, but getting it right in-camera ensures better baseline quality.
Natural Light Enhancement: Working With Available Illumination
Before reaching for artificial lights, maximize the soft, even light an overcast day provides. These techniques help you use ambient light to its fullest potential:
Positioning for Optimal Light
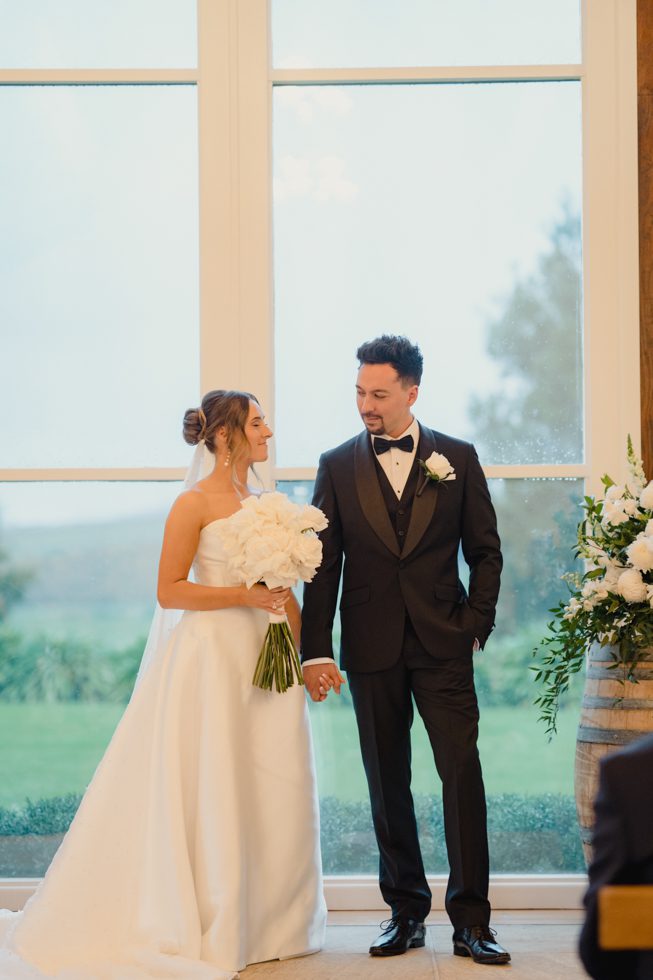
Face your subjects toward the brightest part of the sky (usually where clouds are thinnest) to avoid flat lighting. Avoid shooting directly under thick cloud cover, as this can create a “top-down” light that flattens facial features. Instead, seek open areas where light spills through gaps in the clouds, creating subtle highlights and shadows.
Using Reflectors to Fill Shadows
A simple white or silver reflector can bounce light back onto your subjects’ faces, filling in shadows and adding a gentle glow. Have an assistant hold the reflector below the chin or to the side of the face to brighten eyes and cheekbones. For a more dramatic effect, use a gold reflector to add warmth, especially during golden hour (even on cloudy days).
Time of Day Matters
Overcast mornings and late afternoons often offer the softest, most flattering light, as the sun’s lower angle creates longer, gentler shadows. Midday light under thick clouds can feel harsh and flat, so plan indoor portraits or creative shots during peak brightness and save outdoor sessions for softer light periods.
Artificial Lighting Solutions for Depth and Drama
When natural light isn’t enough, artificial lighting can transform a cloudy scene into a moody, romantic masterpiece. These tools and techniques add control and creativity to your shots:
Off-Camera Flash for Directionality
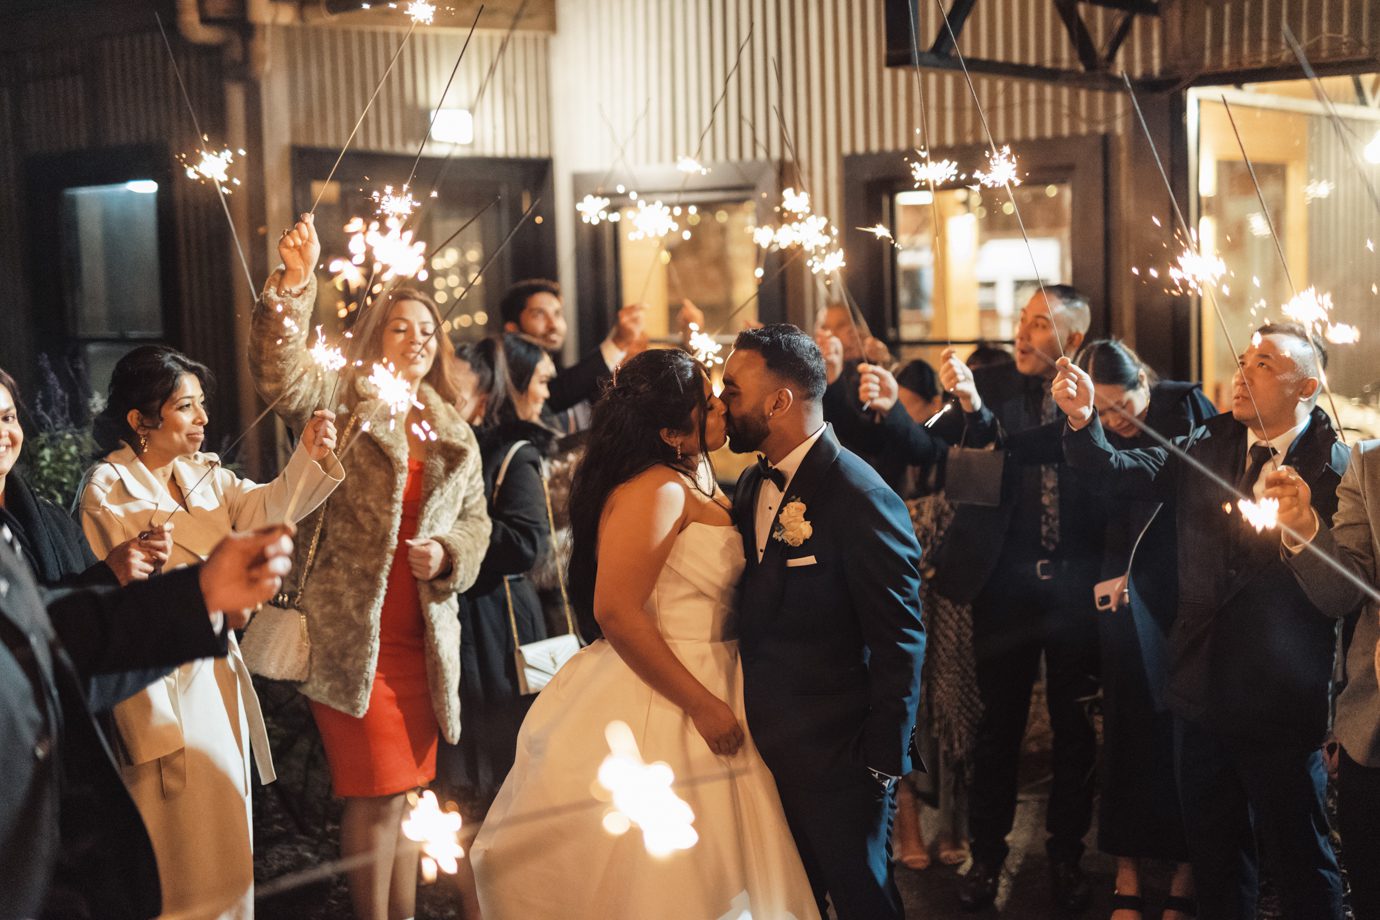
A portable flash unit mounted on a stand or held by an assistant can mimic natural sunlight by casting light from an angle. Position the flash 45 degrees above and to the side of your subjects to create natural-looking shadows and highlights. Use a diffuser or bounce the flash off a nearby wall or ceiling to soften the output.
Continuous LED Lights for Video and Still Hybrid Shoots
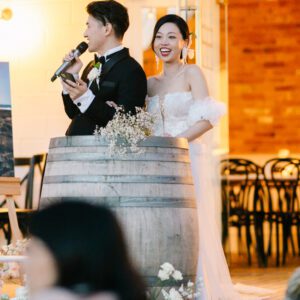
Battery-powered LED panels provide steady, adjustable light without the harshness of flash. They’re ideal for capturing video clips or hybrid photo-video sessions, as they eliminate the need for syncing flash with camera shutters. Dim the LEDs to match the ambient light level, then gradually increase brightness to add a subtle glow to faces or backgrounds.
Creating Depth With Backlighting
Even on cloudy days, backlighting can separate your subjects from the background and add a halo effect to hair or veils. Position a light source behind your subjects (out of frame) and adjust its intensity to avoid overpowering the scene. Use a flag or gobo to block light from hitting the lens directly, preventing flare while maintaining the ethereal quality of backlight.
Post-Processing Tips to Elevate Overcast Images
Editing plays a crucial role in refining photos taken under cloudy skies. These adjustments can enhance mood, warmth, and contrast without overdoing it:
Adjusting Exposure and Contrast
Slightly increase exposure to brighten dull tones, but avoid pushing it too far, as this can introduce noise. Boost contrast to add definition to facial features and clothing textures, but keep it subtle to maintain the soft, romantic feel of overcast light.
Enhancing Color Saturation
Cloudy days can mute colors, especially in greenery or floral arrangements. Gently increase saturation in the red, orange, and yellow channels to make skin tones and decor pop without looking artificial. For a cohesive look, apply the same saturation adjustments to both subjects and background elements.
Adding Vignettes for Focus
A subtle vignette (darkening around the edges of the frame) draws attention to your subjects and creates a sense of intimacy. Use a radial gradient tool in editing software to darken the corners gradually, ensuring the effect doesn’t distract from the main focus of the image.
Final Thoughts: Embracing Melbourne’s Cloudy Canvases
Overcast wedding days in Melbourne don’t have to mean dull, lifeless photos. By understanding how to work with (and enhance) natural light, incorporating artificial lighting when needed, and refining images in post-processing, you can create a collection of photos that feel timeless, emotional, and uniquely yours. Remember, cloudy skies offer a blank canvas—and with the right techniques, you can paint it with light, love, and lasting memories.