Melbourne wedding photography – Post-sunset color grading of the scene
Crafting the Perfect Sunset Glow in Melbourne Wedding Photography Post-Color Grading
Melbourne’s coastline and waterfront venues offer some of the most breathtaking sunset views, making them ideal for wedding photography. However, capturing the full magic of a golden-hour sky often requires careful post-color grading to balance warmth, contrast, and detail. Whether you’re working with a soft pastel sunset or a dramatic fiery horizon, understanding how to enhance these natural tones can transform your wedding photos into timeless works of art.

Understanding the Science of Sunset Light
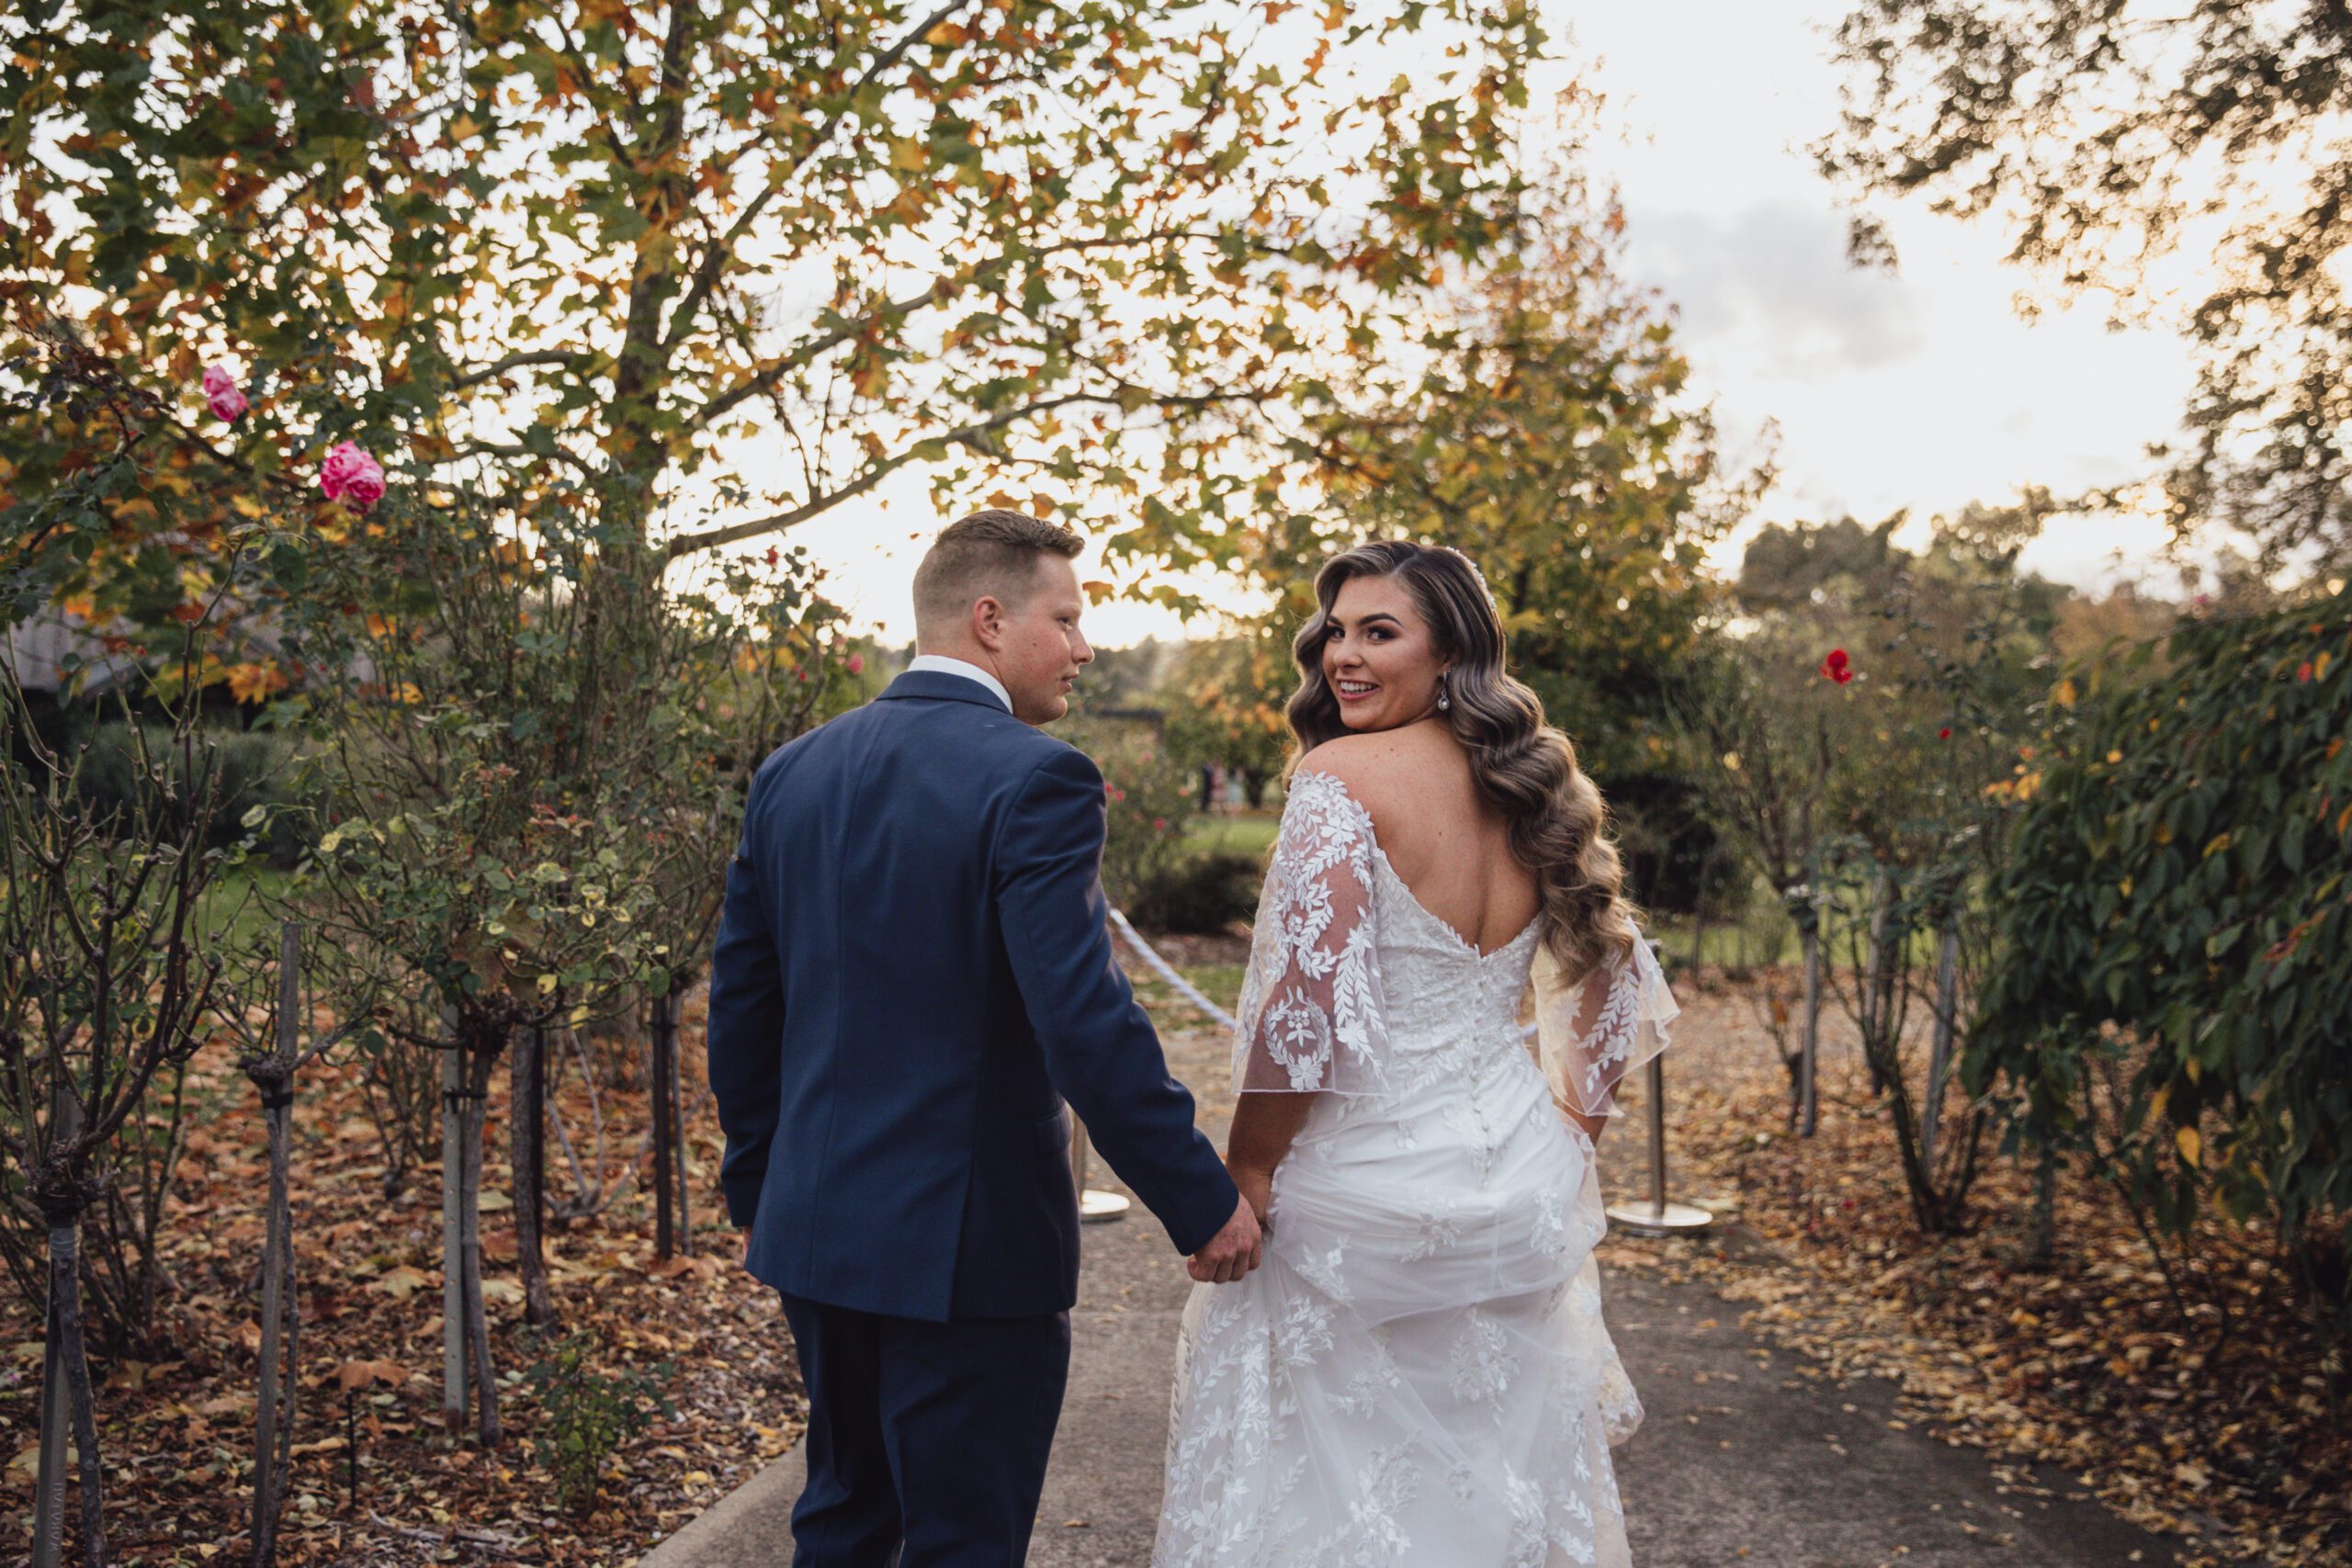
Sunset light is unique because of its low angle and long wavelengths, which create warm, golden hues that shift toward pink and purple as the sun dips below the horizon. In Melbourne, coastal locations like St Kilda Beach or Williamstown Pier amplify these colors with reflections off the water, while inland spots such as the Royal Botanic Gardens offer softer, diffused light through foliage.
The Role of White Balance in Capturing Warmth
One of the first steps in post-color grading is adjusting white balance to preserve the natural warmth of the sunset. Many cameras struggle to maintain accurate colors in mixed lighting, especially when artificial lights from venues or street lamps interfere. Start by setting your white balance to "Daylight" or "Shade" in your editing software, then fine-tune the temperature slider to enhance golden tones without making the scene look overly orange. For a sunset photo taken near the Yarra River, a slight increase in temperature can bring out the rich amber glow of the setting sun while keeping the water’s reflections cool and balanced.
Balancing Highlights and Shadows for Depth
Sunset scenes often have extreme contrast between bright sky and dark foreground. To avoid losing detail in either area, use the highlights and shadows sliders to recover information. Lower the highlights to prevent the sky from blowing out into pure white, and raise the shadows to reveal textures in the couple’s clothing or the surrounding landscape. For example, in a photo of a bride and groom standing on Brighton Beach at sunset, reducing highlights can preserve the delicate clouds in the sky while boosting shadows brings out the sand’s grainy texture beneath their feet.
Enhancing Sunset Colors Without Overdoing It
The key to successful sunset color grading is subtlety. Over-saturating the image can make it look artificial, while under-editing may leave the scene flat and lifeless. Here’s how to strike the right balance.
Using the HSL Panel for Targeted Adjustments
The Hue, Saturation, and Luminance (HSL) panel allows you to adjust specific color ranges without affecting the entire image. For sunset photos, focus on the orange, yellow, and red channels. Increase saturation slightly in these areas to deepen the warm tones, then adjust luminance to control brightness. For instance, if the sunset appears too pale, boosting the orange luminance can make it glow more intensely without altering other colors. Conversely, if the sky looks muddy, reducing yellow saturation can clean up the tones and restore clarity.
Adding Vignettes to Draw Focus to the Couple
A subtle vignette can help guide the viewer’s eye toward the center of the image, where the couple is likely positioned. Use a radial gradient mask to darken the edges of the photo, ensuring the effect is gentle and natural. For a sunset wedding portrait, a light vignette can mimic the way light naturally fades at dusk, creating a cozy, intimate atmosphere. Adjust the feathering of the mask to blend the vignette seamlessly into the background, avoiding harsh lines that might distract from the scene.
Refining Skin Tones in Warm Light
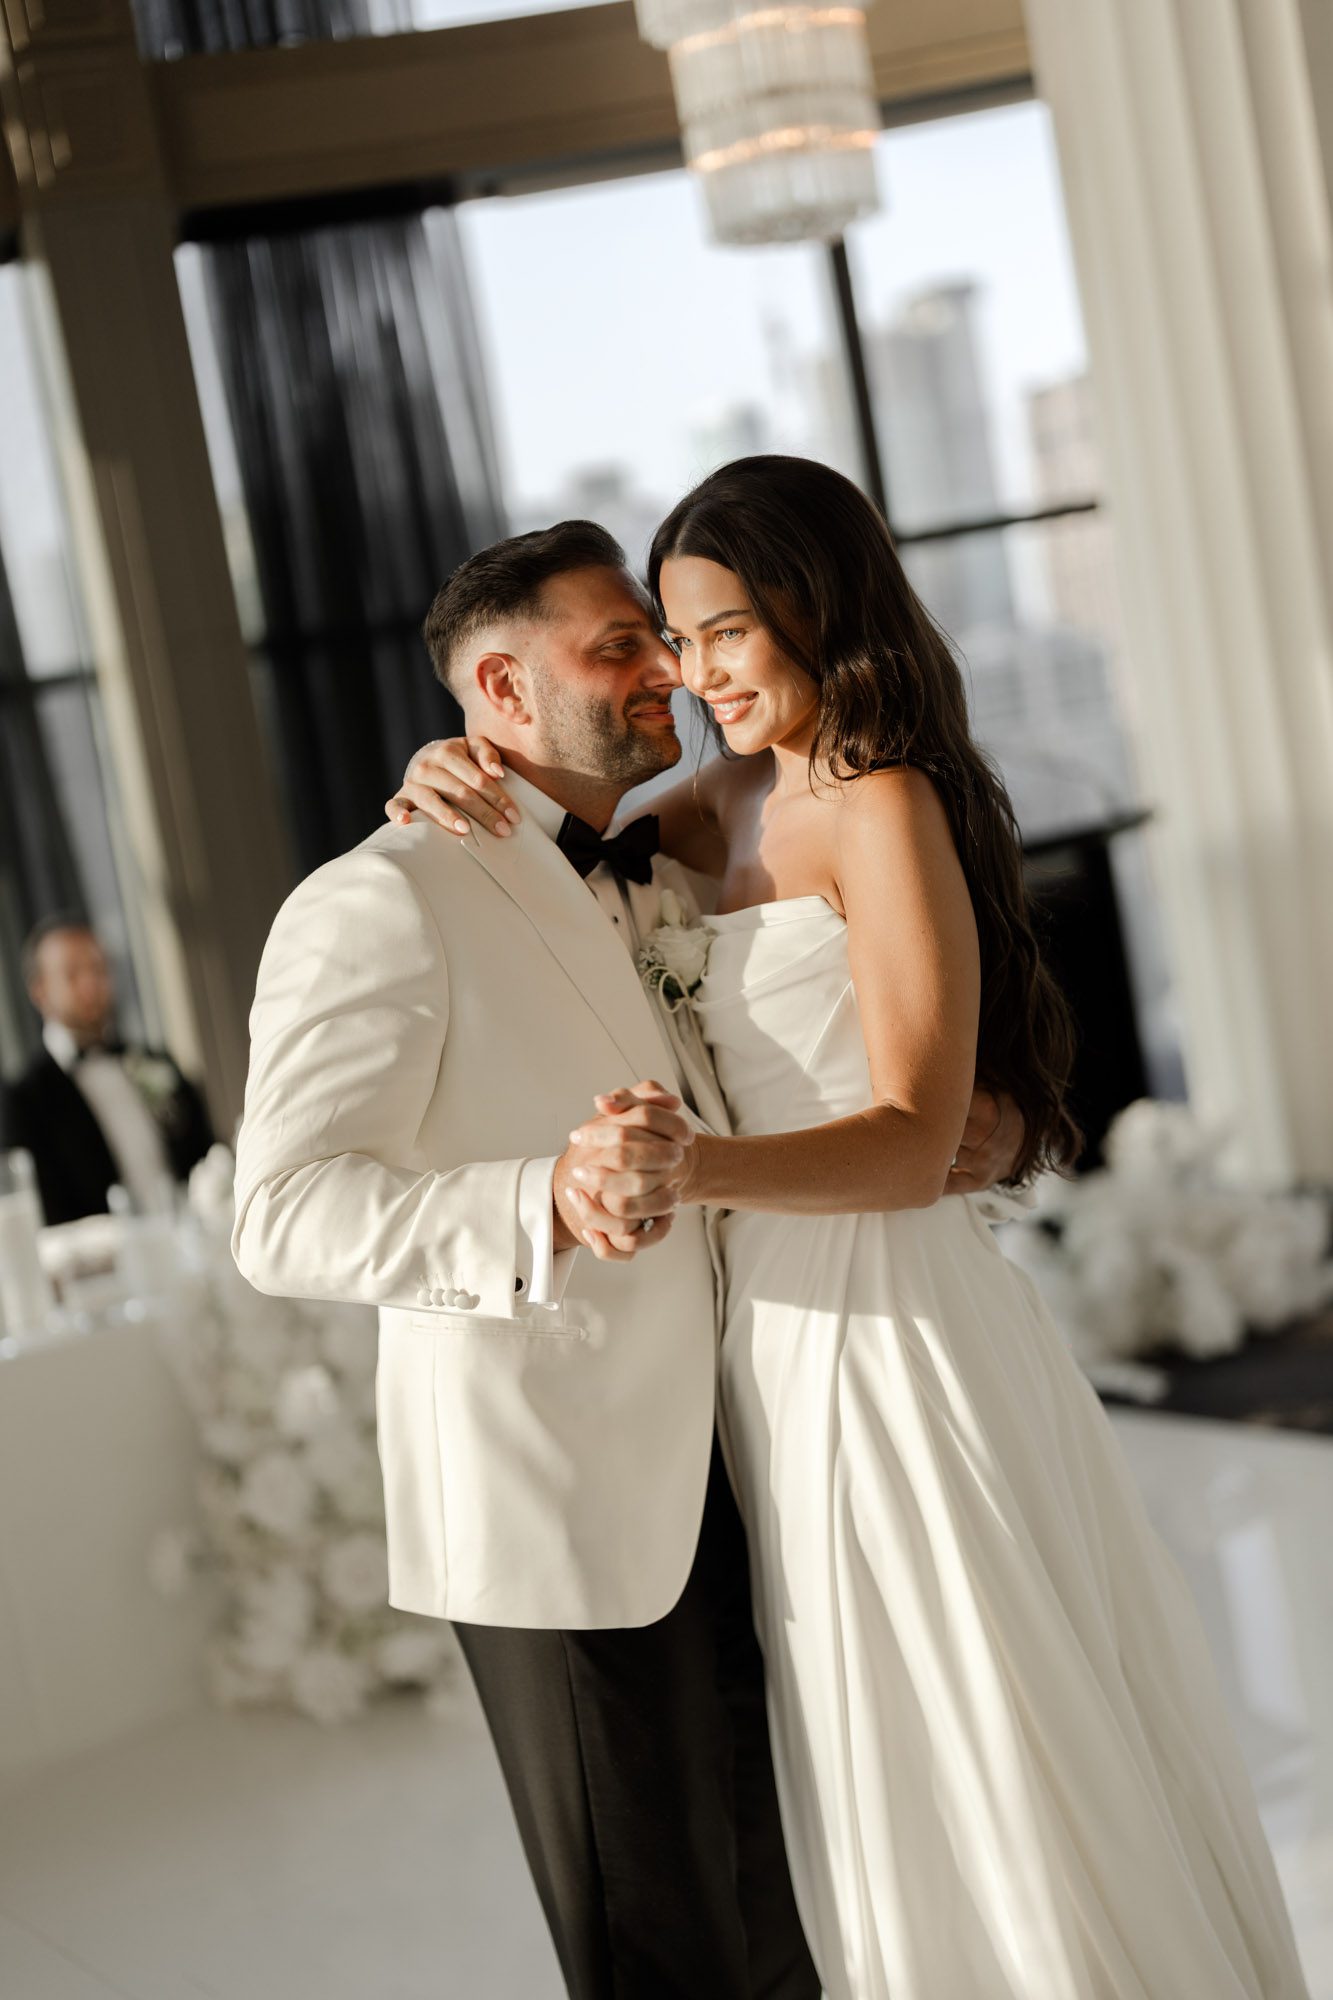
Sunset lighting can cast strong orange or pink hues on the couple’s skin, which may look unflattering if not corrected. Use the brush tool to select the bride and groom’s faces, then adjust the temperature and tint sliders to neutralize extreme colors. Aim for a natural, healthy glow that complements the warm background without making them appear sunburned or washed out. For a group photo taken during the reception’s golden hour, this step ensures everyone looks their best against the vibrant sky.
Creative Techniques for Unique Sunset Effects
While realistic color grading is often the goal, adding a touch of creativity can make your wedding photos stand out. Here are some advanced methods to experiment with.
Split Toning for Dramatic Contrast
Split toning involves applying different colors to the highlights and shadows of an image, creating a stylized, artistic effect. For sunset photos, try adding a warm golden tone to the highlights (to enhance the sun’s glow) and a cool blue or purple to the shadows (to mimic the deepening twilight). This contrast adds depth and mood, turning a simple sunset into a cinematic scene. Use the opacity slider to control the intensity of the effect, ensuring it enhances rather than overwhelms the original photo.
Creating Sunset Reflections for Added Romance
If the original photo doesn’t include visible reflections on water, you can simulate them in post-processing. Duplicate the background layer, flip it vertically, and position it below the original image to mimic a reflection. Apply a Gaussian blur filter to soften the duplicated layer, then reduce its opacity to 30-50% for a realistic effect. Use a layer mask to erase parts of the reflection that wouldn’t naturally appear, such as solid objects or distant landscapes. This technique works beautifully for photos taken on Melbourne’s bayside beaches, adding a dreamy, symmetrical quality to the scene.
Using Gradient Maps for Cinematic Color Grading
Gradient maps apply a color gradient to your image based on its tonal values, allowing for precise control over the mood. Choose a gradient that transitions from warm orange or gold in the highlights to deep blue or purple in the shadows. Adjust the blending mode to "Soft Light" or "Overlay" and lower the opacity until the effect looks natural. This method can transform a flat sunset photo into a rich, moody masterpiece, perfect for formal portraits or artistic shots of the wedding venue at dusk.
Conclusion: Elevating Melbourne Sunsets with Thoughtful Color Grading
Sunset wedding photography in Melbourne offers endless opportunities for creativity, but the true magic lies in post-color grading. By mastering techniques like white balance adjustment, HSL targeting, and creative effects like split toning or gradient maps, you can turn ordinary sunset photos into extraordinary memories. Whether you’re capturing a quiet moment between the couple or a grand celebration against a fiery sky, the right approach to color grading ensures every image reflects the beauty and emotion of the day.