Melbourne Wedding Photography – Enhancing the Texture of Wedding Photos in the Post-Production Stage
Enhancing Wedding Dress Texture in Post-Processing for Melbourne Wedding Photography
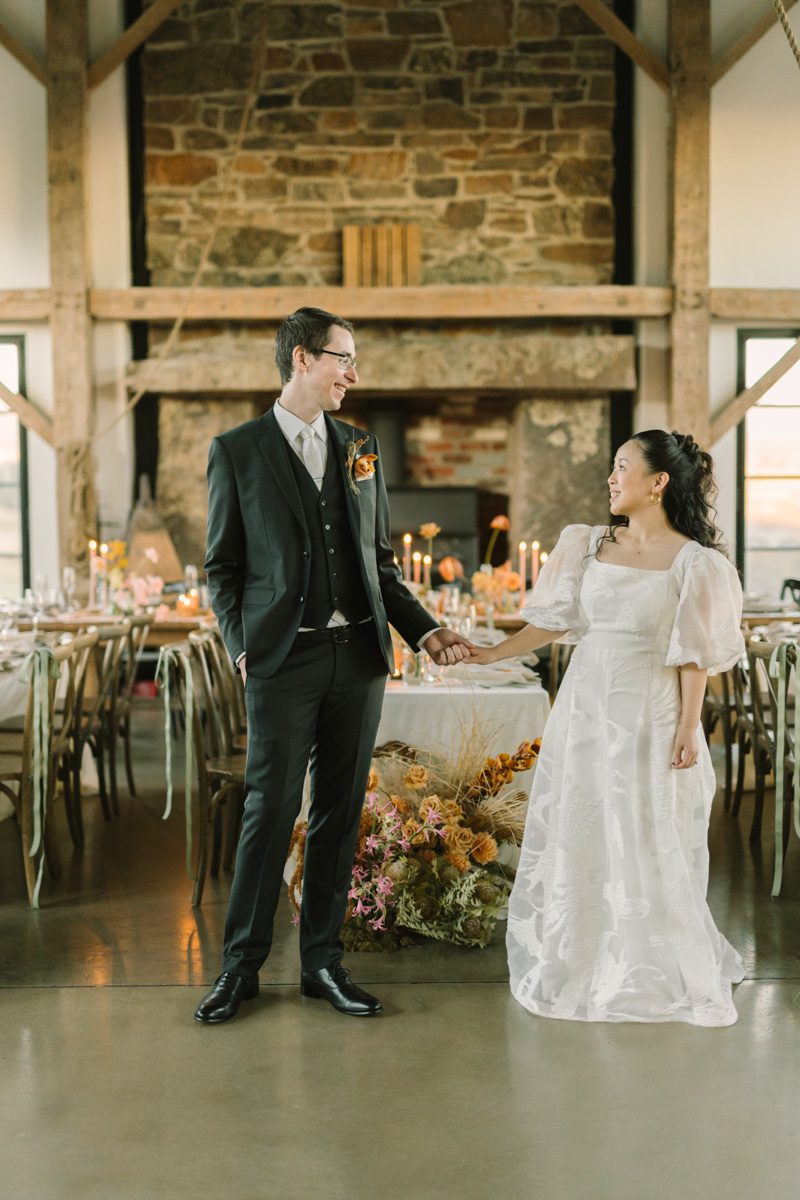
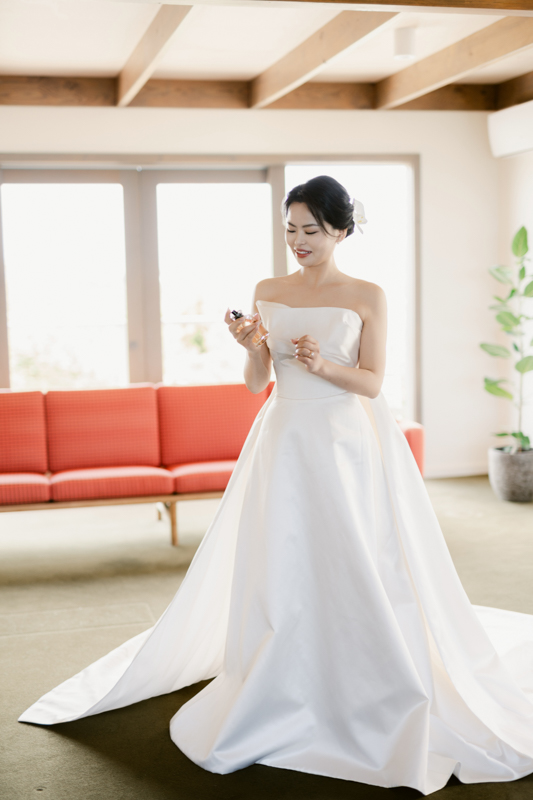
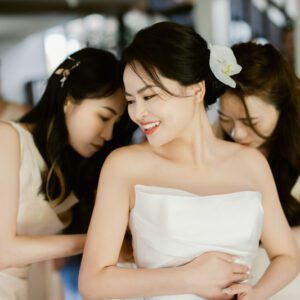
The wedding dress is often the centerpiece of bridal portraits, and capturing its intricate details and luxurious texture is essential for creating timeless images. In Melbourne’s diverse photography settings—from coastal beaches to historic gardens—the right post-processing techniques can elevate the dress’s appearance, ensuring it stands out in every frame. Here’s how to refine and enhance the fabric’s texture for a polished, professional finish.
Understanding the Role of Light in Dress Texture
Light plays a critical role in how textures appear in photographs. Soft, diffused light—common in Melbourne’s overcast days or during golden hour—can highlight delicate details like lace or beading without creating harsh shadows. Conversely, harsh midday sunlight may wash out textures or create uneven highlights. Post-processing allows you to correct these issues and emphasize the dress’s natural beauty, regardless of the original lighting conditions.
Adjusting for Natural Light Variations
Melbourne’s weather can be unpredictable, with sunny spells followed by sudden cloud cover. If the dress appears flat or overly bright due to direct sunlight, reducing the highlights and increasing contrast can restore depth and dimension. For example, if the bodice’s beading looks lost in bright light, gently darkening the surrounding fabric can make the details pop. Similarly, if the skirt appears too dark in shadowy areas, lifting the shadows slightly can reveal hidden textures without overexposing the image.
Balancing Indoor and Outdoor Lighting
Many Melbourne wedding shoots transition between indoor and outdoor venues, such as moving from a chapel to a garden reception. Indoor lighting—whether artificial or natural through windows—can cast color tints on the dress, such as yellow or blue hues. Using white balance adjustments, you can neutralize these tints and restore the dress’s true color. For instance, if fluorescent lighting gives the dress a greenish tint, shifting the white balance toward warmer tones can counteract the effect and create a more natural look.
Refining Fabric Details Through Targeted Adjustments
The dress’s texture is defined by its fabric type, embellishments, and construction. Post-processing allows you to enhance these elements individually for a customized result.
Enhancing Lace and Embroidery
Lace and embroidery are common features in wedding dresses, adding elegance and intricacy. However, these details can easily blend into the fabric if not properly highlighted. Using the clarity slider, you can increase the mid-tone contrast of the lace or embroidery, making the patterns stand out against the background fabric. For finer adjustments, the brush tool can target specific areas, allowing you to boost contrast or sharpness only where needed. This technique works particularly well for delicate details like floral appliqués or vine-like embroidery.
Sharpening Beading and Sequins
Beaded or sequined dresses catch the light beautifully, but capturing their sparkle can be challenging in low-light conditions. To make these elements shine, use the sharpening tool selectively on the beads or sequins. Avoid applying sharpening to the entire dress, as this can create a grainy appearance in softer fabrics like tulle or chiffon. Instead, zoom in on the embellishments and adjust the sharpness until they glisten without looking artificial.
Smoothing Silk and Satin Surfaces
Silk and satin dresses have a smooth, reflective quality that can appear either luxurious or overly shiny depending on the lighting. If the fabric looks too glossy, reducing the highlights and adding a subtle matte effect can soften its appearance. Conversely, if the silk appears dull or flat, increasing the clarity slightly can restore its natural sheen. For satin, pay attention to folds and creases—enhancing their contrast can add depth and dimension to the fabric.
Correcting Common Texture Issues in Post-Processing
Even with careful shooting, certain texture problems can arise. Here’s how to fix them during editing.
Reducing Wrinkles Without Losing Texture
Wrinkles are inevitable in wedding dresses, especially after hours of wear. While some clients may want wrinkles removed entirely, others prefer a natural look that retains the fabric’s character. Using the healing brush tool, you can gently smooth out distracting wrinkles—such as those across the bust or waist—while preserving the overall texture. For deeper creases, the clone stamp tool can copy nearby fabric patterns to fill in the area seamlessly.
Fixing Discoloration or Stains
Spills or dirt can mar a dress’s appearance, but post-processing offers solutions. The spot healing brush is ideal for small stains, as it automatically blends the corrected area with the surrounding fabric. For larger discolorations, such as yellowing on older dresses, the selective color adjustment tool can target specific hues and neutralize them. For example, if a stain appears brownish, reducing the saturation of yellows and oranges can minimize its visibility.
Restoring Faded Details in Older Dresses
Vintage or heirloom dresses may have faded lace or dulled embellishments. To revive these elements, use the dodge and burn tools to selectively brighten or darken areas. For instance, lightening faded lace can restore its delicate appearance, while darkening the background fabric can make the lace stand out more prominently. This technique requires patience but can breathe new life into aging garments.
Final Touches for a Flawless Finish
Once the major adjustments are complete, a few finishing touches can ensure the dress looks its best in every image.
Adding a Subtle Glow to Highlight Areas
A soft glow effect can enhance the dress’s romantic quality, especially in portraits. Using the radial filter tool, create a subtle vignette around the dress and increase the exposure slightly in the center. This draws attention to the fabric while maintaining a natural balance. Avoid overdoing this effect, as it can make the image look overly processed.
Ensuring Consistency Across Multiple Images
If the shoot includes multiple poses or venues, consistency is key. Use presets or saved adjustment settings to apply the same texture enhancements to all dress images. This creates a cohesive look throughout the album, even if lighting conditions varied during the shoot. For example, if you boosted the clarity of lace in one image, apply the same clarity adjustment to all lace-detailed shots.
Trusting Your Artistic Judgment
While technical adjustments are important, the goal is to create images that resonate emotionally. If a texture enhancement feels too harsh or unnatural, dial it back until the dress looks beautiful but still realistic. Your clients chose their dress for its unique style, and your post-processing should celebrate that choice rather than overshadow it.
By mastering these techniques, you can ensure the wedding dress looks stunning in every photograph, whether the shoot takes place in Melbourne’s sun-drenched parks or its moonlit waterfront venues. With careful attention to texture, lighting, and detail, you’ll create images that highlight the dress’s beauty and the bride’s joy on her special day.