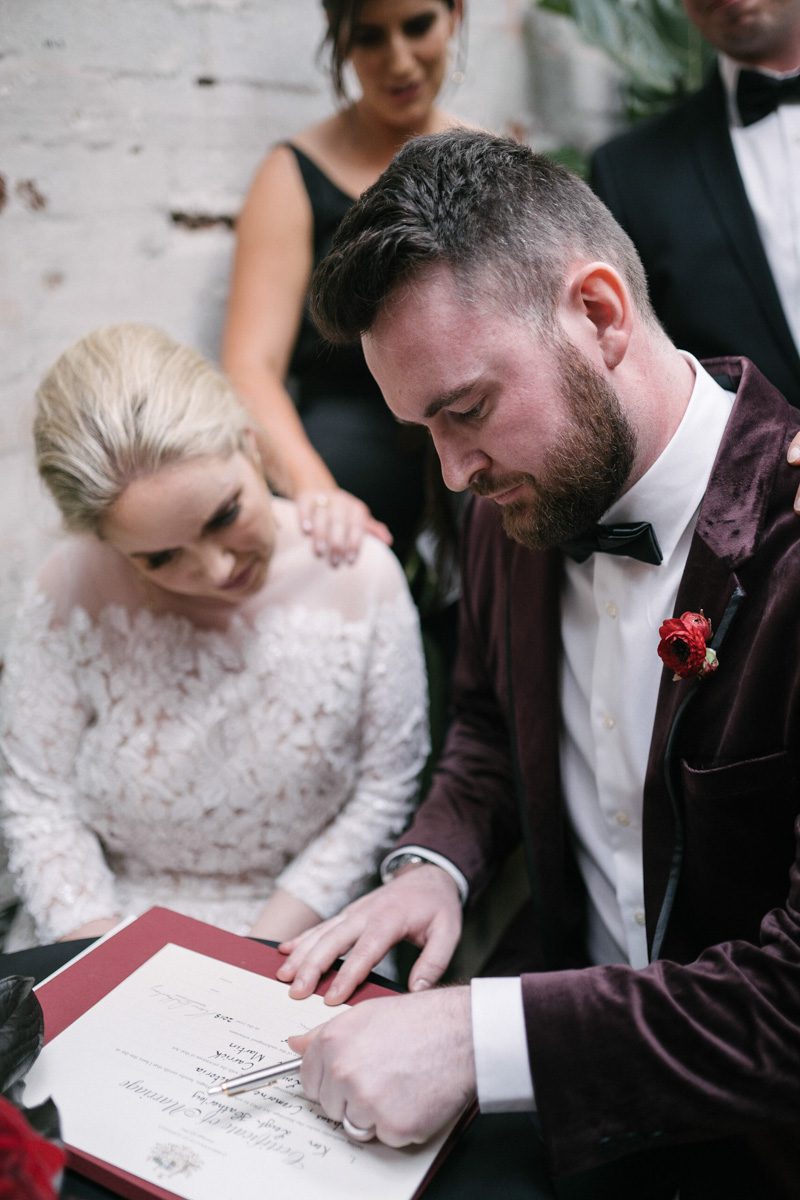
Melbourne Wedding Photography - Filmic Post-Editing for the Final Cut
Melbourne Wedding Photography - Filmic Post-Editing for the Final Cut
Crafting a Cinematic Look in Melbourne Wedding Photography Post-Production
Melbourne’s diverse landscapes—from its historic architecture to its rugged coastlines and lush gardens—offer endless inspiration for wedding photography that feels like a story unfolding. To elevate these images into a cinematic experience, post-production should focus on mood, movement, and emotional storytelling. Here’s how to achieve a film-like aesthetic in your Melbourne wedding photo edits.
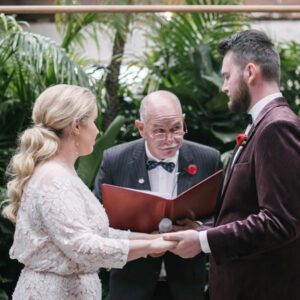
Setting the Tone with Color Grading
Cinematic photography often relies on carefully crafted color palettes to evoke specific emotions. For Melbourne weddings, this means choosing tones that complement the city’s unique blend of urban and natural settings.
Mimicking Film Emulation for Timeless Appeal
Many filmmakers use vintage film stocks to create warmth and nostalgia. You can replicate this effect digitally by:
- Adjusting White Balance for a Golden Hour Glow: Even if photos weren’t taken during sunset, tweaking the white balance toward orange or yellow can simulate the soft, flattering light of golden hour.
- Adding a Subtle Teal/Orange Split Tone: This classic cinematic technique involves warming the highlights (orange) and cooling the shadows (teal), creating depth and contrast without looking artificial. Use the split-toning panel in your editing software to apply this effect lightly.
- Reducing Saturation for a Muted Look: Overly vibrant colors can feel unrealistic. Lower the overall saturation slightly, then selectively boost tones that matter most (like the bride’s dress or the groom’s suit) to keep them from getting lost.
Enhancing Mood with Seasonal Palettes
Melbourne’s changing seasons provide a natural color story. Tailor your edits to match the time of year:
- Summer Weddings: Embrace warm yellows, soft greens, and golden highlights to reflect the sunlit energy of the season.
- Autumn Weddings: Deepen reds, oranges, and browns in the foliage for a rich, cozy atmosphere.
- Winter Weddings: Cool down the blues and whites in the background to evoke the crisp, quiet feeling of a Melbourne winter.
- Spring Weddings: Brighten pastels and fresh greens to capture the renewal and optimism of the season.
Creating Movement and Depth with Visual Effects
Static images can feel flat, but subtle effects can mimic the dynamic quality of film. These techniques add life to your photos without distracting from the couple.
Simulating Motion Blur for a Dynamic Feel
Even if the camera was perfectly still, adding a hint of motion blur can make the scene feel more alive:
- Directional Blur for Wind or Movement: If the bride’s dress is blowing in the breeze or the couple is walking, apply a light blur in the direction of movement. Use a low opacity and a small radius to keep it natural.
- Radial Blur for Focus Shifts: To draw attention to the couple, apply a slight radial blur to the background. This creates a shallow depth-of-field effect, as if the camera is focusing on them while the world blurs around them.
- Pan Blur for Traveling Shots: If the couple moved between locations during the shoot, mimic the look of a tracking shot by blurring the edges of the frame slightly. This works especially well for photos taken in Melbourne’s trams or along the Yarra River.
Adding Light Leaks and Grain for a Vintage Touch
Film photography often has imperfections that add character. You can replicate these in post:
- Subtle Light Leaks: Overlay a soft, orange-tinted light leak on the edges of the frame to mimic the look of old film exposed to light. Keep it faint—just enough to add warmth without overwhelming the image.
- Fine Grain for Texture: A light layer of grain can make digital photos feel more organic, like they were shot on film. Adjust the size and opacity until it looks natural, not noisy.
- Vignetting for Drama: Darken the corners of the frame slightly to draw the eye toward the center. This classic cinematic technique adds mood and intimacy, especially for close-up portraits.
Telling a Story Through Composition and Pacing
A cinematic wedding album should feel like a narrative, with each photo building on the last. Pay attention to how images flow together to create emotional impact.
Sequencing Photos for Emotional Arcs
Think of your album as a movie reel, with each photo representing a scene:
- Opening Shots: Start with wide-angle views of Melbourne’s landmarks (like Flinders Street Station or St. Kilda Beach) to establish the setting.
- Mid-Album Focus: Shift to medium shots of the couple interacting—laughing, dancing, or sharing a quiet moment. These photos should feel personal and emotional.
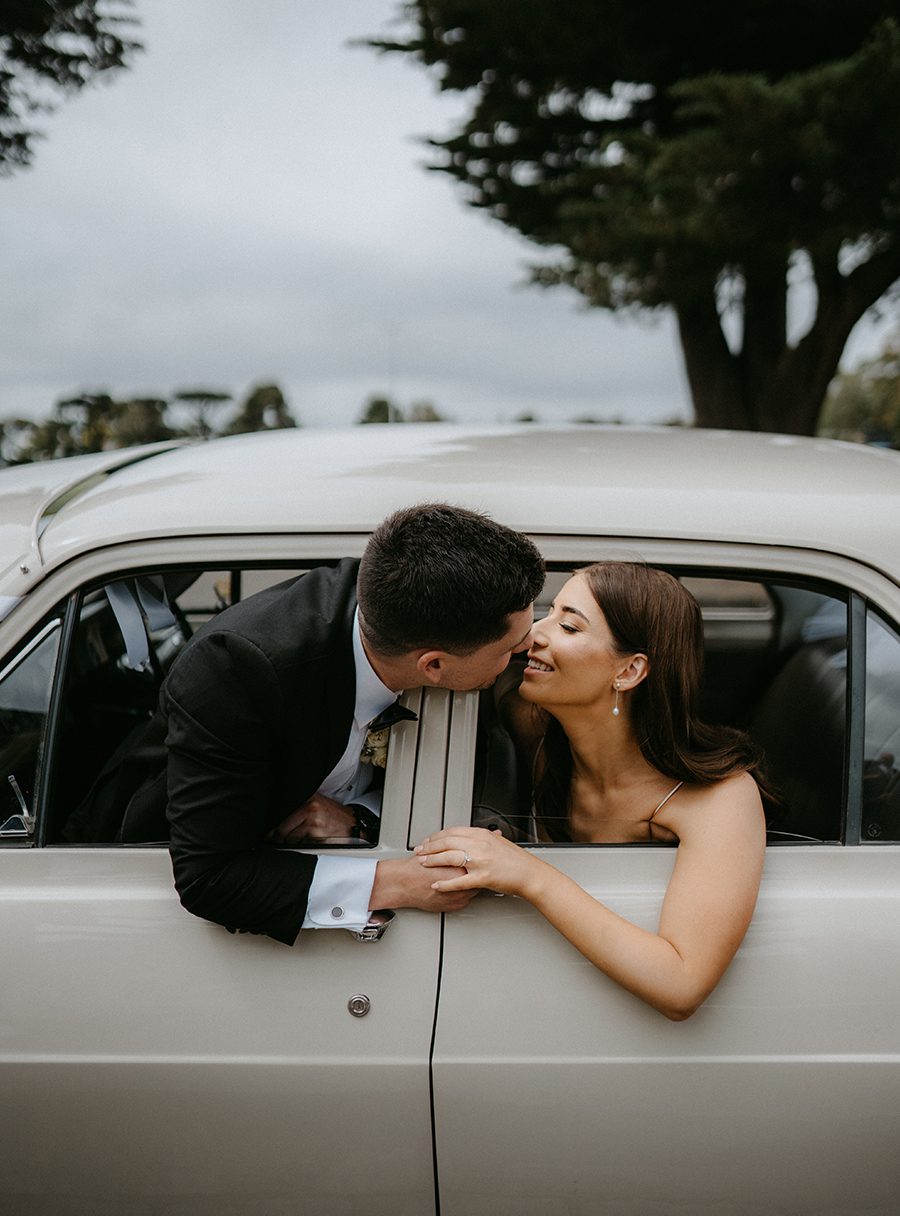
- Climactic Moments: Reserve close-ups for the most intimate or dramatic parts of the day, like the first kiss or the exchange of vows. These images should carry the most emotional weight.
- Closing Frames: End with sweeping views or candid shots of the couple leaving the venue, as if the story is continuing beyond the frame.
Using Leading Lines and Framing for Visual Interest
Cinematic composition relies on guiding the viewer’s eye through the frame. Look for natural lines or shapes in Melbourne’s settings:
- Architectural Lines: Use the lines of buildings, bridges, or staircases to lead toward the couple. For example, a photo taken from the bottom of a spiral staircase in a historic venue can create a dramatic perspective.
- Nature’s Frames: Tree branches, doorways, or windows can act as natural frames around the couple, adding depth and focus.
- Symmetry and Balance: Centered compositions can feel formal and grand, while off-center shots create tension and movement. Mix both styles to keep the album visually engaging.
Pacing the Album with Variety
Avoid monotony by mixing up shot types, angles, and focal lengths:
- Wide Shots: Establish the scene and show the couple in their environment.
- Medium Shots: Capture interactions and emotions from a slightly closer perspective.
- Close-Ups: Focus on details like hands, eyes, or the ring to add intimacy.
- Candid Moments: Include unposed shots of the couple laughing, hugging, or dancing to show genuine emotion.
Final Touches for a Polished, Film-Inspired Album
Once individual edits are complete, review the entire collection to ensure consistency and flow.
Consistent Color and Lighting
Even if photos were taken in different locations or lighting conditions, they should share a similar color palette and exposure level. Adjust global settings to create a cohesive look.
Balanced Contrast and Sharpness
Check that no image feels too flat or too harsh compared to the others. Subtle adjustments to contrast and sharpness can help maintain a smooth visual rhythm.
Natural-Looking Edits
Step back and view the images as a whole to ensure the effects don’t look forced. The goal is to enhance the story and mood of the wedding day while keeping the focus on the couple’s connection.
By combining thoughtful color grading, dynamic visual effects, and intentional storytelling, you can transform Melbourne’s wedding photos into a cinematic masterpiece that feels both timeless and modern.