DSC08822

Post-production communication for wedding photography in Melbourne

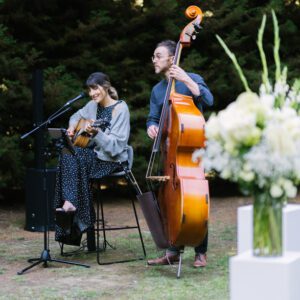
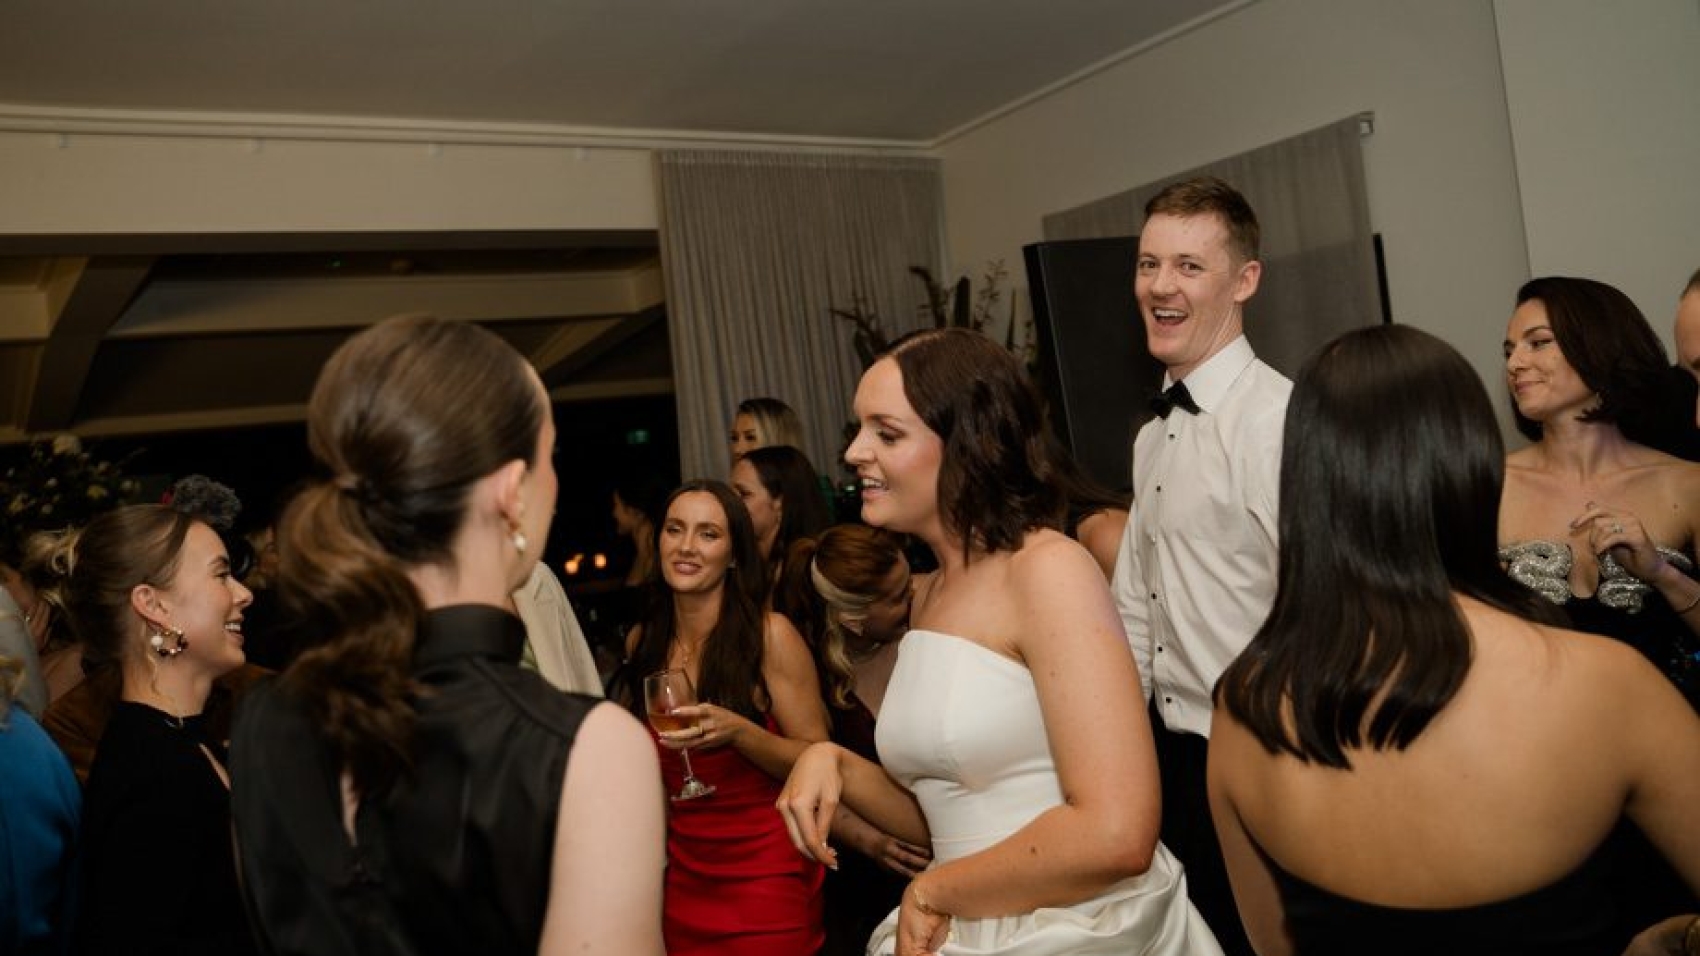
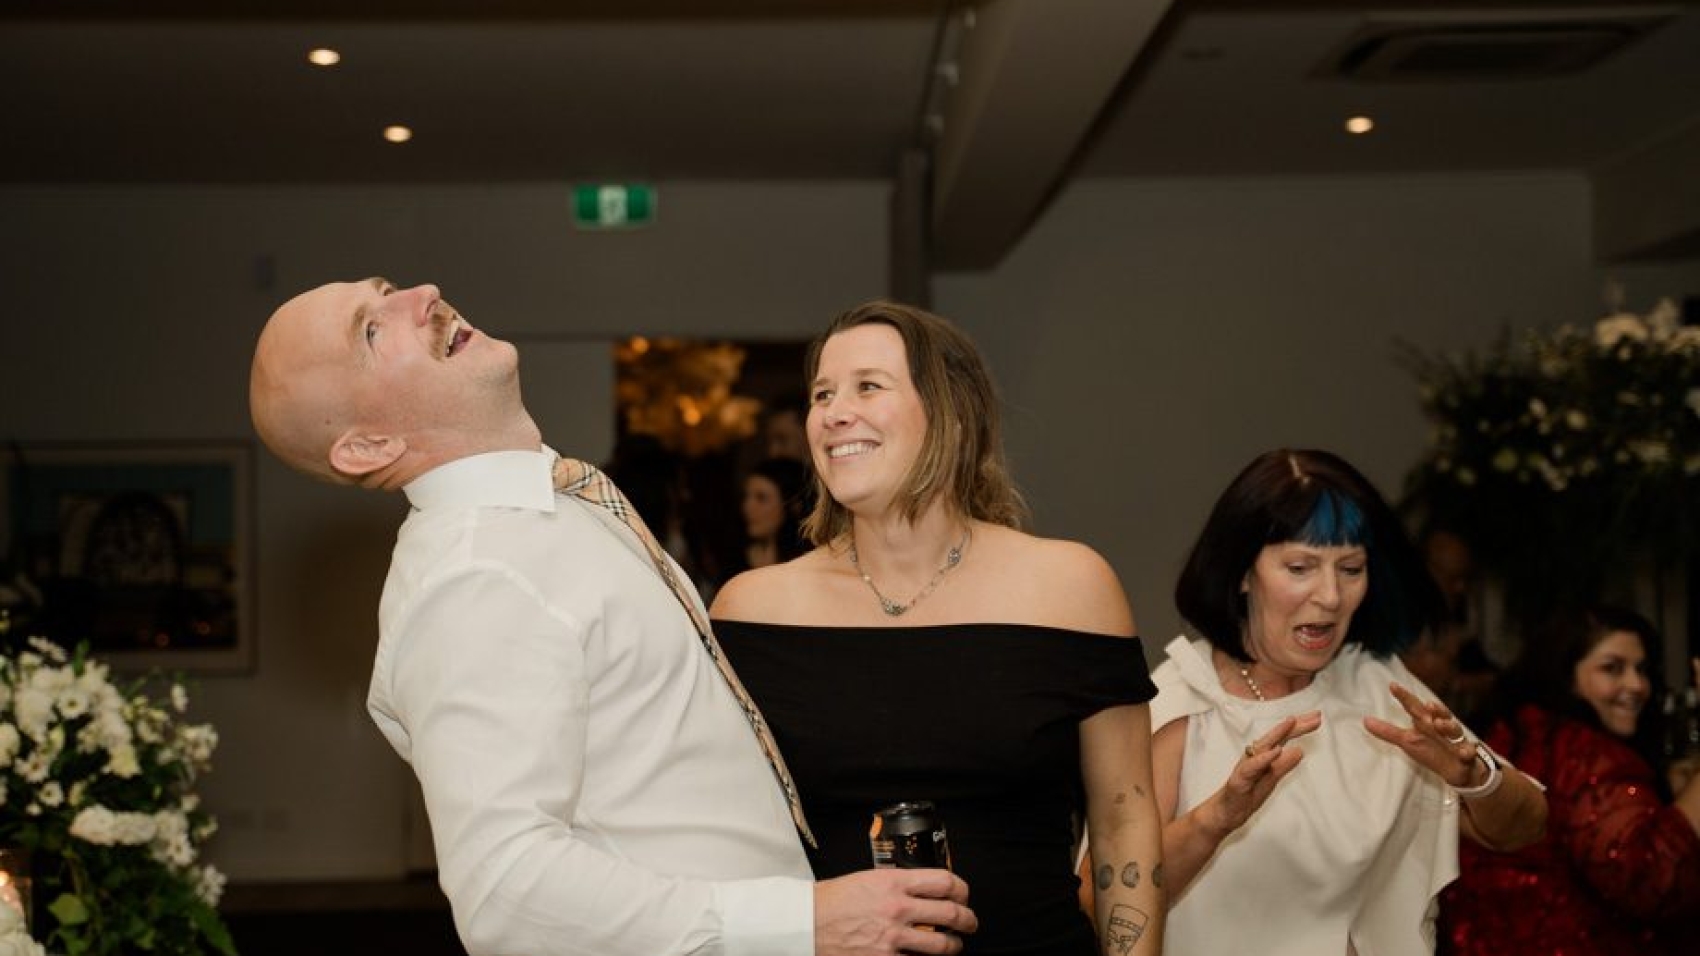
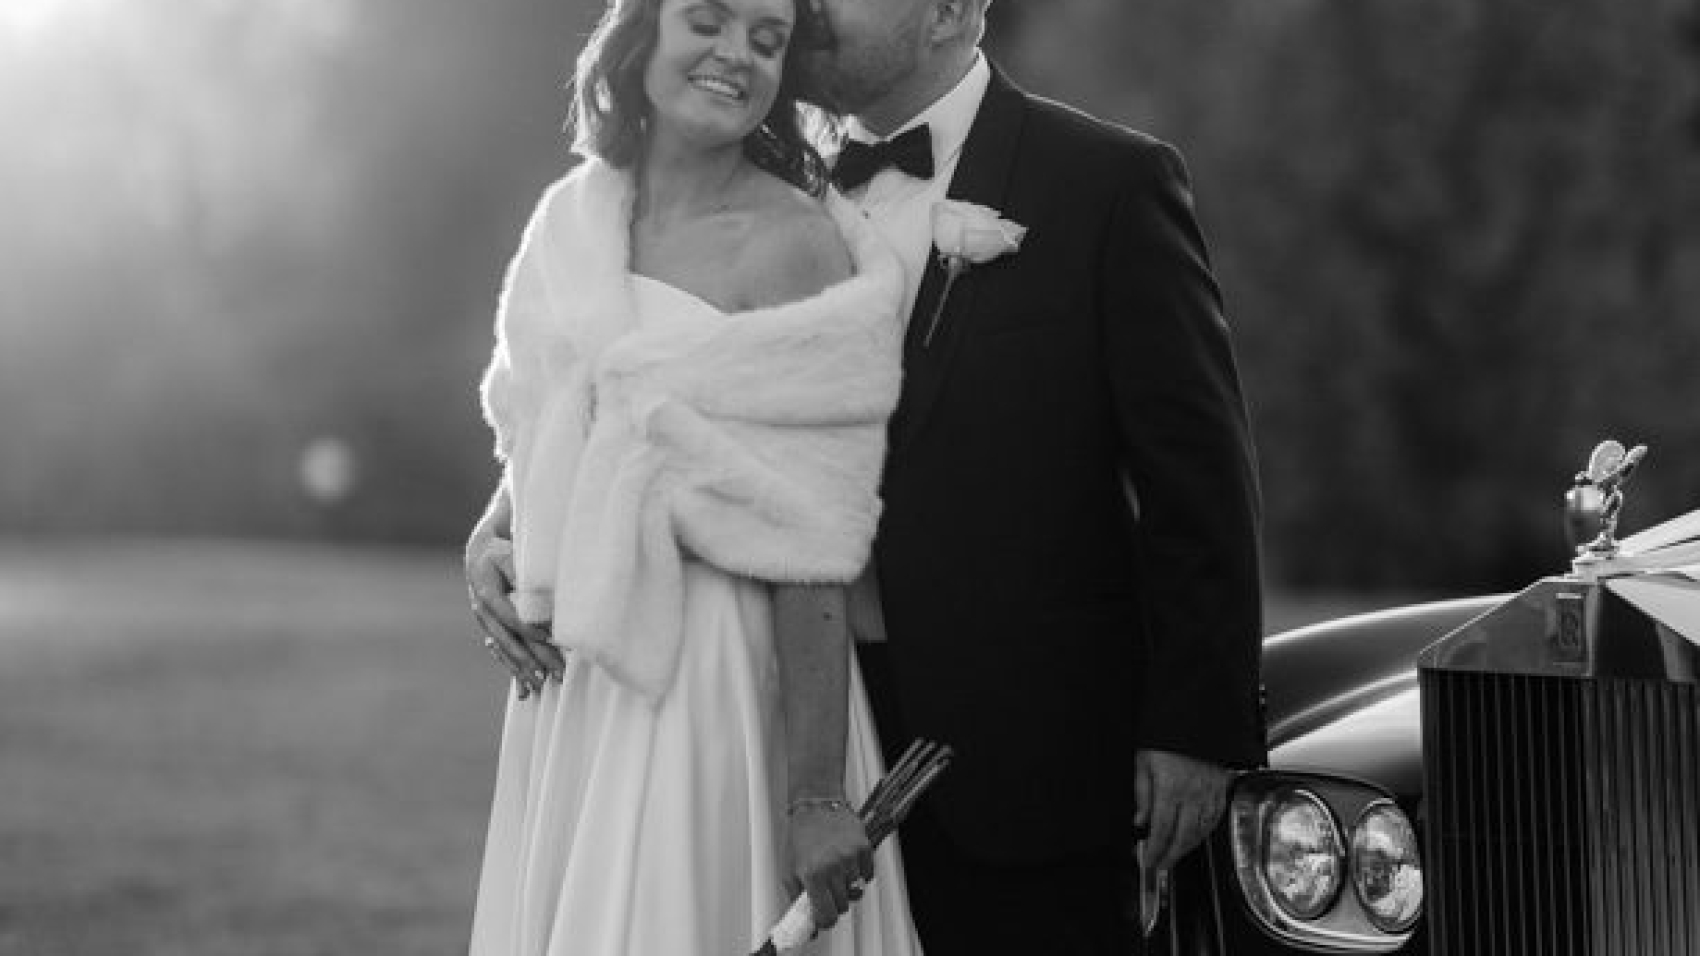
Effective Communication for Post-Production Editing in Melbourne Wedding Photography

The post-production phase of wedding photography is where raw moments transform into polished memories. Clear communication with your photographer during this stage ensures your final images align with your vision while maintaining the authenticity of your day. Whether you’re adjusting lighting, refining skin tones, or enhancing details, here’s how to navigate the editing process with confidence.

wedding photography melbourne

Setting Clear Expectations Before Editing Begins

Before your photographer starts retouching, discuss your preferences openly. Share examples of styles you love—whether it’s soft, natural tones or bold, vibrant colors—and explain what resonates with you. For instance, if you prefer a timeless look, mention that you’d like to avoid overly trendy filters or heavy editing that could date the photos.

Key Consideration: Be specific about your priorities. If you’re concerned about blemishes or distractions in the background, highlight these areas early. Conversely, if you want to preserve natural textures like skin or fabric, make that clear to prevent over-editing.

Providing Detailed Feedback on Draft Edits

Once you receive a batch of edited images, review them carefully and offer constructive feedback. Instead of vague comments like “make it brighter,” describe what you’d like to see. For example:

  • “The colors in the ceremony photos feel a bit muted—could we warm up the tones to match the sunset lighting?”
  • “The group shot has a distracting shadow on the wall—can we soften that without losing the scene’s depth?”

Addressing Common Editing Concerns

  • Skin Retouching: If you’re uncomfortable with heavy airbrushing, ask for a “natural” approach that minimizes imperfections while keeping skin texture intact.
  • Background Distractions: Point out specific elements you’d like removed or toned down, like a stray object or harsh lighting.
  • Color Balance: If certain images look too cool or warm, request adjustments to match the mood of the scene (e.g., a cozy indoor reception vs. a bright outdoor ceremony).

Pro Tip: Use timestamps or image numbers when referencing specific photos to avoid confusion. For example, “In image 12, the bride’s veil appears slightly overexposed—could we balance the highlights?”

Collaborating on Final Adjustments

Editing is rarely a one-and-done process. After your initial feedback, your photographer may share a revised set of images. Use this opportunity to fine-tune details:

  • Consistency Across Albums: Ensure images from the same event segment (e.g., all reception photos) have a cohesive look in terms of brightness, contrast, and color.
  • Emotional Tone: If a photo feels flat, ask if adjusting the shadows or vibrancy could enhance its mood. For example, a dimly lit dance floor shot might benefit from subtle boosts to warmth and contrast.
  • Cropping and Composition: Suggest alternative crops if you feel an image could focus better on a subject or tell a stronger story.

Case Study: One couple noticed that their outdoor portrait series had inconsistent green tones due to varying lighting conditions. By sharing screenshots of their favorite shots and explaining they wanted a “unified earthy palette,” the photographer adjusted the hues to create harmony across the sequence.

Respecting the Photographer’s Expertise

While your input is invaluable, trust your photographer’s judgment on technical matters. They understand how editing choices impact the longevity and quality of your images. For example, excessive sharpening can make photos look artificial over time, while over-saturating colors may fade unevenly in prints.

Final Check: Before finalizing, review images on multiple devices (e.g., a phone, tablet, and computer) to ensure they look consistent across screens. Pay attention to details like skin tones, background elements, and overall balance.

Your wedding photos are a collaboration between your photographer’s skill and your unique vision. By communicating openly and thoughtfully during post-production, you’ll create a collection that feels both polished and true to your day’s magic.

DSC09201

A Guide to the Selection Process of wedding photos in Melbourne

Melbourne Wedding Photography Selection Guide: A Step-by-Step Process to Preserve Your Special Moments

Choosing the right images from your wedding photography collection is more than just picking favorites—it’s about curating a visual narrative that reflects the emotion, authenticity, and unique story of your day. Whether you’re working with a Melbourne-based photographer or reviewing proofs online, this guide will help you navigate the selection process with confidence.

wedding photography melbourne

Understanding Your Photography Style and Vision

Before diving into the selection, revisit the style you discussed with your photographer. Did you prioritize candid moments, posed portraits, or a mix of both? For example, if you opted for a documentary-style approach, focus on images that capture unscripted interactions, like laughter during speeches or quiet moments between partners. If your photographer specializes in romantic storytelling, look for sequences that showcase the progression of your day—from getting ready to the first dance.

Key Consideration: Authenticity matters. Avoid selecting images solely based on technical perfection; prioritize those that evoke genuine emotion. A slightly imperfect photo with a heartfelt expression often outshines a flawless but sterile shot.

Organizing Your Selection Process

Sorting through hundreds of images can feel overwhelming. Break it down into manageable steps:

1. First Pass: Eliminate the Obvious “No’s”

Start by removing duplicates, blurry shots, or images where eyes are closed. This step narrows your pool to the strongest candidates. For instance, if your photographer captured multiple angles of the same moment, keep the one that best conveys the scene’s energy.

2. Categorize by Event Segment

Divide your images into sections like “Getting Ready,” “Ceremony,” “Portraits,” and “Reception.” This helps ensure you’re selecting a balanced representation of your day. For example, if you notice most of your favorites are from the reception, revisit the ceremony photos to check if you’re missing key moments like the vows or ring exchange.

Pro Tip: Use digital tools or sticky notes to tag images by category. This makes it easier to spot gaps in your selection.

3. Prioritize Storytelling Sequences

Your wedding album should flow like a story. Choose images that connect visually and emotionally. For example, a series showing the bride’s dress being fastened, followed by her walk down the aisle, and finally her first look at the groom creates a cohesive narrative. Similarly, group reception photos by activity—speeches, cake cutting, and dancing—to maintain rhythm.

Example: If your photographer captured the groom’s reaction as the bride entered, pair it with a wide shot of the aisle and a close-up of the bride’s bouquet. This trio tells a richer story than three similar angles of the same moment.

Collaborating with Your Photographer

Your photographer’s expertise is invaluable during selection. Many professionals offer guidance based on their understanding of your style and the day’s flow. Don’t hesitate to ask questions like:

  • “Which images do you think best represent our vision?”
  • “Are there any shots we’re missing that would complete the story?”
  • “How would you arrange these for an album?”

Case Study: One couple worked with their photographer to identify overlooked gems, like a candid shot of the bride’s father adjusting her veil. Initially dismissed as “just another getting-ready photo,” it became a cherished addition for its emotional depth.

Finalizing Your Selection

After narrowing down your choices, take a break before reviewing them again with fresh eyes. This helps avoid decision fatigue and ensures you’re satisfied with your picks. If you’re creating an album, consider the layout—alternate between close-ups and wide shots, and balance color tones for visual harmony.

Final Check: Ensure your selection includes:

  • Key moments (vows, first kiss, first dance)
  • Candid interactions (friends laughing, family embracing)
  • Detail shots (rings, flowers, venue decor)
  • Portraits that highlight your personalities

Your wedding photos are more than decorations—they’re heirlooms that will transport you back to your day for decades. By approaching the selection process thoughtfully, you’ll create a collection that feels as timeless as your love.

DSC08988

The order of group shooting for wedding photography in Melbourne

Melbourne Wedding Photography Group Shooting Sequence Guide

Organizing a wedding photo shoot in Melbourne’s diverse locations—from urban streets to coastal landscapes—requires a strategic sequence to maximize natural light, minimize downtime, and capture every key moment. A well-planned shooting order ensures the couple, wedding party, and family members stay engaged while moving efficiently between settings. This guide outlines a step-by-step approach to grouping shots, adapting to Melbourne’s weather, and prioritizing must-have photos.

wedding photography melbourne

Starting with the Couple’s Intimate Portraits

Begin the day by focusing on the newlyweds alone, as their energy and enthusiasm are highest early in the session. This allows for creative, uninterrupted time to experiment with poses, lighting, and locations without the pressure of coordinating larger groups.

Golden Hour Priority: Schedule the couple’s portraits during the first or last hour of daylight for soft, flattering light. In Melbourne, this could mean shooting at sunrise near the Yarra River or at sunset along St Kilda Beach. Use this time for close-ups, walking shots, and romantic poses that highlight their connection.

Location Strategy: Start with a iconic Melbourne backdrop, such as a graffiti-covered laneway or a historic building, then transition to a quieter spot like a park or garden for more intimate, natural-light shots. This variety ensures a mix of urban edge and timeless elegance in the final gallery.

Key Tip: If the couple is wearing multiple outfits, schedule the most formal attire first while they’re fresh, then switch to casual looks for later shots.

Moving to the Wedding Party and Bridal Party

After capturing the couple’s solo portraits, shift focus to the bridal party and groomsmen. These groups are often energetic and playful, making them ideal for dynamic, high-energy shots that showcase personalities.

Group Size Management: Divide larger parties into smaller subgroups (e.g., bridesmaids only, groomsmen only, or mixed groups) to streamline posing and reduce chaos. Start with formal, posed photos in a structured setting, such as in front of a grand staircase or a textured wall, then move to casual arrangements like walking down a street or gathered around a vintage car.

Location Adaptation: Use the same venue or nearby areas to avoid traveling long distances. For example, if the couple’s portraits were taken in a park, position the wedding party around a fountain or under a tree for natural framing. Incorporate Melbourne’s unique elements, like tram tracks or street art, to add local flavor.

Engagement Trick: Keep the mood light by asking the party to share funny stories about the couple or play a quick game (e.g., “Who knows the bride/groom best?”) to generate genuine laughter and interactions.

Capturing Family Formals Efficiently

Family formals are essential but can become time-consuming if not organized properly. Prioritize these shots after the wedding party to maintain momentum while ensuring all key combinations are covered.

Pre-Shoot Planning: Request a list of must-have family groupings (e.g., immediate family, extended relatives, step-parents) from the couple beforehand. Arrange groupings by size, starting with the largest (e.g., both sides of the family together) and working down to smaller pairs or trios.

Location Simplicity: Choose a flat, well-lit area with minimal distractions, such as a clean wall, a bench, or a grassy field. Avoid busy backgrounds that compete for attention. Use a reflector or off-camera flash to fill in shadows if shooting in harsh sunlight or shade.

Efficiency Hack: Assign a family member or friend to help organize groups, calling out names and ensuring everyone is ready before the camera clicks. This keeps the process moving smoothly and reduces stress for the couple.

Incorporating Creative and Candid Shots

Once formal groupings are complete, allocate time for candid, documentary-style photos that capture the day’s spontaneous moments. These shots often become favorites, as they reflect the couple’s true emotions and interactions.

Observation Over Direction: Step back and let the day unfold naturally, photographing details like the bride adjusting her veil, the groom laughing with friends, or the couple stealing a quiet moment together. Use a telephoto lens to shoot from a distance without interrupting the flow.

Location Flexibility: If the main venue has multiple interesting spots (e.g., a rooftop, a courtyard, or a staircase), wander through these areas with the couple, capturing them in unplanned poses or conversations. Melbourne’s eclectic architecture provides endless opportunities for creative framing.

Lighting Awareness: Keep an eye on changing light conditions, especially if shooting outdoors. Move to shaded areas during midday or use diffusers to soften harsh sunlight. For evening shots, embrace twilight hues or use artificial lighting (e.g., fairy lights, lanterns) for a romantic ambiance.

Final Sunset or Nighttime Shots for Drama

Wrap up the shoot with a final session during blue hour or nighttime to add dramatic, mood-filled images to the collection. These shots often stand out for their unique lighting and atmosphere.

Twilight Timing: Schedule this segment 30 minutes before sunset for a mix of natural and artificial light. Position the couple against the skyline or near water for reflections, using a tripod and long exposure to capture light trails or city glow.

Nighttime Creativity: If shooting after dark, use portable LED panels, string lights, or sparklers to illuminate the couple. Experiment with silhouettes, backlighting, or bokeh effects by shooting near streetlights or neon signs. Melbourne’s laneways or docklands offer perfect settings for these shots.

Safety First: Ensure the couple and team are visible if shooting in dimly lit or crowded areas. Use glow sticks or reflective gear to avoid accidents, and stick to well-lit paths or familiar locations.

By following this structured yet flexible sequence, photographers can navigate Melbourne’s dynamic environments while keeping the couple and their guests relaxed and engaged. Thoughtful grouping and timing ensure every moment—from intimate portraits to lively group shots—is captured with beauty and authenticity.

DSC09215-Enhanced-NR

Melbourne wedding photography pose guidance process

Melbourne Wedding Photography Pose Guidance Workflow

Capturing authentic, flattering wedding photos in Melbourne’s diverse settings—from urban streets to coastal vistas—requires thoughtful pose guidance. The right poses highlight the couple’s connection, complement their surroundings, and ensure they feel comfortable in front of the camera. This guide outlines a step-by-step workflow for directing poses, adapting to different locations, and encouraging natural interactions.

wedding photography melbourne

Building Comfort and Connection Before Shooting

The foundation of great poses starts long before the camera clicks. Begin by creating a relaxed atmosphere through casual conversation. Ask the couple about their relationship milestones, shared hobbies, or favorite memories to build rapport. This helps them feel at ease and encourages genuine smiles and laughter during the shoot.

For shy or awkward clients, start with simple, low-pressure poses. Have them stand side by side, holding hands or linking arms, while facing the camera. Use prompts like, “Pretend you’re sharing a secret” or “Whisper something funny in each other’s ears” to spark natural interactions. Gradually introduce movement, such as walking slowly toward the camera or spinning gently, to loosen stiffness and add dynamism.

Tip for Nervous Couples: Suggest they bring a prop like a bouquet, a vintage camera, or a handwritten love note to hold, giving them something to focus on beyond the camera.

Adapting Poses to Melbourne’s Iconic Locations

Melbourne’s unique backdrops—from graffiti-covered laneways to sandy beaches—demand poses that harmonize with the environment. In urban settings, lean into the city’s edgy vibe by having the couple sit on steps, lean against brick walls, or peek around corners. Use architectural lines to frame them, such as positioning them beneath an archway or beside a row of colorful doors.

For coastal shoots, embrace the beach’s casual energy. Have the couple walk barefoot along the shoreline, holding hands or dipping their toes in the water. Incorporate movement by asking them to toss sand into the air or playfully chase each other. If shooting near cliffs or rocky outcrops, use elevation to create dramatic angles, such as having one partner stand above the other or sit on a ledge while the other leans in close.

Natural Light Strategy: In outdoor settings, position the couple to face the light source (e.g., the sun during golden hour) to highlight their faces and create a warm glow. Use reflectors or diffusers to soften harsh shadows if needed.

Dynamic Poses for Movement and Storytelling

Static poses can feel stiff, so incorporate movement to add life to photos. Start with simple actions like having the couple walk toward the camera at a slow pace, holding hands or with arms around each other’s waists. Capture mid-stride shots to convey a sense of journey or adventure, especially in open spaces like parks or bridges.

For playful energy, direct the couple to interact spontaneously. Suggest actions like twirling, dipping, or lifting each other (if physically comfortable). Use prompts like, “Pretend you’re dancing at your reception” or “Act like you’re trying to steal a kiss without getting caught.” These cues encourage laughter and organic moments that feel authentic.

Creative Angle Tip: Shoot from low angles to emphasize height differences or from above for a bird’s-eye view of the couple lying on the grass or sand.

Intimate Poses for Emotional Depth

Close-up shots that capture the couple’s connection require subtle, intentional posing. Have them sit or stand close enough that their shoulders or hips touch, creating a sense of unity. Direct one partner to rest their head on the other’s shoulder or chest, while the other gazes softly at them or the horizon.

For forehead-to-forehead poses, ask the couple to close their eyes and take a deep breath, fostering a moment of quiet intimacy. Use gentle prompts like, “Think about your favorite memory together” or “Imagine it’s just the two of you in this moment” to deepen their emotional expression.

Hand Placement Guidance: Avoid stiff or awkward hand positions by suggesting natural gestures, such as one partner running their fingers through the other’s hair, holding a bouquet, or gently touching their face.

Group Poses for Wedding Parties and Families

When photographing larger groups, organization is key to avoiding chaos. Start by arranging family members or bridesmaids/groomsmen in staggered rows, with taller individuals at the back and shorter ones in front. Use props like chairs or benches to create levels, ensuring everyone is visible in the frame.

For casual group shots, direct the couple to stand in the center while others gather around them in a loose semicircle. Encourage interactions like hugging, high-fiving, or linking arms to create a lively, connected氛围. Use prompts like, “Cheer for the newlyweds!” or “Everyone pretend to steal the bride’s bouquet” to generate spontaneous reactions.

Focus Tip: When shooting groups, use a wide aperture (e.g., f/2.8 or f/4) to keep the couple in sharp focus while slightly blurring the background, drawing attention to the main subjects.

Final Checks for Flattering Angles and Lighting

Before wrapping up, review poses to ensure they flatter the couple’s features and work with the lighting. Check for double chins by having them tilt their chins slightly downward or extend their necks forward. Adjust the couple’s body orientation to minimize unflattering shadows, such as turning them 45 degrees from the light source if shooting in harsh sunlight.

Encourage the couple to shift their weight onto one leg or cross their ankles to create a more relaxed, natural stance. For seated poses, have them sit at the edge of a chair or step to avoid slouching, and angle their bodies toward the camera for a slimming effect.

Lighting Reminder: If shooting indoors, position the couple near windows for natural fill light, or use a reflector to bounce light onto their faces if the room is dimly lit.

By following this workflow, photographers can guide couples through poses that feel authentic, flattering, and tailored to Melbourne’s unique settings. Thoughtful direction transforms awkward moments into timeless memories, ensuring every photo tells a story of love and connection.

DSC09206

Steps for adjusting the lighting for wedding photography in Melbourne

Melbourne Wedding Photography Lighting Adjustment Guide

Mastering lighting for wedding photography in Melbourne’s diverse settings—from sunlit beaches to dimly lit venues—requires adaptability and technical precision. Proper lighting enhances mood, highlights details, and ensures the couple looks their best in every shot. This guide breaks down step-by-step adjustments for common lighting scenarios, helping photographers achieve professional results without relying on specific equipment brands or budget constraints.

wedding photography melbourne

Natural Light Optimization for Outdoor Shoots

Melbourne’s unpredictable weather demands flexibility when working with natural light. Start by assessing the time of day and weather conditions. For midday shoots under harsh sunlight, position the couple in shaded areas like under trees or near buildings with overhangs. Use a reflector to bounce soft light onto their faces, reducing shadows and creating a balanced look.

During golden hour—the hour before sunset—take advantage of warm, directional light. Face the couple toward the sun to capture golden highlights in their hair and a natural glow on their skin. If the sun is too intense, use a diffuser to soften its intensity while maintaining warmth. For backlit shots, adjust exposure settings to prevent silhouettes, or embrace the dramatic effect by framing the couple against the sun with a wide aperture for bokeh.

Tip for Cloudy Days: Overcast skies act as a natural diffuser, providing even lighting. Use this to your advantage by shooting wide-angle shots of the couple in open spaces, ensuring their faces are well-lit without harsh contrasts.

Indoor Venue Lighting Adjustments

Indoor venues like banquet halls, churches, or studios often have mixed lighting sources, including overhead fluorescents, chandeliers, or colored uplighting. Start by turning off all automatic settings on your camera to maintain control over exposure and white balance. Use a gray card or white balance tool to calibrate colors accurately, especially in venues with tungsten or LED lighting that casts warm or cool tones.

For dimly lit spaces, increase ISO settings gradually to capture ambient light without introducing excessive noise. Pair this with a wide aperture (e.g., f/1.8 or f/2.8) to let in more light and create a shallow depth of field, isolating the couple from the background. If flash is necessary, bounce it off ceilings or walls to diffuse harsh direct light, or use a flash diffuser for softer results.

Venue-Specific Strategy: In venues with large windows, position the couple near the light source during the day for natural fill light. At night, use window reflections or city lights outside as creative backdrops, adjusting shutter speed to capture motion blur if desired.

Mixed Lighting Scenarios: Balancing Natural and Artificial Sources

Combining natural and artificial light—such as shooting indoors near windows during daylight or using flash outdoors at dusk—requires careful balancing. Start by setting your white balance to “daylight” or “auto” as a baseline, then fine-tune using custom settings if colors appear off. For example, if window light is cool and indoor tungsten light is warm, adjust white balance to neutralize extremes or embrace the contrast for artistic effect.

When using flash outdoors, sync it with ambient light to avoid overpowering natural tones. Set flash power to a low output (e.g., 1/16 or 1/32) and use high-speed sync if shooting in bright conditions to maintain a natural look. For indoor-outdoor transitions, carry a portable LED panel or continuous light to supplement natural light during cloudy spells or in shaded areas.

Creative Technique: Use gels on flashes or LEDs to match artificial light with ambient tones. For instance, a blue gel can mimic twilight skies, while an orange gel can warm up cool indoor lighting.

Low-Light and Nighttime Shooting Techniques

Melbourne’s evening scenes—from waterfront promenades to rooftop bars—offer romantic backdrops but pose challenges for lighting. In low-light conditions, prioritize stability by using a tripod to avoid camera shake. Switch to manual mode and adjust shutter speed, aperture, and ISO to capture enough light without sacrificing image quality.

For nighttime portraits, use a combination of ambient light and supplemental sources. Position the couple near streetlights, neon signs, or lampposts for natural fill light, then use a flash or LED panel to highlight their faces. Experiment with long exposures to capture light trails from passing cars or ferries, adding dynamic elements to the composition.

Safety Note: When shooting in dark or crowded areas, ensure the couple remains visible to the team and avoid obstructing pathways for others.

Dynamic Lighting for Creative Portraits

To add drama or whimsy to wedding portraits, manipulate light creatively. Use a prism or crystal to refract light onto the couple’s faces, creating rainbow-like patterns or lens flares. For bokeh effects, shoot with a wide aperture and position the couple near light sources like fairy lights, candles, or city lights.

In studio-style setups, experiment with backlighting by placing a light source behind the couple to outline their silhouette. Combine this with a front-facing light at a lower intensity to reveal facial details without losing the ethereal glow. Use colored gels or LED strips to cast hues like gold, pink, or blue for mood-specific shots.

Tip for Movement: If the couple is dancing or walking, use rear-curtain sync flash to freeze their motion while capturing light trails behind them, adding energy to the image.

By mastering these lighting adjustments, photographers can adapt to Melbourne’s ever-changing environments, ensuring every wedding photo tells a story with clarity, emotion, and artistic flair. Whether shooting under bright skies or starlit nights, thoughtful lighting techniques transform ordinary moments into extraordinary memories.

DSC09101

A list of wedding photography props for Melbourne

Essential Prop Checklist for Melbourne Wedding Photography

Capturing timeless wedding photos in Melbourne’s diverse settings—from coastal beaches to urban streets—requires thoughtful prop selection. Props add personality, depth, and storytelling elements to images, transforming ordinary shots into memorable moments. This guide outlines versatile, location-friendly props to elevate your wedding photography experience without relying on specific brands or budget constraints.

wedding photography melbourne

Props for Coastal and Beach Settings

Beach locations demand lightweight, weather-resistant props that complement natural elements like sand, water, and sunlight. Start with a woven picnic basket filled with fresh fruit or artisanal bread, creating a rustic, romantic vibe. Pair it with a vintage-inspired blanket in soft neutrals or pastels to anchor the scene without overwhelming the coastal backdrop.

For playful shots, incorporate oversized sunglasses or wide-brimmed straw hats, which add a touch of glamour while shielding the couple from harsh midday sun. A sheer, flowing fabric—such as chiffon or organza—can be draped over the couple or used as a backdrop for wind-swept portraits. If shooting near tide pools or rocky shores, consider bringing a small bouquet of dried flowers or pampas grass for texture contrast.

Lighting Tip: Use reflective props like metallic picnic sets or silver-framed mirrors to bounce sunlight onto the couple’s faces, softening shadows in bright conditions.

Urban and Architectural Prop Ideas

Cityscapes like Melbourne’s laneways, bridges, or historic buildings call for props that blend sophistication with urban edge. A leather-bound journal or vintage camera adds a nostalgic, artistic flair, perfect for candid shots near graffiti walls or cobblestone streets. Incorporate a small chalkboard sign with handwritten quotes about love or the couple’s wedding date for a personalized touch.

For evening shoots under city lights, bring fairy lights or LED candles in glass jars to create a warm, intimate glow. These props work well in dimly lit alleys or near waterfront promenades. A structured umbrella—preferably in a bold color like burgundy or navy—can double as a stylish accessory and a tool to frame the couple against bright skylines or rainy streets.

Posing Inspiration: Use urban props to guide poses, such as having the couple “read” from the journal or lean against a lamppost while holding the umbrella.

Natural and Garden-Inspired Props

Melbourne’s botanical gardens, parks, or vineyards offer lush, organic settings for wedding photos. Elevate these scenes with props that enhance the natural beauty without feeling forced. A wooden crate filled with wildflowers or herbs—like lavender or rosemary—adds earthy charm and a fragrant element to shots. Pair it with a vintage watering can or terracotta pots for a garden-themed narrative.

For seated or laying-down poses, bring a quilted throw blanket in muted tones like sage green or dusty pink, which complements foliage without clashing. A macramé wall hanging or dreamcatcher can serve as a backdrop for bohemian-style portraits, especially when hung from tree branches or fence posts. If shooting near a lake or pond, consider floating flower petals or biodegradable confetti for a whimsical effect.

Seasonal Adaptation: In autumn, swap fresh flowers for pinecones, acorns, or dried leaves to match the season’s palette. In spring, incorporate potted bulbs or seed packets as symbols of new beginnings.

Props for Rainy or Overcast Days

Melbourne’s unpredictable weather calls for props that thrive in low-light or wet conditions. Clear umbrellas are a practical yet stylish choice, allowing photographers to capture the couple’s faces without obstruction while adding a modern aesthetic. Pair them with matching rain boots in neutral colors like beige or gray to maintain a cohesive look.

For indoor shoots during rainy days, bring textured throws or faux fur blankets to create a cozy, intimate atmosphere. A lantern or string lights draped over a fireplace mantel or staircase railing can transform a bland space into a romantic setting. If the venue has large windows, use sheer curtains to diffuse natural light and soften harsh shadows.

Creative Solution: Use puddles after rain as reflective surfaces for symmetry shots, positioning the couple above or beside them for artistic compositions.

Timeless and Sentimental Props

Incorporating personal, sentimental props adds emotional depth to wedding photos. A handwritten love letter or vintage postcard from a meaningful location (e.g., where the couple met or got engaged) can be held or displayed in the background. Family heirlooms like a grandmother’s brooch, a father’s cufflinks, or a mother’s veil infuse images with generational significance.

For a modern twist, create a custom prop like a framed ultrasound photo (if expecting) or a small chalkboard with the couple’s future last name. These items tell a story beyond the wedding day, making photos feel more authentic and unique.

Display Tip: Arrange sentimental props on a vintage suitcase or wooden tray during detail shots, ensuring they’re visible but not distracting.

By curating a prop collection tailored to Melbourne’s varied settings and weather conditions, couples can ensure their wedding photos reflect their personalities while harmonizing with the environment. Thoughtful prop selection transforms ordinary scenes into extraordinary visual narratives, capturing the essence of the day for years to come.

wedding photography melbourne

The process of scene switching for wedding photography in Melbourne

Melbourne Wedding Photoshoot Scene Transition Guide: Seamless Flow Between Locations

Capturing a wedding photoshoot across Melbourne’s varied landscapes requires strategic planning to ensure smooth transitions between scenes. From coastal stretches to urban landmarks, each location demands careful timing, outfit adjustments, and logistical coordination. This guide breaks down the process into actionable steps, helping couples and photographers navigate scene changes efficiently.

wedding photography melbourne

Preparing for Rapid Scene Shifts: Essential Checklists

Switching between outdoor and indoor settings—or moving between distant locations—requires preparation to avoid delays. Start by creating a detailed itinerary with allocated time slots for each scene, including buffer periods for unexpected issues like traffic or weather changes. Share this schedule with the entire team, including the photographer, stylist, and any assistants.

Pack a portable “transition kit” containing touch-up makeup, hairpins, fabric steamer, and spare accessories. This ensures quick fixes for wrinkled dresses, smudged lipstick, or loose veils during scene changes. If shooting in multiple outfits, organize garments on hangers with protective covers to prevent damage while traveling.

Pro Tip: Assign one team member to manage the kit and coordinate timing, acting as a liaison between the couple and photographer.

Moving Between Coastal and Urban Settings: Lighting and Timing

Melbourne’s coastal areas, like St Kilda Beach, and urban spots, such as Hosier Lane, offer contrasting backdrops but require different lighting approaches. When transitioning from a beach to a city street, prioritize natural light conditions. For example, shoot coastal scenes during golden hour for warm tones, then move to shaded urban alleys to avoid harsh midday sunlight.

If the next location is indoors, such as a café or gallery, use the travel time to adjust outfits. Swap open-toed sandals for closed shoes suitable for paved surfaces, or layer a lightweight jacket over a sleeveless dress for air-conditioned venues. Communicate with the photographer to align these changes with the desired mood of each scene—casual beachside laughter versus sophisticated urban elegance.

Safety Note: When shooting near busy roads or crowded areas, designate a safe zone for outfit changes and ensure the couple remains visible to the team.

Navigating Natural to Architectural Transitions: Props and Posing

Shifting from a natural setting like the Royal Botanic Gardens to an architectural landmark such as Flinders Street Station involves adapting props and posing styles. In gardens, use flowers, branches, or benches as organic elements to frame the couple. For station scenes, incorporate urban props like vintage suitcases, newspapers, or umbrellas to add context.

Posing should evolve with the environment. In nature, encourage fluid movements like walking hand-in-hand or sitting on grassy knolls. Near buildings, opt for structured poses—leaning against walls, standing on steps, or using columns as leading lines. The photographer should guide these adjustments while maintaining a consistent visual narrative across scenes.

Visual Continuity: Repeat a color or texture from one scene to the next, such as carrying a bouquet with hues matching the station’s brickwork, to create cohesion.

Handling Unexpected Delays: Flexibility in Scene Order

Weather disruptions or venue closures can force last-minute changes to the shoot itinerary. Build flexibility into the plan by ranking scenes by priority. For instance, if rain postpones an outdoor shoot, prioritize indoor locations with adjustable lighting, like studios or covered arcades.

During delays, use the time creatively. Capture candid moments of the couple interacting—sharing an umbrella or laughing at a mishap—to add authenticity to the album. If a location becomes inaccessible, research nearby alternatives with similar aesthetics. For example, if a beach is crowded, scout a quieter pier or rocky shoreline with comparable coastal charm.

Communication Strategy: Keep the couple informed about adjustments in real-time, explaining how changes enhance the final result rather than causing inconvenience.

Final Checks Before Wrapping Up

Before leaving each location, perform a quick review to ensure no details are overlooked. Check for lost accessories, tangled hair, or wardrobe malfunctions. Verify that the photographer has captured all requested shots, such as close-ups of rings or wide-angle views of the setting.

If transitioning to a final venue for sunset or nighttime shots, confirm lighting equipment is functional—extra batteries, flash units, or portable LED panels. Assign someone to gather all props and personal items, preventing items from being left behind in the rush.

Memory Keeping: Encourage the couple to take a moment to absorb each location’s ambiance, as these memories will enrich their photo album’s storytelling.

By following these steps, couples and photographers can navigate Melbourne’s diverse wedding photoshoot scenes with confidence, ensuring each transition enhances the overall narrative without sacrificing creativity or efficiency.

wedding photography melbourne

Planning of outdoor wedding photography routes in Melbourne

Melbourne Outdoor Wedding Photoshoot Route Planning: A Comprehensive Guide

Melbourne’s diverse landscapes—from coastal vistas to historic architecture—make it an ideal destination for outdoor wedding photoshoots. To ensure a seamless experience, couples should carefully plan their route, considering lighting, accessibility, and seasonal factors. This guide outlines a strategic itinerary for capturing Melbourne’s beauty through a lens of romance.

wedding photography melbourne

Coastal Charm: Brighton Beach to St Kilda Pier

Brighton Beach is renowned for its iconic colorful bathing boxes, offering a vibrant backdrop for playful, candid shots. Begin the shoot here during the golden hour, when soft sunlight enhances the pastel hues of the boxes. Couples can pose in front of their favorite box or stroll along the shoreline, capturing the rhythmic waves and sandy textures.

Next, head to St Kilda Pier, a 20-minute drive west. The pier’s wooden planks and distant city skyline create a dramatic contrast to Brighton’s whimsy. Position the couple near the pier’s end for a silhouette shot against the setting sun, or incorporate the historic Luna Park entrance for a nostalgic touch. If time permits, visit the nearby St Kilda Botanical Gardens for lush greenery and floral arrangements.

Safety Tip: Check tide schedules to avoid wet feet or unstable terrain. Wear sturdy shoes for rocky shorelines.

Urban Elegance: Flinders Street Station to Federation Square

For couples seeking a blend of history and modernity, Flinders Street Station is a must-visit. Its grand arches and bustling atmosphere provide a dynamic setting for street-style portraits. Capture the couple walking hand-in-hand across the station’s iconic steps or posing beneath the clock tower.

A short walk east leads to Federation Square, a cultural hub with geometric facades and open plazas. Use the square’s angular structures to frame the couple, or photograph them against the Yarra River’s reflective surface. During weekends, street performers add lively energy to the scene—consider incorporating them into the shoot for a spontaneous vibe.

Lighting Advice: Midday sunlight can be harsh; seek shade under trees or use reflectors to soften shadows.

Natural Serenity: Royal Botanic Gardens Victoria to Dandenong Ranges

The Royal Botanic Gardens Victoria, located near the CBD, offers endless opportunities for ethereal, nature-inspired shots. Wander through manicured lawns, rose gardens, and fern gullies, using foliage to frame the couple. For a romantic touch, photograph them beneath the arches of the Palm House or near the lake’s edge at sunrise.

To escape the city’s hustle, venture 40 minutes east to the Dandenong Ranges. The lush forests and misty valleys here create a fairytale-like ambiance. Visit the Alfred Nicholas Memorial Gardens for its tranquil lake and Japanese-inspired bridges, or explore the Sherbrooke Forest for towering trees and birdlife. Couples can pose on winding trails or share a quiet moment on a wooden bench overlooking the hills.

Seasonal Considerations: Autumn (March–May) transforms the ranges into a golden wonderland, while spring (September–November) brings blooming wildflowers.

Architectural Grandeur: St Patrick’s Cathedral to Eureka Skydeck

St Patrick’s Cathedral, a Gothic masterpiece, exudes timeless elegance. Its soaring spires and intricate stained-glass windows provide a regal setting for formal portraits. Schedule the shoot during early morning or late afternoon to avoid crowds and capture the interior’s warm, filtered light.

For a modern twist, conclude the day at Eureka Skydeck, Southbank’s 88th-floor observation deck. The 360-degree views of Melbourne’s skyline offer a breathtaking conclusion to the shoot. Time the visit for sunset to witness the city transition from day to night, with twinkling lights reflecting off the Yarra River.

Logistical Note: Eureka Skydeck closes at 10 PM; confirm operating hours in advance.

Practical Tips for a Smooth Shoot

  • Weather Preparedness: Melbourne’s climate is unpredictable; carry a lightweight jacket or umbrella.
  • Footwear: Opt for comfortable shoes for walking between locations.
  • Permits: Some venues, like botanical gardens, may require prior permission for commercial shoots.
  • Transportation: Use ride-sharing services or rent a car for flexibility, especially when visiting distant sites like the Dandenong Ranges.

By thoughtfully combining Melbourne’s coastal, urban, and natural landscapes, couples can craft a wedding photoshoot itinerary that tells their unique love story. Each location offers distinct visual elements, ensuring a diverse and memorable collection of images.

DSC02404

The process of interior wedding photography in Melbourne

Melbourne Indoor Wedding Photoshoot Process: A Step-by-Step Guide

Planning an indoor wedding photoshoot in Melbourne requires careful coordination of styling, location, and timing. Unlike outdoor shoots, indoor sessions offer controlled lighting and weather-independent settings, making them ideal for couples seeking a polished, intimate atmosphere. This guide breaks down the process into manageable steps, from initial preparations to final touches, ensuring a seamless experience.

wedding photography melbourne

Selecting the Right Indoor Venue and Theme

Indoor venues in Melbourne range from historic studios to modern lofts, each offering unique aesthetic opportunities. When choosing a location, consider factors like ceiling height, natural light access, and decor flexibility. For example, a studio with exposed brick walls and large windows suits rustic or bohemian themes, while a minimalist white space complements contemporary or elegant styles.

Discuss your vision with the photographer to align the venue with your desired mood. If you envision a romantic ambiance, opt for soft lighting and neutral tones. For a bold, artistic look, prioritize venues with geometric patterns or vibrant backdrops. Always visit the space beforehand to assess its suitability for your chosen outfits and poses.

Coordinating Outfits and Accessories for Indoor Settings

Indoor lighting, whether natural or artificial, interacts differently with fabrics and colors than outdoor sunlight. Choose materials like silk, satin, or velvet that reflect light elegantly, avoiding heavy textures that may appear dull under studio lamps. For formal portraits, opt for classic silhouettes like ball gowns or tailored suits, while casual themes allow for flowy dresses or relaxed separates.

Accessories should enhance the theme without overwhelming the frame. Delicate jewelry or a simple veil works well for traditional settings, while statement pieces like bold earrings or a patterned tie add personality to modern shoots. Bring versatile items like a shawl or jacket to adapt to temperature changes in air-conditioned studios.

Timing and Logistics for a Smooth Indoor Shoot

Indoor shoots typically follow a structured timeline to maximize efficiency. Begin by arriving early to finalize outfit selections and hair styling, which often take longer than expected. Allocate 30–45 minutes per look for adjustments, ensuring each ensemble is photographed from multiple angles.

Work with your photographer to create a shot list, prioritizing must-have poses and groupings. For example, schedule couple portraits during the golden hour if the studio has windows, or use artificial lighting for dramatic effects later in the day. Break the session into segments—individual shots, partner interactions, and family portraits—to maintain focus and energy.

Managing Lighting and Posing in Confined Spaces

Indoor lighting requires strategic planning to avoid harsh shadows or uneven exposure. Natural light from windows is ideal for soft, flattering images, but studios often rely on artificial setups. Discuss lighting preferences with your photographer beforehand, whether you prefer warm tones for a cozy feel or cool hues for a modern edge.

Posing indoors differs from outdoor shoots due to limited space. Focus on intimate, close-up shots that highlight emotions rather than sweeping landscapes. Experiment with angles—sit on a staircase for depth, lean against a wall for a casual vibe, or use furniture to create dynamic compositions. Encourage natural interactions, like whispering or holding hands, to capture genuine chemistry.

Final Checks and Post-Shoot Considerations

Before wrapping up, review the day’s shots with your photographer to ensure no key moments were missed. Check for wardrobe malfunctions, such as loose straps or wrinkled fabric, and touch up makeup if needed. If the studio offers immediate previews, use this time to confirm satisfaction with the results.

After the shoot, communicate with your photographer about delivery timelines for digital proofs and edited images. Specify preferences for retouching, such as skin smoothing or background adjustments, to align the final product with your vision. Store digital files securely and consider printing favorites for display at home or as gifts for family.

By following these steps, couples can navigate Melbourne’s indoor wedding photoshoot process with confidence, resulting in timeless images that reflect their unique style and love story.

DSC02594

Melbourne wedding dress shooting, makeup and styling schedule

Crafting a Timely Makeup and Styling Schedule for Melbourne Wedding Photoshoots

A well-planned makeup and styling timeline ensures couples look their best without rushing or delays during a Melbourne wedding photoshoot. The city’s unpredictable weather, varying locations, and long shooting hours demand a structured approach to beauty preparations. By aligning styling sessions with photoshoot logistics, couples can achieve polished looks that withstand the demands of the day. Here’s how to organize your schedule effectively.

wedding photography melbourne

Aligning Beauty Preparations with Photoshoot Logistics

Start by confirming the photoshoot’s start time and location. If the session begins early in the morning at a remote spot like the Dandenong Ranges, schedule hair and makeup to finish at least an hour before departure. This buffer accounts for travel time and last-minute adjustments. For urban shoots in the CBD, factor in parking or public transport delays, especially during peak hours.

Discuss the number of outfit changes with your stylist. Each look may require different hair and makeup adjustments, such as switching from a bold red lip to a nude shade or transforming loose waves into an elegant updo. Allocate 30–45 minutes per outfit change for styling tweaks, ensuring transitions are smooth and stress-free. If the shoot includes multiple locations, prioritize versatile styles that adapt easily—for example, a half-up hairstyle that can be pinned up or left down.

Consider the shoot’s duration when planning beauty touch-ups. A full-day session spanning 8–10 hours will need midday refreshes to combat shine, smudged lipstick, or frizzy hair. Schedule a 15–20 minute break halfway through the shoot for quick fixes, like reapplying powder or adjusting accessories. Communicate these needs to your photographer so they can plan the itinerary around these pauses.

Structuring the Morning Beauty Routine for Efficiency

Begin the day with a clean, moisturized face to ensure makeup applies evenly. If you’re prone to oily skin, use a mattifying primer; dry skin types benefit from a hydrating base. Schedule makeup application first, as it often takes longer than hair styling—especially if you’re opting for intricate eye looks or contouring. Allow 45–60 minutes for a full face of makeup, depending on complexity.

While makeup is being applied, start hair preparations if possible. For updos or elaborate styles, wash and dry hair the night before to save time. If freshly washed hair is necessary, use a volumizing mousse or texturizing spray to add grip for styling. Hair styling typically takes 30–45 minutes, depending on the look. Simple curls or straightened locks require less time than braided crowns or chignons.

Coordinate with your partner’s styling timeline if you’re getting ready together. Stagger schedules slightly to avoid overlapping at the styling station—for example, have one partner start makeup while the other begins hair. This prevents bottlenecks and ensures both are ready on time. If you’re working with separate stylists, confirm their arrival times and setup needs in advance.

Planning for Mid-Shoot Touch-Ups and Style Adjustments

Melbourne’s weather can shift unexpectedly, affecting hair and makeup. For outdoor shoots, carry blotting papers, travel-sized hairspray, and lipstick for quick fixes. If it’s windy, secure loose strands with bobby pins or a headband to prevent flyaways. Humid conditions may require anti-frizz serum or a stronger-hold hairspray to maintain styles.

Schedule touch-ups during outfit changes or location transitions. Use these moments to refresh makeup, re-curl stubborn hair sections, or adjust accessories like veils or hairpins. If you’re shooting in direct sunlight, reapply SPF to prevent sunburn without disturbing makeup—opt for a mineral powder formula that sits well over foundation.

For multi-location shoots, discuss style adaptability with your stylist. A beach look might feature loose waves and dewy skin, while a CBD session could call for a sleek ponytail and matte makeup. Pack versatile products like a tinted moisturizer for natural coverage or a cream blush that doubles as lip color to streamline adjustments. Let your photographer know about planned style shifts so they can capture each look effectively.

Finalizing the Schedule and Communicating with Your Team

Create a detailed timeline outlining each beauty and styling step, including start times, durations, and responsibilities. Share this with your stylist, photographer, and wedding party to ensure everyone is aware of the plan. Include contingency time for unexpected delays, like traffic or styling hiccups, to avoid rushing later.

Confirm your stylist’s availability for the entire shoot duration if touch-ups are needed. Some stylists offer half-day or full-day packages, while others charge hourly. Clarify their policy on breaks or additional fees for extended sessions. If you’re self-styling, practice your routine beforehand to gauge timing and identify potential issues.

On the shoot day, arrive early to set up your styling station with all necessary tools and products. Keep essentials like bobby pins, hair ties, and lipstick within reach for quick fixes. Stay hydrated and avoid heavy meals before styling to prevent bloating or discomfort. By organizing your beauty schedule thoughtfully, you’ll achieve a flawless look that lasts throughout your Melbourne wedding photoshoot.