wedding photography melbourne

The secondary shooting process for wedding photography in Melbourne

Melbourne Wedding Photography Reshoot Process: Key Steps and Considerations

Planning a wedding photography reshoot in Melbourne requires careful coordination to ensure the final images meet expectations. From addressing initial dissatisfaction to optimizing the second attempt, here’s a structured guide to navigating the process.

wedding photography melbourne

Identifying Valid Reasons for a Reshoot

Style Mismatch or Technical Flaws

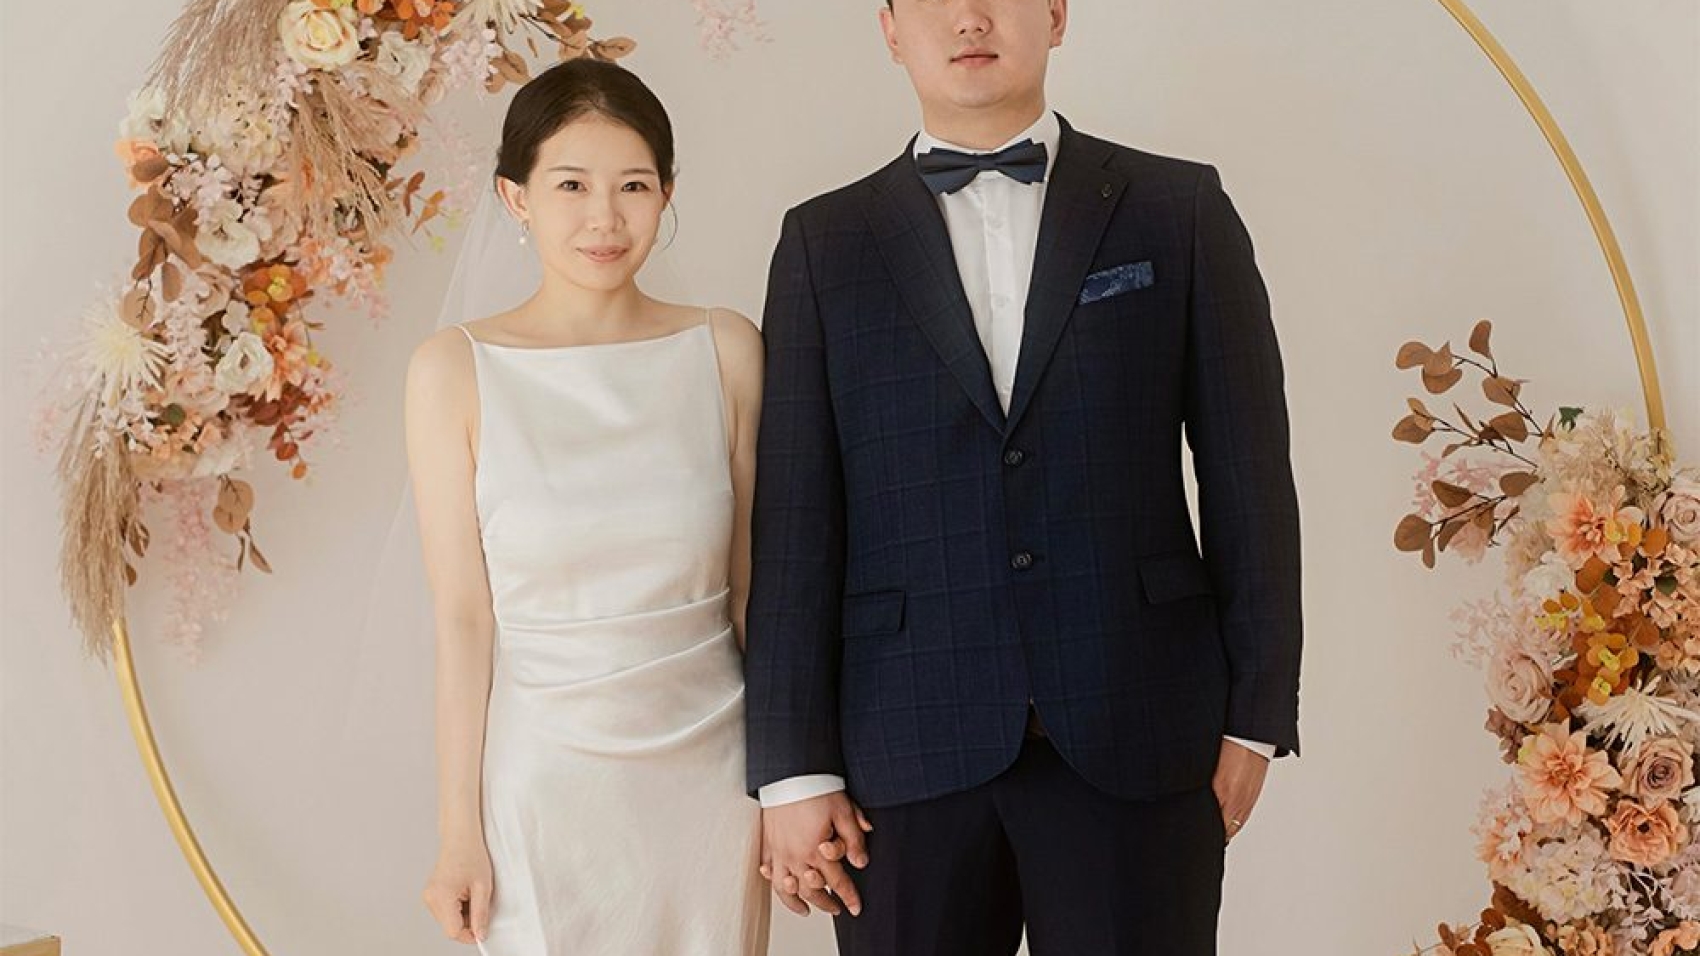
If the initial photos deviate from the agreed style (e.g., a requested “vintage” theme delivered as “modern glam”) or suffer from technical issues like overexposure or poor composition, a reshoot is justified. Document these discrepancies with reference photos from the contract or consultation notes to strengthen your case.

Wardrobe or Location Concerns

Specific outfits or scenes may underperform in the final images. For instance, a bridal gown might appear ill-fitting in certain poses, or a chosen location (e.g., a beach at high tide) could lack the intended aesthetic. Highlight these issues during post-production reviews to request targeted adjustments.

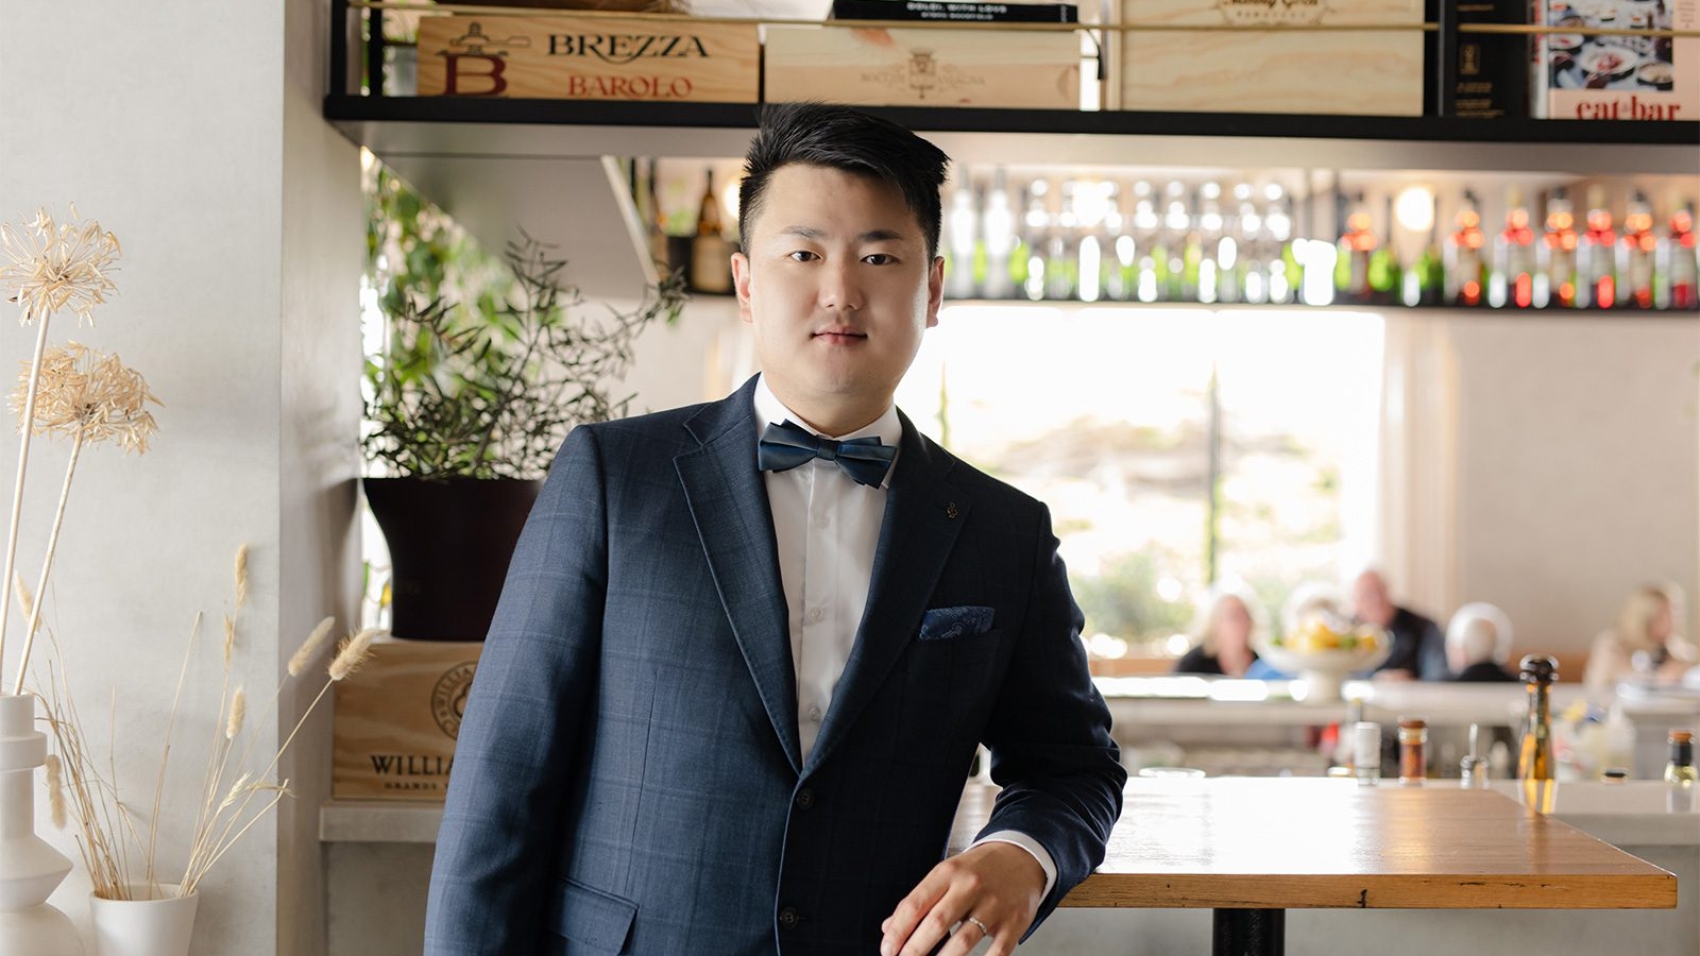
Communication Breakdowns

Misaligned expectations often stem from unclear communication. If the photographer ignored requests for specific angles, lighting, or poses, clarify these preferences in writing before the reshoot. Use mood boards or example photos to bridge creative gaps.

Pre-Reshoot Preparation

Review Original Contract Terms

Many studios include clauses for free reshoots if the final product fails to meet contractual standards. Verify whether the contract specifies conditions like “unlimited revisions until satisfaction” or “one complimentary reshoot per package.” If not, negotiate terms upfront to avoid disputes.

Analyze Initial Failures

Pinpoint why the first shoot fell short. Was it due to poor lighting, rushed timing, or unflattering poses? For example, if harsh midday sun washed out skin tones, request a morning or late-afternoon reshoot. If the photographer’s style clashed with your vision, share a detailed brief with inspiration images.

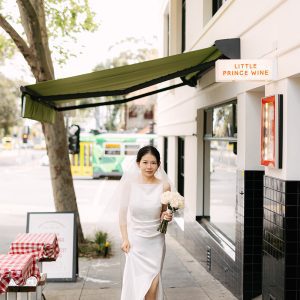
Select a New Date and Time

Melbourne’s weather and seasons significantly impact outcomes. For coastal shots, aim for calm mornings at Half Moon Bay to avoid wind-tousled hair. Urban scenes near Parliament House shine during golden hour, while autumn foliage in Carlton Gardens peaks in April. Use weather apps to track conditions and reschedule if needed.

During the Reshoot

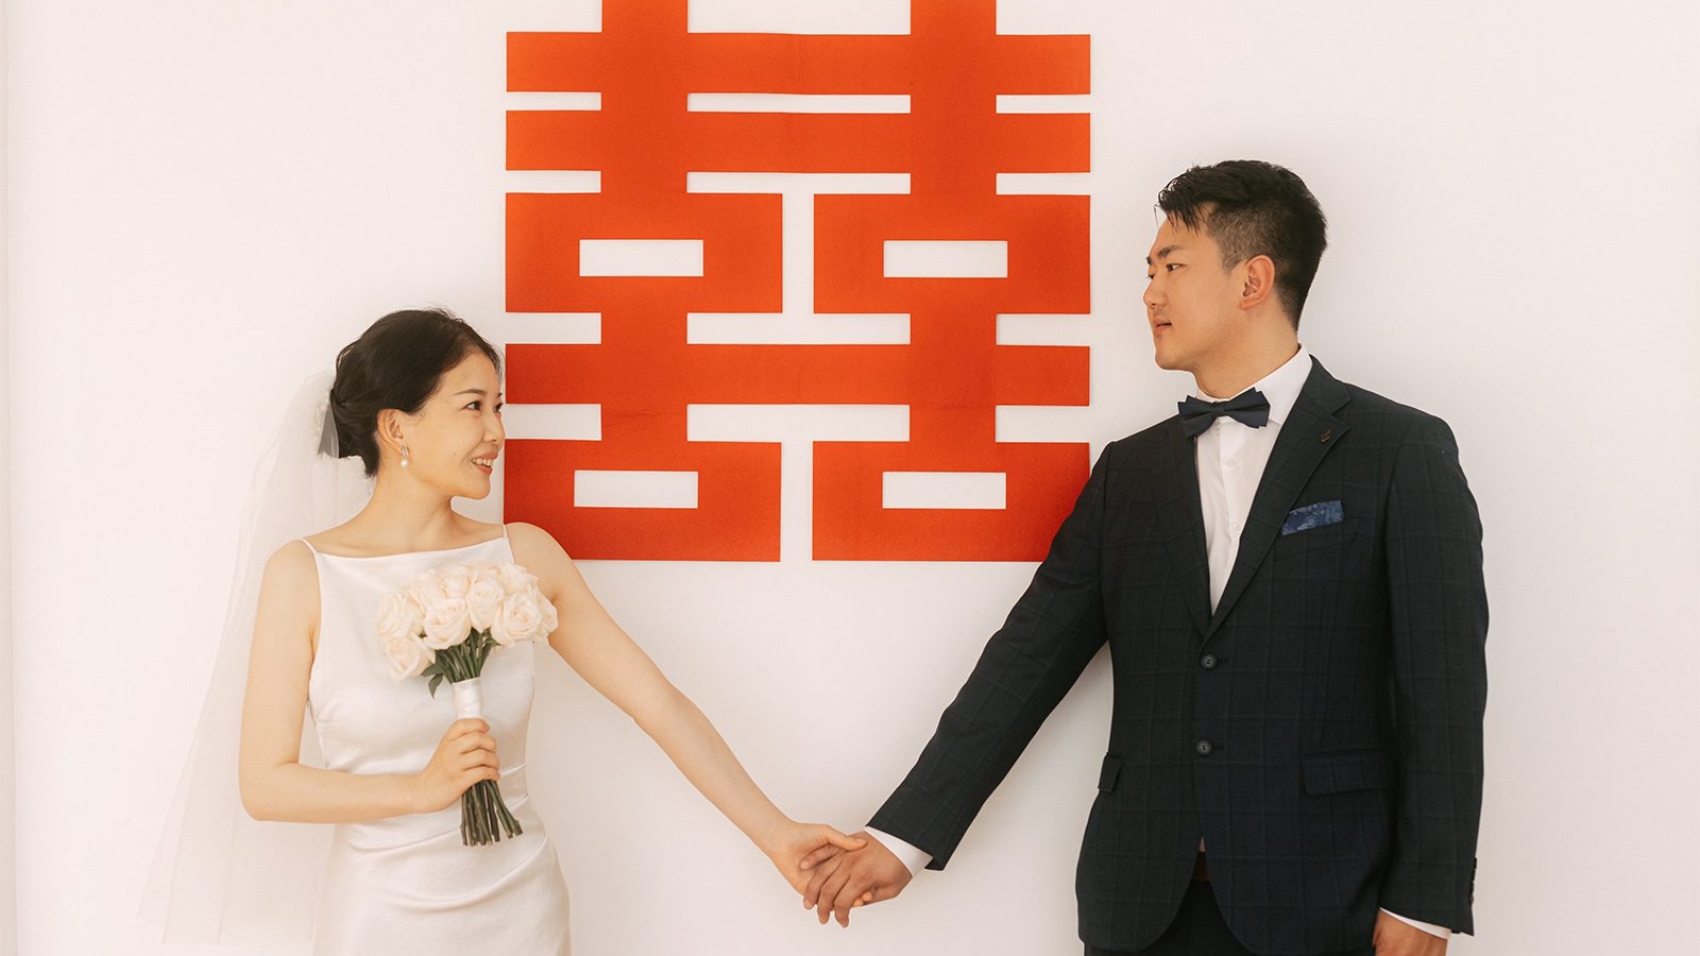
Optimize Wardrobe and Styling

Bring multiple outfit options to accommodate different scenes. For example, pair a flowing A-line gown with a beach backdrop and a structured silhouette for architectural shots. Test hairstyles and makeup in natural light to ensure they photograph well. If dissatisfied with the initial styling, collaborate with the makeup artist to adjust tones or textures.

Direct Posing and Framing

Communicate preferred angles and expressions clearly. If full-frontal shots highlight facial asymmetry, request more side profiles. Use props (e.g., bouquets, chairs) to create dynamic compositions. For group shots, assign positions in advance to avoid awkward spacing.

Monitor Progress Mid-Shoot

Review raw images on the photographer’s camera or a tablet to catch issues early. Check for blown-out highlights, blurry details, or unflattering poses. If a shot feels off, ask the photographer to retake it immediately rather than waiting for post-production fixes.

Post-Reshoot Considerations

Streamline the Selection Process

After the reshoot, the studio will typically cull and lightly edit images for your review. Use this round to eliminate duplicates or technically flawed photos. Focus on emotional impact and composition rather than minor blemishes, which can be retouched later.

Provide Detailed Feedback

If the reshoot still doesn’t meet expectations, list specific issues (e.g., “the bride’s eyes appear closed in 30% of the photos” or “the background in Scene 5 is distracting”). Pair critiques with solutions, such as requesting additional edits or a third shoot for critical scenes.

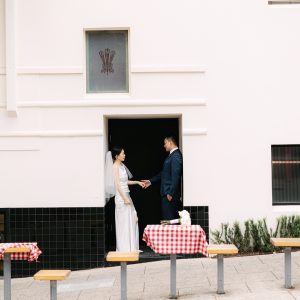
Leverage Melbourne’s Unique Backdrops

If the reshoot improves but lacks “wow” factor, incorporate iconic Melbourne landmarks. A sunset silhouette at Cape Schanck Lighthouse or a nighttime shot outside Palais Theatre can elevate the album’s storytelling. Ensure these locations align with your vision and are logistically feasible.

By addressing root causes, communicating effectively, and leveraging Melbourne’s diverse settings, couples can transform a disappointing first attempt into a memorable visual narrative. Prioritize clarity, flexibility, and collaboration to achieve photos that truly reflect your special day.

IMG_8224

Suggestions for preserving wedding photography works in Melbourne

Essential Tips for Preserving Melbourne Wedding Photography

Melbourne’s unique blend of urban charm, coastal beauty, and lush gardens creates stunning backdrops for wedding photography. However, preserving these memories requires careful handling to ensure they remain vibrant for decades. From digital storage to physical display, here’s how to protect your wedding album from fading, damage, and technological obsolescence.

wedding photography melbourne

Digital Storage Strategies for Long-Term Preservation

Backing Up Files Across Multiple Platforms

Digital photos are vulnerable to corruption, accidental deletion, or hardware failure. Store copies on at least two external hard drives—one kept offsite (e.g., at a family member’s home) and another in a cool, dry place. Cloud storage services like Google Drive or Dropbox offer additional security, but avoid relying solely on them, as companies may change policies or shut down. Regularly update backups to include new edits or additions.

Choosing the Right File Formats

RAW files retain the most detail but require specialized software to view. Convert copies to high-quality JPEGs (with minimal compression) for everyday access. For archival purposes, consider TIFF format, which is lossless and widely supported. Avoid proprietary formats tied to specific software, as they may become unreadable over time. Label files clearly with dates, locations, and keywords for easy searching.

Protecting Against Data Corruption

Hard drives degrade slowly, so check them annually for errors using built-in tools (e.g., Disk Utility on Mac or CHKDSK on Windows). Replace drives every 3–5 years, even if they seem functional. For cloud storage, enable two-factor authentication to prevent unauthorized access. If storing photos on social media, download originals periodically, as platforms may compress or remove content without notice.

Physical Print Preservation Techniques

Selecting Acid-Free Materials for Albums

Traditional photo albums with magnetic pages or plastic sleeves can damage prints over time. Opt for acid-free, archival-quality albums with cotton or linen covers. Use photo corners or acid-free adhesive strips to mount prints, avoiding glue or tape that may yellow or weaken. For loose prints, store them in acid-free boxes with dividers to prevent bending or scratching.

Framing Prints with UV Protection

Ultraviolet light from sunlight or fluorescent bulbs fades colors and weakens paper. Choose frames with UV-filtering glass or acrylic to block harmful rays. Matting prints with acid-free mat board adds an extra layer of protection and creates a polished look. Avoid hanging photos in direct sunlight or humid areas like bathrooms, where moisture can cause warping or mold growth.

Handling Prints with Clean, Dry Hands

Oils and dirt from fingers can transfer to prints, causing smudges or discoloration. Wear cotton gloves when handling unframed photos, or hold them by the edges. If prints must be cleaned, use a soft, dry brush to gently remove dust—never wet-clean them, as water can seep into the paper and cause damage. For stubborn dirt, consult a professional conservator.

Display and Environmental Considerations

Avoiding Direct Sunlight and Extreme Temperatures

Prolonged exposure to sunlight accelerates fading, even with UV-protected frames. Display photos in shaded areas or rotate them seasonally to minimize light damage. Extreme temperatures (e.g., near heaters or air conditioners) can cause paper to expand or contract, leading to cracking. Aim for a stable indoor environment with temperatures between 60–75°F (15–24°C) and humidity levels around 40–50%.

Rotating Displays to Prevent Uneven Fading

If you love displaying multiple photos, rotate them every few months to ensure even exposure to light. This is especially important for prints in high-traffic areas, like hallways or living rooms. Consider creating a digital slideshow on a screen for variety, reducing the need to handle physical prints frequently.

Using Descriptive Labels for Context

Labels help future generations understand the stories behind your photos. Write details like dates, locations, and names on the back of prints using a soft pencil (avoid ink, which may bleed). For albums, include a written introduction explaining the significance of each section. Digital labels should use plain text (not embedded in images) for compatibility with future software.

Preparing for Future-Proofing

Converting Older Formats to Modern Standards

If you inherit vintage photos or slides, scan them at high resolution (at least 300 dpi) to create digital copies. Use a flatbed scanner with a transparency adapter for slides or negatives. Store scans alongside originals, and consider sharing them with family via cloud storage. For audio or video recordings from the wedding, convert analog tapes to digital files using a reliable converter.

Educating Family Members on Preservation

Share preservation tips with relatives who may inherit your photos. Create a document outlining storage locations, backup routines, and care instructions. If dividing prints among family, ensure everyone follows the same guidelines to prevent inconsistent preservation. Consider gifting digital copies to younger relatives who prefer digital access.

Planning for Technological Changes

Technology evolves rapidly, so revisit your preservation strategy every 5–10 years. Migrate files to newer storage devices (e.g., from DVDs to SSDs) and update file formats if needed. Stay informed about archival best practices through photography forums or conservation organizations. By staying proactive, you’ll ensure your Melbourne wedding photos endure as a cherished heirloom.

By combining digital diligence, physical care, and thoughtful display, your wedding photography will remain a vibrant testament to your special day for generations to come.

IMG_8239

Notes on repairing flaws in Melbourne wedding photography

Key Considerations for Retouching Imperfections in Melbourne Wedding Photography

Melbourne’s unpredictable weather, diverse landscapes, and dynamic lighting conditions can introduce challenges during wedding shoots. From sudden rain showers to wind-tossed hair, these imperfections are natural but may require careful retouching to ensure the final images meet the couple’s expectations. Here’s how to address common flaws while maintaining authenticity.

wedding photography melbourne

Addressing Weather-Related Imperfections

Rain, Wind, and Unwanted Elements

Melbourne’s coastal areas and open fields are prone to sudden weather changes. Raindrops on lenses or clothing, wind-blown hair, or debris like leaves can distract from the focus. Use cloning tools to remove small spots or stray objects, but avoid over-editing—subtle imperfections often add character. For wind-tousled hair, gently reshape strands using the liquefy tool, keeping movements natural to avoid a stiff appearance.

Overcast Skies and Flat Lighting

Cloudy days can result in dull, low-contrast images. To enhance mood, adjust the tone curve to deepen shadows and brighten highlights slightly. Add warmth to skin tones to counteract the coolness of overcast light. If the sky lacks detail, consider replacing it with a stock image of a Melbourne skyline or cloud formation, ensuring perspective and lighting match the original shot.

Harsh Sunlight and Glare

Bright midday sun in Melbourne’s parks or beaches can create harsh shadows and blown-out highlights. Use the brush tool to dodge (lighten) underexposed areas like faces and burn (darken) overexposed spots on dresses or backgrounds. For glare on glasses or reflective surfaces, reduce brightness and adjust hue to blend seamlessly with the surrounding environment.

Fixing Common Technical Flaws

Lens Flares and Chromatic Aberration

Lens flares, while artistic in moderation, can overpower portraits. Use the healing brush to remove distracting flares, keeping a few subtle ones for creative effect. Chromatic aberration—color fringing around high-contrast edges—can be corrected by adjusting the defringe slider in post-processing software. Zoom in to inspect details like veil edges or architectural lines to ensure crispness.

Sensor Dust and Spot Removal

Dust on the camera sensor appears as small dark spots, especially noticeable in clear skies or solid-color backgrounds. Use the spot removal tool to clone nearby pixels over these marks. For large areas, switch to manual cloning for better control. Always check images at 100% zoom to catch every speck, as these flaws are easier to fix during editing than reshooting.

Blurry Images Due to Movement

Camera shake or subject movement can blur shots, particularly in low light. Sharpening tools can help, but use them sparingly to avoid graininess. For minor blur, apply the unsharp mask filter with a low radius (1–2 pixels) and moderate amount (20–40%). If blur is severe, consider merging multiple exposures or using AI-based sharpening features, but prioritize natural-looking results over perfection.

Retouching Human-Related Imperfections

Skin Blemishes and Redness

Acne, scars, or temporary blemishes are common concerns for couples. Use the spot healing brush to remove small flaws, then switch to the clone stamp for larger areas. For redness (e.g., sunburn or rosacea), adjust the hue/saturation panel to desaturate reds and oranges slightly. Always zoom in to ensure edits blend seamlessly—over-smoothed skin can look plastic and unrealistic.

Stray Hairs and Flyaways

Wind or static can leave hair sticking out in awkward directions. Use the clone stamp or healing brush to remove individual strands, working in short strokes for precision. For larger sections, the liquefy tool can gently push hair back into place. Avoid removing too many strands, as natural hair texture adds authenticity. If the bride’s hairstyle is complex, focus on fixing only the most distracting elements.

Wardrobe Malfunctions and Wrinkles

Dresses or suits may wrinkle during movement or sitting. Use the clone stamp to smooth minor creases, but preserve natural folds to maintain fabric texture. For visible undergarments or wardrobe gaps, clone nearby fabric over the issue area. If a strap falls out of place, consider repositioning it digitally—but only if reshooting isn’t an option. Always prioritize the couple’s comfort and consent before editing clothing.

Maintaining Authenticity While Retouching

Balancing Perfection and Realism

The goal of retouching is to enhance, not erase, the couple’s story. Avoid removing elements that define the moment, like a child’s laughter lines or a groom’s nervous smile. Focus on distractions (e.g., a photobomber or a trash can) rather than personal features. When in doubt, ask the couple which flaws they’d like addressed—some may embrace their “imperfections” as part of their unique day.

Consistency Across Album Images

Ensure retouching styles match throughout the album. If you soften skin in one portrait, apply the same adjustments to others. For group shots, check that lighting and color tones are uniform, especially if photos were taken at different times or locations. Use presets or batch editing to streamline the process, but review each image individually to catch nuances.

Preserving Background Details

Melbourne’s iconic landmarks (e.g., the Yarra River or Flinders Street Station) add context to wedding photos. When retouching, avoid cloning over these features unless necessary. If a background element is distracting (e.g., a construction sign), replace it with a cleaner version of the same scene or a subtle blur. Always maintain the integrity of the location to honor the couple’s chosen backdrop.

By approaching retouching with patience and a focus on storytelling, your Melbourne wedding photos will strike the perfect balance between flawless beauty and genuine emotion.