IMG_0126

Post-production color tone selection for wedding photography in Melbourne

Selecting the Perfect Color Tones for Melbourne Wedding Photography Post-Processing

Melbourne’s diverse landscapes—from urban cityscapes to coastal vistas—offer endless inspiration for wedding photography. The right color tones in post-processing can elevate these images, transforming them into timeless art. Whether aiming for romantic warmth, moody drama, or vibrant energy, here’s how to choose tones that reflect your unique style.

wedding photography melbourne

Understanding Melbourne’s Natural Light and Environments

Coastal and Beach-Inspired Tones

Melbourne’s beaches, like St Kilda or Brighton, provide a blend of soft sand, turquoise waters, and golden sunsets. For photos shot here, consider tones that mimic the ocean’s cool blues and greens. Adjust whites to a slight cyan tint to enhance water reflections, while warming skin tones to balance the chill. This creates a serene, dreamy effect perfect for intimate beach ceremonies.

Urban and Industrial Aesthetics

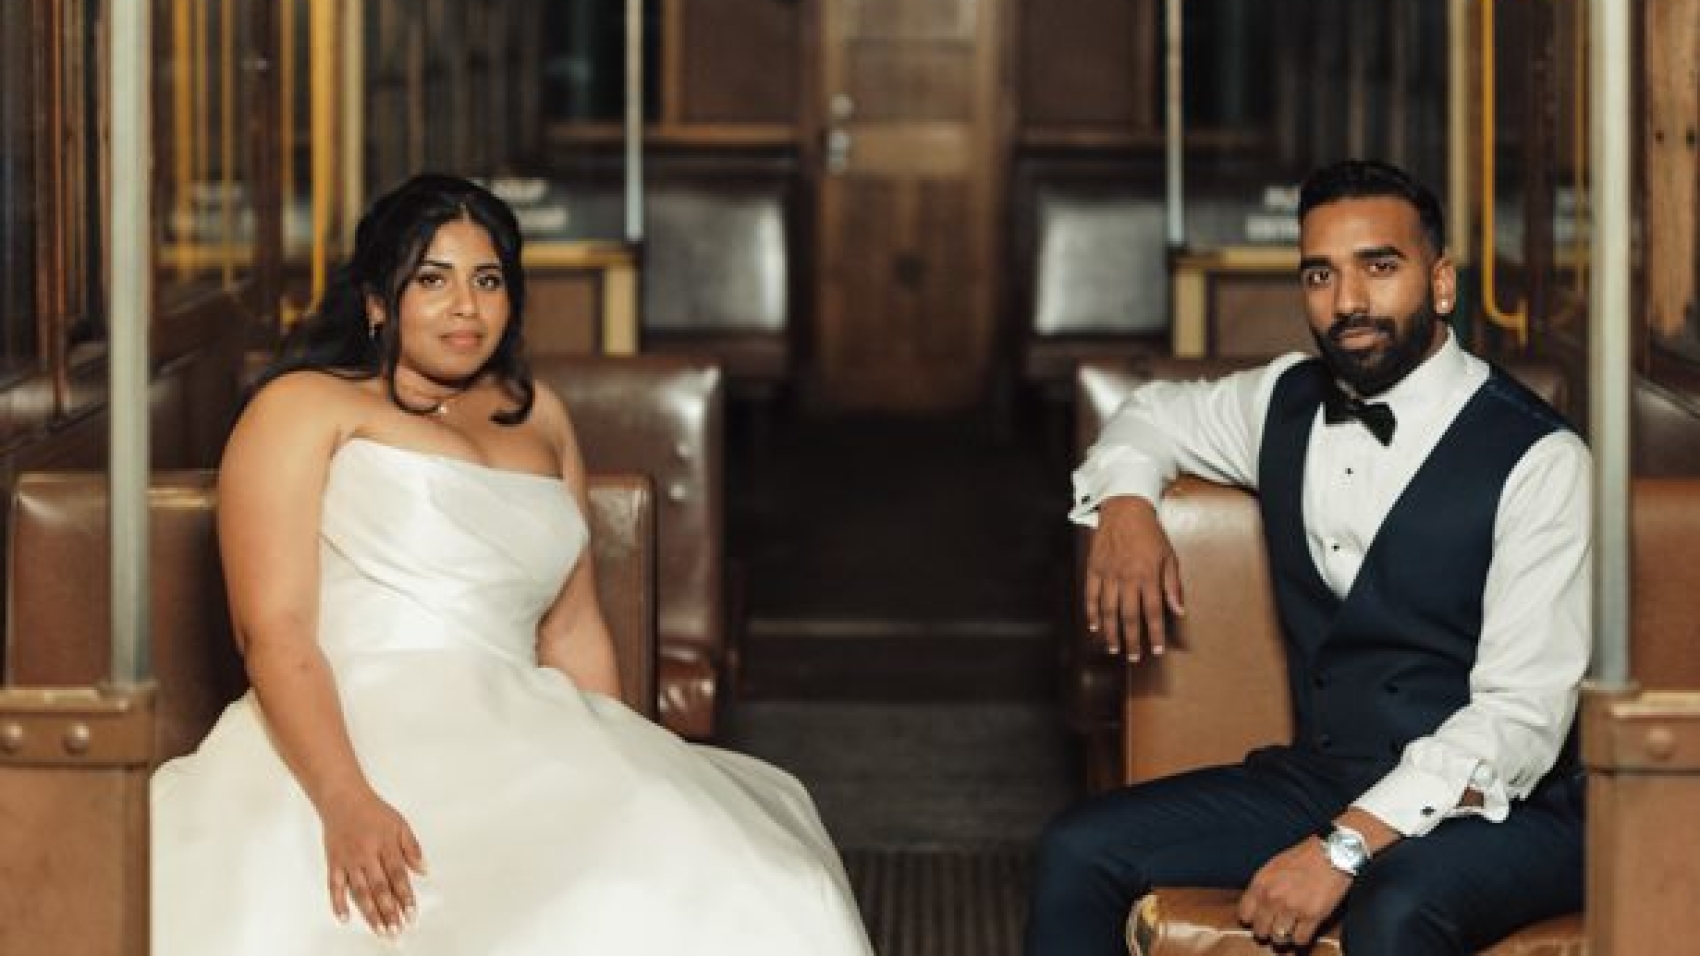
City weddings in Melbourne’s laneways or docklands call for bolder, contrasting tones. Embrace the gritty textures of brick walls, graffiti, or steel structures by deepening shadows and boosting midtones. Add a hint of teal or orange to split-toning highlights and shadows, creating a cinematic look. This approach suits couples seeking a modern, edgy vibe in their album.

Rural and Nature-Driven Palettes

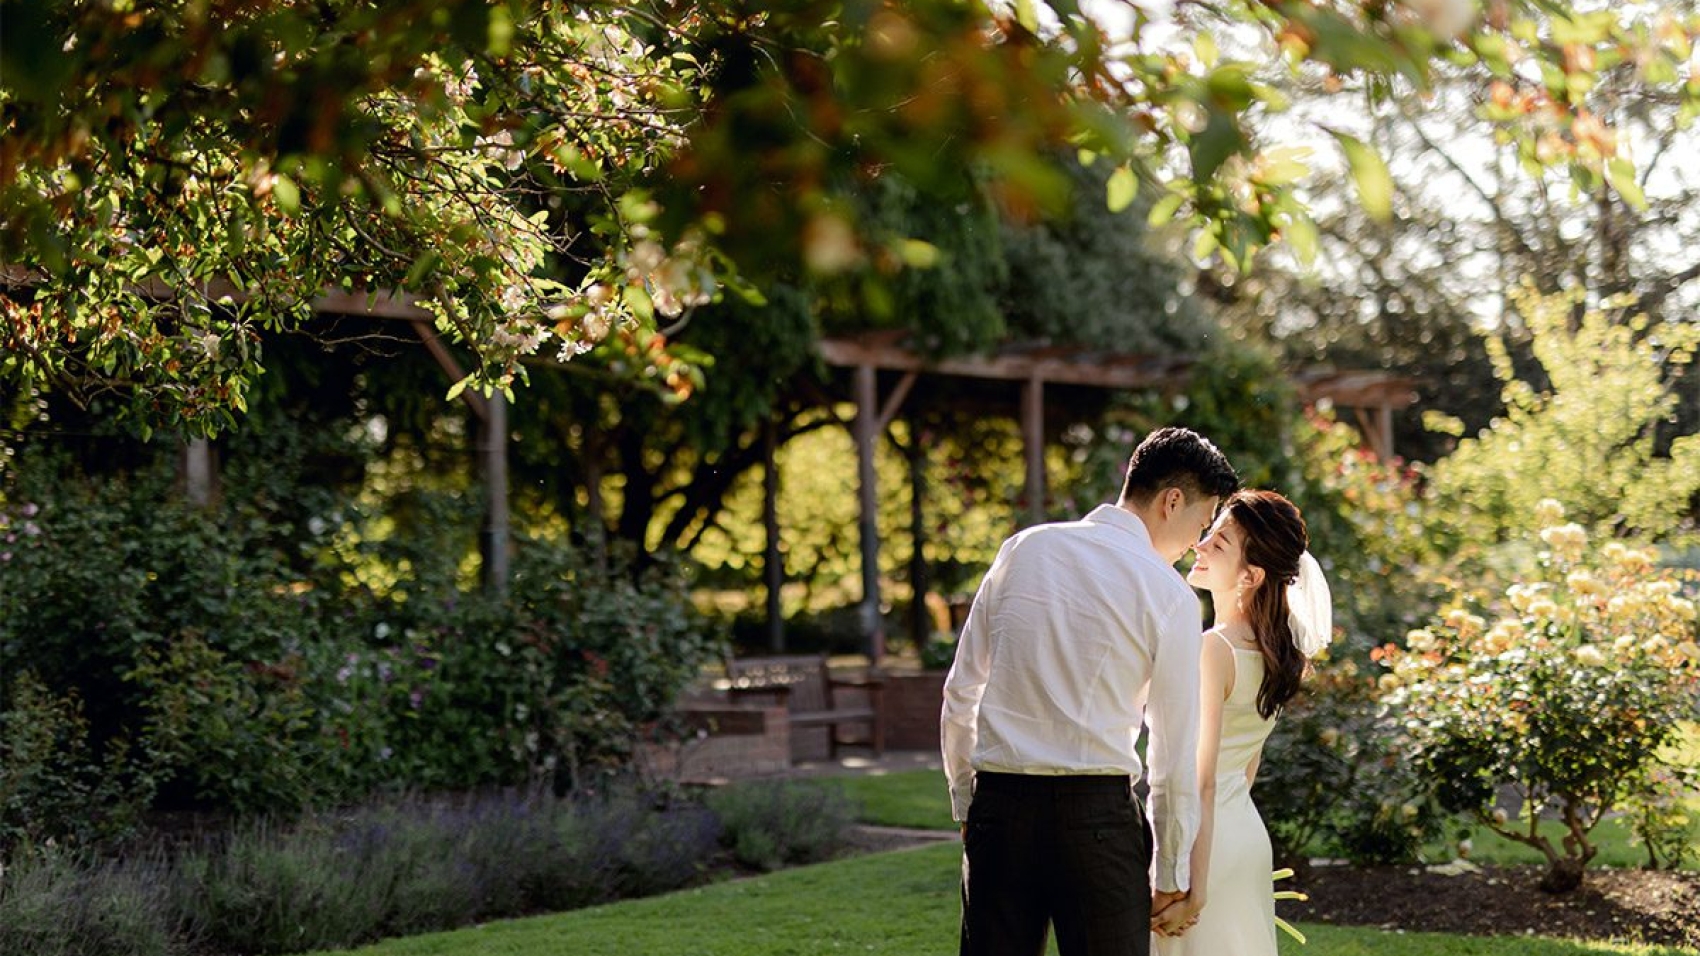
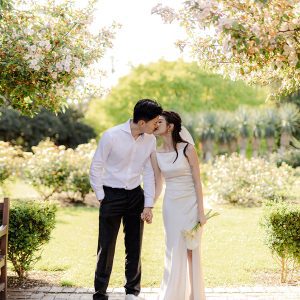
For weddings in the Yarra Valley or Dandenong Ranges, earthy, organic tones work best. Think muted greens, warm browns, and soft yellows to reflect lush foliage and golden hour light. Lower saturation slightly to avoid overpowering natural colors, and use a matte finish for a vintage feel. This palette evokes calmness and connection to nature, ideal for outdoor celebrations.

Popular Color Grading Styles for Wedding Albums

Timeless and Romantic Warmth

Classic wedding photos often feature warm, golden tones that evoke nostalgia. Start by raising the temperature slider to add a sunset-like glow, then enhance reds and oranges in skin tones for a healthy, radiant look. Subtle vignetting draws focus to the couple, while softening edges creates a dreamy atmosphere. This style suits traditional venues like gardens or historic buildings.

Moody and Dramatic Contrasts

For couples wanting a bold, artistic edge, moody tones emphasize depth and emotion. Crush blacks to create rich shadows, and desaturate greens and blues to keep the focus on the subjects. Add a cool blue or purple tint to highlights for a cinematic feel. This approach works well for nighttime shots or indoor venues with dramatic lighting, like lofts or warehouses.

Vibrant and Playful Brightness

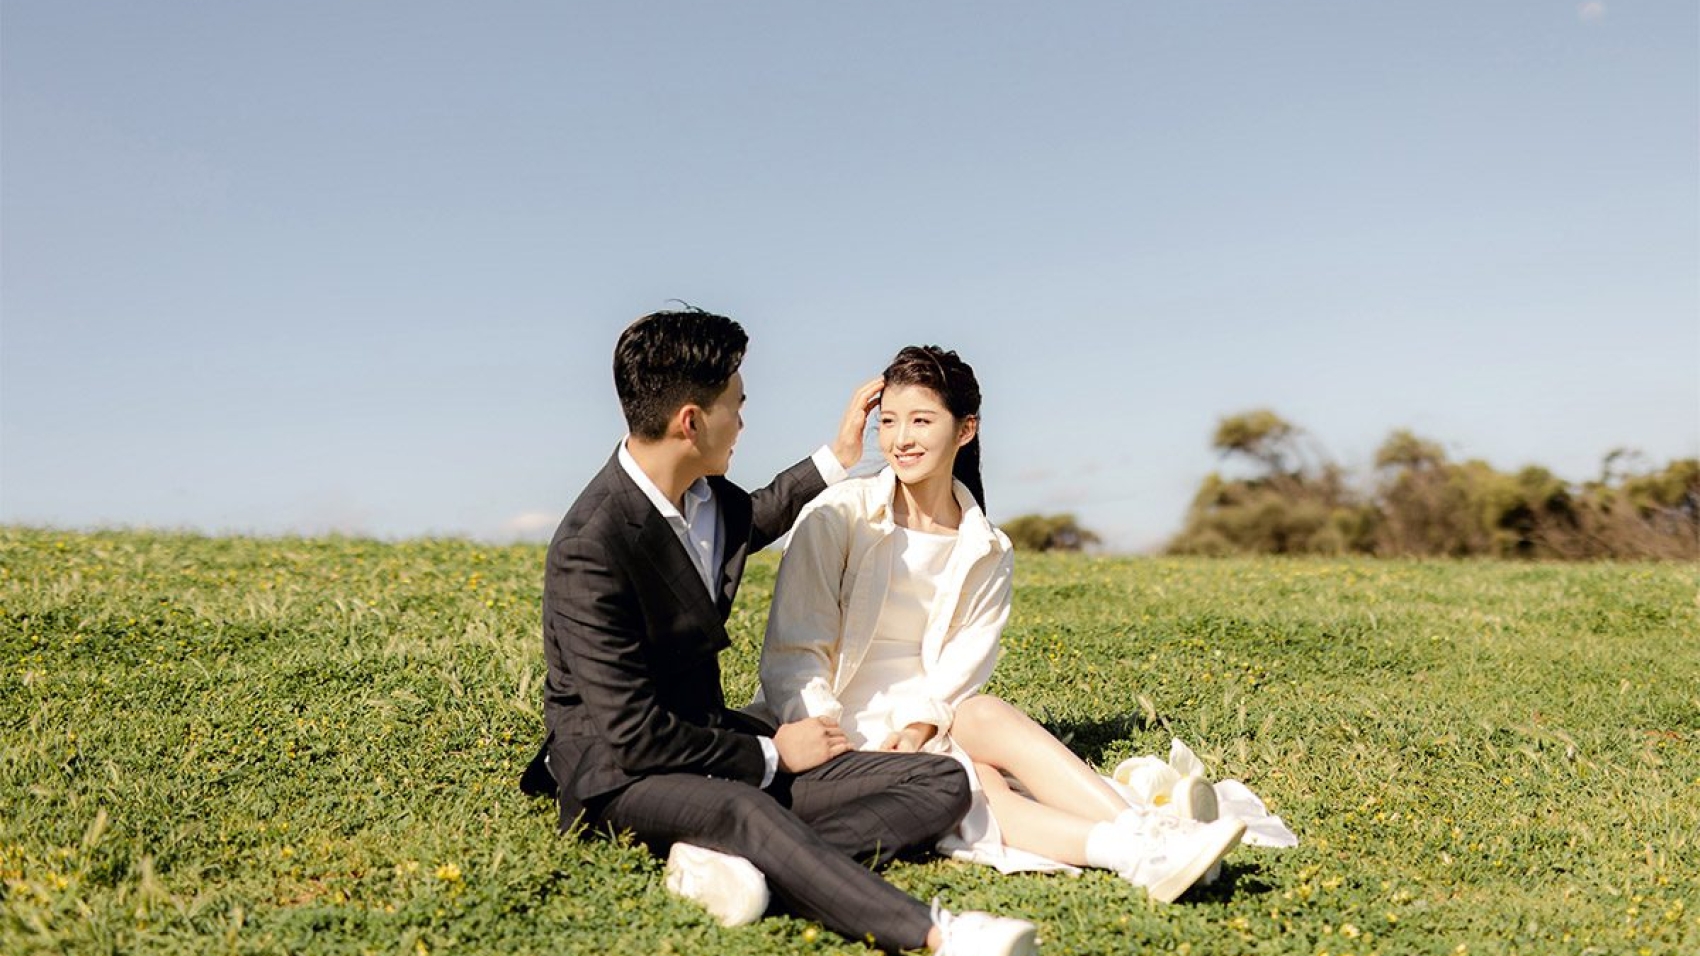
If the couple’s personality is lively and fun, vibrant tones can capture that energy. Boost saturation slightly to make colors pop, but avoid oversharpening to maintain a natural look. Use pastel shades for softer moments (like candid laughs) and bolder hues for group shots or dance floor scenes. This style suits outdoor receptions or festivals-themed weddings.

Adjusting Tones for Different Times of Day

Golden Hour Magic

Melbourne’s golden hour casts a warm, flattering light perfect for portraits. In post-processing, enhance this by slightly increasing yellow and orange tones in highlights. Keep shadows cool with a hint of blue to balance the warmth. Avoid overexposing skin, as golden hour light is already soft. This tone works best for engagement sessions or outdoor ceremonies.

Blue Hour Serenity

The brief period after sunset, known as blue hour, offers a cool, ethereal glow. Embrace this by lowering the temperature to deepen blues and purples in the sky. Add a touch of magenta to skin tones to prevent them from looking washed out. Use long exposures to capture light trails from cars or city lights, creating a dynamic backdrop.

Overcast Day Softness

Cloudy skies can create diffused, even lighting—ideal for avoiding harsh shadows. To enhance this, warm up the overall image slightly to counteract the coolness of overcast light. Boost midtones to add depth without darkening shadows too much. This tone suits emotional, intimate moments, like vows or first looks, where softness is key.

Fine-Tuning Tones for Emotional Impact

Enhancing Skin Tones Naturally

Skin tone consistency is crucial for flattering portraits. Use the HSL (Hue, Saturation, Lightness) panel to adjust oranges and reds separately. Reduce saturation in overly bright areas (like cheeks) and increase lightness in shadows for a balanced look. For darker skin tones, warm up highlights and cool down shadows to add dimension without losing detail.

Creating Depth with Shadow and Highlight Control

Shadows add mystery, while highlights bring clarity. For dramatic images, deepen shadows by lowering their brightness and adding a cool tint. For airy, romantic shots, lift shadows slightly and warm them up. Adjust highlights to avoid blowouts—pull them down in bright areas like dresses or sky, then add a warm glow to retain a natural feel.

Using Split Toning for Creative Effects

Split toning applies different colors to highlights and shadows, adding complexity to images. For a vintage look, use sepia tones in shadows and soft yellow in highlights. For a modern twist, try teal shadows with orange highlights (a popular cinematic combination). Keep tones subtle—overdoing it can make photos look artificial.

By tailoring color tones to Melbourne’s unique environments, lighting conditions, and emotional moments, your wedding photos will tell a story that feels authentic and unforgettable. Experiment with these techniques to find a style that resonates with the couple’s vision.

wedding photography melbourne

The starry sky scene for wedding photography in Melbourne has been realized

Capturing Starry Night Skies in Melbourne Wedding Photography

Melbourne’s clear nights and minimal light pollution make it an ideal destination for couples dreaming of starlit wedding portraits. From coastal vistas to secluded parks, the city offers diverse locations to photograph under the cosmos. Here’s how to plan and execute breathtaking-inspired wedding photos.

wedding photography melbourne

Choosing the Perfect Location for Stargazing Shots

Remote Areas with Minimal Light Pollution

To capture sharp, vibrant stars, avoid urban centers. Head to spots like the Mornington Peninsula or the Dandenong Ranges, where skies remain dark and unobstructed. Coastal areas like Point Nepean National Park combine starry vistas with the soft glow of the ocean, creating a romantic ambiance. Always check local regulations to ensure photography is permitted after dark.

Natural Landmarks as Backdrops

Incorporate Melbourne’s landscapes into your starry scenes. Use rocky cliffs, sandy beaches, or dense forests to frame couples against the night sky. For example, shoot from elevated viewpoints like Arthur’s Seat to include both the horizon and constellations. Timing is key—arrive during new moon phases when skies are darkest, and avoid full moons, which can overpower stars.

Weather and Seasonal Considerations

Clear, cloudless nights are essential for astrophotography. Monitor weather forecasts and plan sessions during dry spells. Winter months often offer crisper air and fewer clouds, but dress couples warmly in layers. Summer nights are milder but may have more humidity, which can blur stars. Spring and autumn strike a balance, with mild temperatures and moderate star visibility.

Essential Gear and Camera Settings for Night Sky Photography

Lenses and Tripods for Stability

A wide-angle lens (14–24mm) captures expansive skies and landscapes in a single frame. Fast apertures (f/2.8 or lower) let in more light, making stars appear brighter. A sturdy tripod is non-negotiable—even slight movements blur long exposures. Use a remote shutter release or your camera’s timer to avoid shaking hands during shots.

Camera Settings for Crisp Starry Images

Set your camera to manual mode for full control. Start with an ISO of 1600–3200 to balance brightness and noise. Use a shutter speed of 15–25 seconds to capture star trails without overexposing the scene. Adjust aperture to the widest setting your lens allows (e.g., f/2.8). Shoot in RAW format to retain detail for post-processing adjustments.

Focus Techniques in the Dark

Achieving sharp focus at night is tricky. Use live view mode to zoom in on a bright star or distant light source, then manually adjust focus until the light appears crisp. Alternatively, shine a flashlight on a nearby object (like a rock or tree) to focus, then switch to manual focus to lock it in. Test shots are vital—review images on-screen to ensure stars aren’t blurry.

Creative Composition and Posing Under the Stars

Incorporating the Milky Way or Constellations

Research star maps or use apps like Stellarium to locate the Milky Way or prominent constellations (like Orion or the Southern Cross). Position couples so these celestial features frame them—for example, have them stand beneath the arc of the Milky Way. Use headlamps with red light mode to navigate without disrupting night vision.

Silhouettes and Light Painting for Drama

Silhouette couples against the starry sky for striking contrast. Position them facing away from the camera, with stars illuminating their outlines. For added creativity, use light painting—wave a flashlight or colored gel behind them during long exposures to create ethereal glows. Keep movements slow to avoid overexposure.

Dynamic Poses and Movement

Static poses can feel stiff under the vast night sky. Encourage couples to interact naturally—hold hands while walking, share a quiet moment, or gaze upward at the stars. Use slower shutter speeds (20–30 seconds) to capture subtle motion, like a flowing dress or gentle swaying. For sharper facial details, ask them to freeze momentarily while you shoot.

Overcoming Challenges in Nighttime Wedding Photography

Managing Limited Visibility

Navigating dark locations requires preparation. Bring multiple light sources: a headlamp for hands-free movement, a flashlight for focusing, and glow sticks or LED wands to mark paths. Avoid shining lights directly at couples during shots—use diffused light or bounce it off surfaces to soften illumination.

Keeping Couples Comfortable

Night shoots can be chilly, even in summer. Provide blankets, shawls, or heated vests to keep couples warm. Schedule breaks for hot drinks or snacks to maintain energy levels. If shooting in remote areas, ensure transportation is arranged to avoid long walks in the dark.

Post-Processing for Starry Perfection

Edit photos to enhance the night sky’s beauty. Adjust contrast to deepen blacks and make stars pop. Reduce noise in high-ISO shots using software tools, but preserve grain for a natural look. Tweak white balance to correct color casts from artificial lights (e.g., warm tones from nearby towns). Use cloning tools to remove any stray light pollution or unwanted objects.

By combining strategic planning, technical precision, and creative storytelling, your Melbourne wedding photos will shine as brightly as the stars above. Collaborate with your photographer to turn cosmic dreams into timeless memories.

71251 sp-223

Melbourne wedding photography night scene shooting tips

Melbourne Wedding Photography: Mastering Nighttime Shooting Techniques

Melbourne’s cityscape transforms after dark, offering a magical canvas for wedding photography. From twinkling lights to dramatic skylines, nighttime shots add romance and sophistication to your album. Here’s how to capture stunning wedding portraits under the stars.

wedding photography melbourne

Leveraging Melbourne’s Urban Lightscapes

Iconic Locations for Nighttime Drama

Melbourne’s landmarks shine brightest at night, creating dramatic backdrops. The Yarra River reflects city lights, perfect for silhouettes or reflections. Flinders Street Station’s historic architecture and neon signs add vintage charm, while Southbank’s modern buildings offer sleek, contemporary contrasts. Explore laneways like Hosier Lane, where street art glows under ambient lighting, for artistic portraits.

Working with Artificial Light Sources

Streetlights, building facades, and neon signs provide natural light trails and bokeh effects. Position couples near these sources to highlight their faces while blurring backgrounds. For softer illumination, use window light from cafes or bars—ask venues to keep interior lights warm and dim. Avoid harsh overhead lights, which create unflattering shadows.

Timing Your Session

Golden Hour’s evening counterpart, “blue hour,” occurs shortly after sunset when the sky turns deep indigo. This brief window offers balanced lighting for outdoor shots. Schedule sessions 30 minutes after sunset to capture this ethereal glow. Later in the night, experiment with long exposures for creative effects like starbursts or light trails from passing trams.

Camera Settings and Gear Essentials

Mastering Low-Light Exposure

Use a wide aperture (f/1.8–f/2.8) to let in more light and create a shallow depth of field. Adjust ISO settings carefully—higher values brighten images but introduce grain; aim for ISO 800–1600 for clean results. Shutter speeds should stay above 1/125th of a second to avoid motion blur, especially when capturing movement like dancing or walking.

Stabilization Techniques

A sturdy tripod is essential for long exposures and sharp focus. If handholding, brace yourself against walls or railings to minimize shake. Enable image stabilization (if your lens supports it) and use burst mode to capture multiple shots, increasing the chance of a crisp image. For dynamic poses, ask couples to freeze momentarily while you shoot.

Balancing Flash and Ambient Light

Avoid harsh on-camera flash, which flattens features and washes out backgrounds. Instead, use off-camera flash or continuous LED lights positioned at 45-degree angles to mimic natural light. Diffuse the light with softboxes or umbrellas for a gentle glow. Sync flash with slower shutter speeds (1/30th–1/60th) to blend artificial light with ambient sources.

Creative Composition and Posing

Embracing Negative Space

Urban nights offer vast, empty spaces like bridges, waterfronts, or rooftops. Use these areas to frame couples, emphasizing their connection against the city’s scale. For example, position them in the lower third of the frame, with the skyline stretching above. Negative space creates mood and draws attention to subtle gestures like interlocked hands or shared glances.

Incorporating Movement and Reflections

Capture motion to add energy to nighttime shots. Ask couples to walk slowly, twirl, or dance—use slower shutter speeds (1/60th–1/125th) to blur movement slightly while keeping faces sharp. Seek reflective surfaces like puddles, glass buildings, or the Yarra River to duplicate light patterns and create symmetry. Tilt your camera for diagonal compositions that feel dynamic.

Playing with Silhouettes and Shadows

Silhouettes are powerful tools for nighttime storytelling. Position couples against bright light sources (e.g., neon signs, streetlights) and expose for the background, rendering them as dark shapes. Focus on body language—a raised hand, a leaned-in whisper—to convey emotion. For softer shadows, use fill light from a smartphone or LED panel to gently illuminate faces without overpowering the scene.

Overcoming Nighttime Challenges

Managing Crowded Locations

Popular spots like Federation Square or Docklands can get busy after dark. Arrive early to claim prime positions and avoid photographing strangers in the background. Use longer lenses (85mm–135mm) to compress perspective and isolate couples from distractions. If crowds are unavoidable, embrace them creatively—have couples interact with passersby for candid, lively shots.

Adapting to Weather Conditions

Rain adds drama to nighttime photos, creating reflective surfaces and glistening textures. Use umbrellas as props or shoot through rain-streaked windows for artistic effects. If wind picks up, secure dresses and veils to prevent them from blowing awkwardly. For cold nights, schedule shorter sessions and provide blankets or shawls to keep couples comfortable.

Post-Processing for Nighttime Magic

Edit photos to enhance mood without overdoing it. Adjust contrast to deepen shadows and brighten highlights, making lights pop. Reduce noise in high-ISO shots using software tools, but preserve grain for a film-like aesthetic. Tweak white balance to correct color casts from artificial lighting—cool tones suit moonlit scenes, while warm hues complement neon-lit portraits.

By mastering lighting, composition, and technical adjustments, your Melbourne wedding nighttime photos will radiate romance and sophistication. Collaborate with your photographer to experiment with these techniques, turning the city’s nightlife into a backdrop for your love story.