80883-Wu-1097

Emergency plan formulation for wedding photography in Melbourne

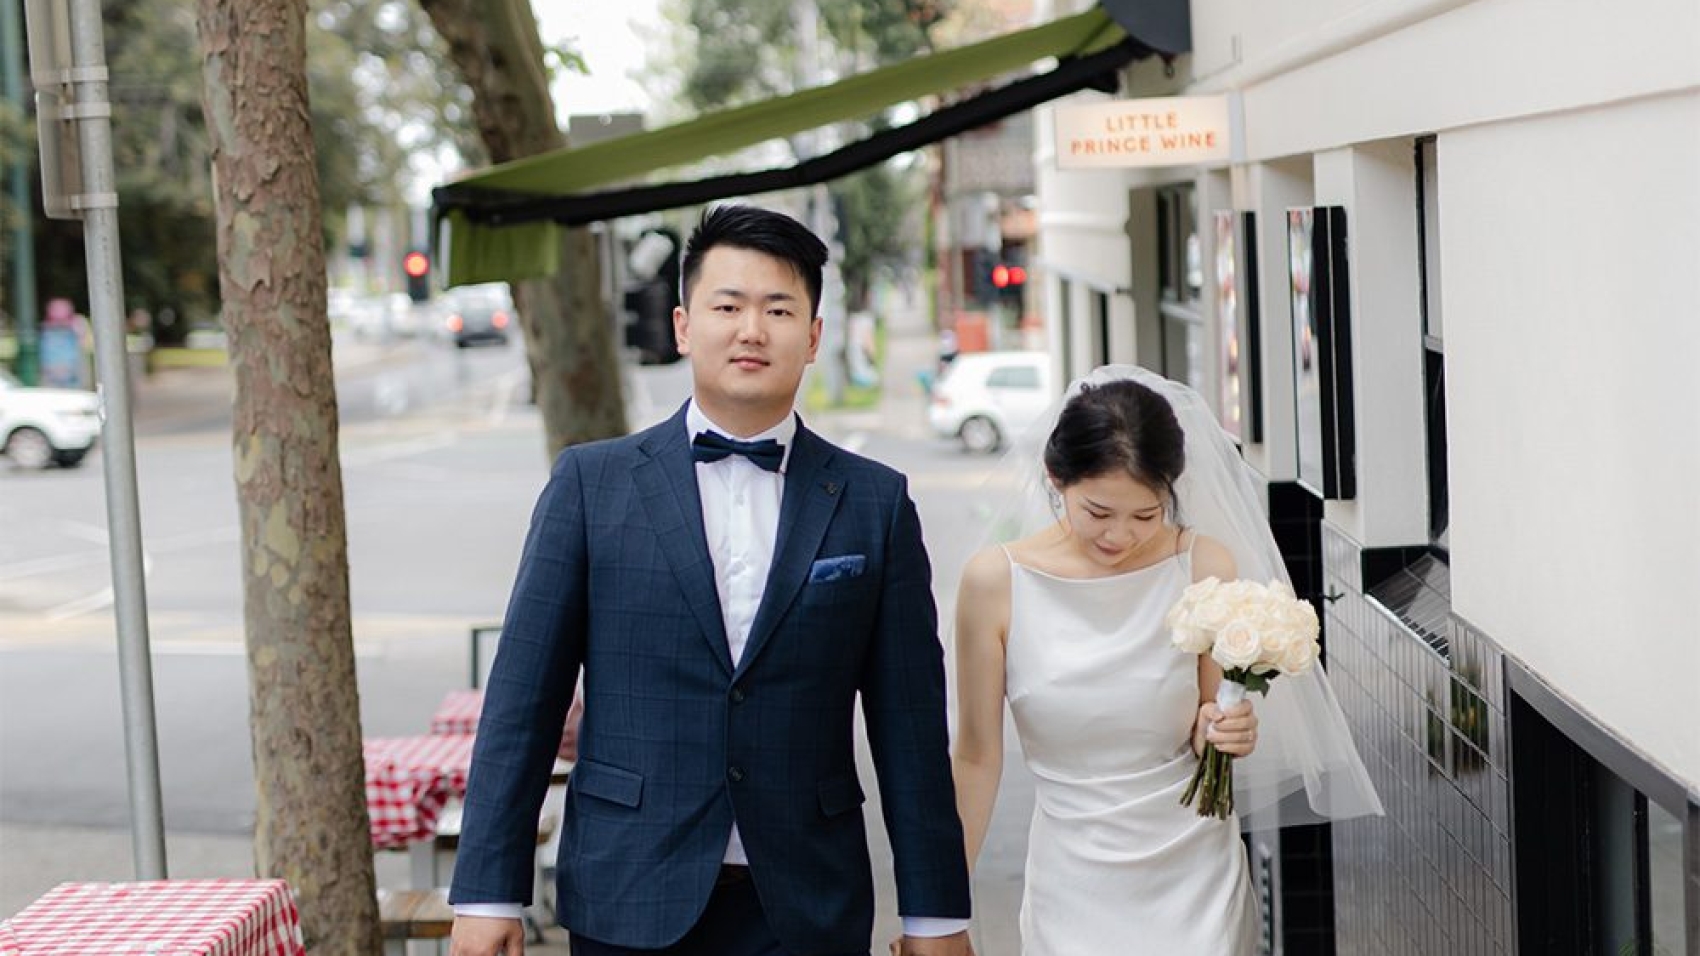
Crafting a Melbourne Wedding Photography Emergency Plan: Staying Prepared for the Unexpected

Planning a wedding photography session in Melbourne’s dynamic environment—whether it’s a coastal shoot at St Kilda Beach or an urban backdrop in the CBD—requires foresight. Weather shifts, equipment malfunctions, or sudden schedule changes can disrupt even the most detailed plans. A well-structured emergency plan ensures your photographer adapts quickly, keeping your memories intact. Here’s how to prepare for common challenges without compromising creativity or quality.

wedding photography melbourne

Weather-Related Disruptions

Melbourne’s reputation for “four seasons in one day” means weather can change rapidly. From sudden rain to intense sunlight, photographers must adjust techniques and locations to suit conditions.

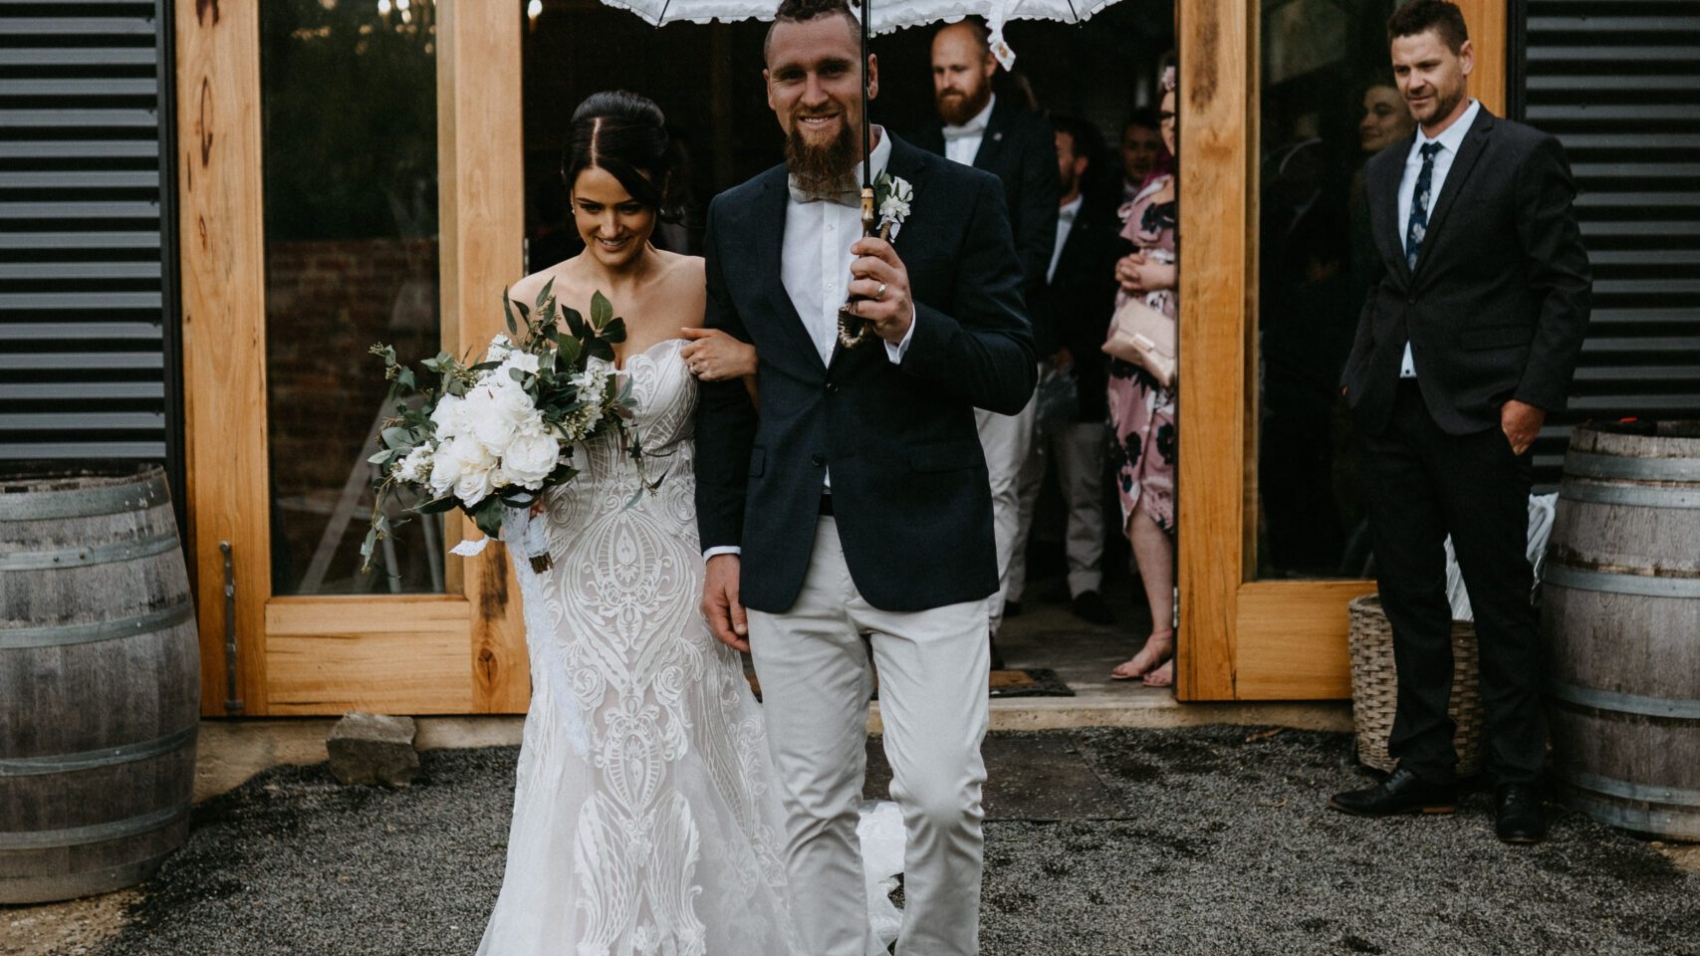
Rainy Day Strategies

  • Indoor Backup Locations: Identify nearby covered venues (e.g., historic libraries, art galleries, or cafes) that allow photography. Scout these spots during your initial location walkthrough.
  • Waterproof Gear: Ensure your photographer uses weather-sealed camera bodies and lenses. Portable canopies or umbrellas can shield equipment during outdoor shots.
  • Creative Rain Shots: Embrace the weather by capturing reflective puddles, misty backgrounds, or romantic moments under shared umbrellas. These often become favorite images.

Real-World Example: A couple’s beach ceremony faced unexpected rain. Their photographer moved them to a nearby pier, using the overcast sky to create moody, dramatic portraits that stood out in their album.

Extreme Heat or Cold Adjustments

  • Timing Shifts: Schedule outdoor shoots during cooler mornings or evenings in summer, or midday in winter to maximize natural light and comfort.
  • Hydration and Breaks: For hot days, plan short sessions with water breaks. In cold weather, layer clothing and use hand warmers to keep fingers nimble for equipment handling.
  • Sun Protection: Use diffusers or reflectors to soften harsh sunlight. For snowy or bright conditions, adjust camera settings to avoid overexposure.

Pro Tip: If shooting in extreme temperatures, ask your photographer about their experience handling such conditions. They may recommend specific lenses or filters to optimize results.

Windy Conditions Management

  • Secure Equipment: Use sandbags or weighted stands to prevent tripods from toppling. Anchor lightweight props (e.g., signs or flowers) with tape or weights.
  • Hair and Clothing Tips: Advise the bridal party to use strong-hold hairspray or pins. Flowy dresses can be weighted with subtle fabric tabs to avoid constant readjustments.
  • Dynamic Posing: Leverage wind for artistic shots—e.g., capturing veil movement or hair blowing in the breeze—while keeping subjects grounded against gusts.

Case Study: During a windy rooftop shoot, a photographer used the breeze to create a flowing veil effect, resulting in a viral social media post for their portfolio.

Equipment and Technical Failures

Even with regular maintenance, cameras, lenses, or lighting gear can fail unexpectedly. A backup plan minimizes downtime and ensures continuity.

Backup Camera Bodies and Lenses

  • Redundancy Systems: Professional photographers typically carry a second camera body and multiple lenses (e.g., a wide-angle for group shots and a portrait lens for close-ups).
  • Memory Card Strategy: Use multiple memory cards, swapping them frequently to avoid data loss if one fails. Label cards by session segment (e.g., “ceremony,” “portraits”) for organization.
  • Battery Management: Pack fully charged spare batteries and portable chargers. Cold weather drains batteries faster, so keep extras in inner pockets for warmth.

Example: A photographer’s primary camera malfunctioned mid-shoot. Their backup body, already loaded with the same settings, allowed them to resume within minutes without missing key moments.

Lighting and Power Issues

  • Natural Light Alternatives: If external flashes or strobes fail, rely on window light or golden-hour sunlight. Reposition subjects to maximize available illumination.
  • Battery-Powered Lights: For off-camera lighting, use rechargeable LED panels or speedlights with fresh batteries. Test these before the shoot to confirm compatibility.
  • Generator or Power Bank: For extended outdoor sessions, a small generator or high-capacity power bank can keep equipment running during blackouts or remote locations.

Pro Tip: Discuss lighting contingencies with your photographer during pre-wedding consultations. They may recommend specific times of day to reduce reliance on artificial sources.

Data Security and Recovery

  • Cloud Backups: Use apps that automatically upload photos to cloud storage during breaks. This protects against lost or corrupted memory cards.
  • Manual Transfers: Periodically transfer images to a laptop or external hard drive, especially during multi-day events. Label folders by date and location for easy retrieval.
  • Recovery Software: Ensure your photographer has tools like PhotoRec or EaseUS to recover accidentally deleted files. Test these tools beforehand to confirm effectiveness.

Real-World Example: A memory card corrupted during a wedding reception. The photographer’s cloud backup system had already synced 90% of the images, allowing them to deliver the collection on time.

Schedule and Logistical Hiccups

Traffic delays, venue changes, or last-minute adjustments can throw off timelines. Flexibility and clear communication are key to staying on track.

Traffic and Transportation Delays

  • Buffer Time: Build extra time into your itinerary for travel between locations. For example, allocate 45 minutes for a 20-minute drive to account for peak-hour congestion.
  • Alternative Routes: Use navigation apps with real-time traffic updates (e.g., Google Maps or Waze) to reroute quickly. Identify backup paths during location scouting.
  • Local Contacts: Keep contact details for venue managers or event coordinators on hand. They can provide updates on road closures or parking restrictions.

Pro Tip: If shooting in remote areas, arrange transportation (e.g., a private car or rideshare) to avoid relying on public transit, which may be unreliable.

Venue or Permission Changes

  • Permits and Paperwork: Confirm all photography permits are valid and stored digitally or in print. Some Melbourne venues require advance approval for commercial shoots.
  • Contingency Venues: Have a list of nearby alternative spots that match your aesthetic (e.g., a park if a garden closes unexpectedly). Scout these during pre-wedding visits.
  • Quick Negotiation Skills: If a venue denies access last-minute, your photographer can propose compromises—e.g., shooting from a public sidewalk outside the property.

Case Study: A historic mansion closed due to a private event. The photographer quickly moved the couple to a nearby laneway, using brick textures and wrought-iron details for an urban-chic album.

Health or Personal Emergencies

  • Assistant Photographers: Hire a second shooter or assistant who can take over if the primary photographer falls ill. Clarify their role in the contract (e.g., capturing candid moments vs. posed shots).
  • First-Aid Kits: Pack a basic kit with bandages, pain relievers, and allergy medication for minor injuries or headaches during long shoots.
  • Emergency Contacts: Share your photographer’s contact details with your wedding planner or a trusted guest. They can step in if communication is needed during a crisis.

Example: A photographer developed a migraine during a sunset shoot. Their assistant, who had been capturing behind-the-scenes footage, seamlessly transitioned to primary shooter, ensuring no moments were missed.

By addressing these scenarios proactively, you’ll reduce stress and ensure your Melbourne wedding photography stays on course, rain or shine. Open dialogue with your photographer about their emergency protocols—and your own preferences—creates a partnership built on trust and adaptability.

IMG_8210

The delivery process of Melbourne wedding photography works

Understanding the Melbourne Wedding Photography Delivery Process: From Shoot to Final Images

After capturing your special moments in Melbourne’s iconic locations—from the vibrant streets of Fitzroy to the serene shores of Brighton Beach—the next step is receiving your final wedding photography collection. The delivery process varies among photographers, but a clear, transparent workflow ensures you know what to expect. Here’s a breakdown of typical stages, timelines, and considerations to help you navigate this phase smoothly.

wedding photography melbourne

Initial Post-Shoot Steps

Once your photoshoot wraps up, photographers begin organizing and backing up files to prevent loss. This stage sets the foundation for editing and delivery.

File Organization and Backup

  • Sorting Images: Photographers review raw footage, selecting the best shots based on composition, lighting, and emotion. Duplicates or blurry images are discarded.
  • Multiple Backup Copies: Files are saved on external hard drives and cloud storage to safeguard against accidental deletion or hardware failure.
  • Client Communication: Many photographers send a quick email or message confirming that files are secure and editing will begin shortly.

Key Consideration: Ask your photographer about their backup protocol during initial consultations to ensure peace of mind.

Culling and Initial Selection

  • Narrowing Down: From hundreds of shots, photographers curate a smaller collection (often 50–100 images per hour of shooting) that tell a cohesive story.
  • Focus on Quality: Blurred backgrounds, closed eyes, or awkward poses are removed, leaving only polished, flattering photos.
  • Client Input: Some photographers share a “first draft” gallery, allowing couples to flag favorites or request additional edits before finalizing.

Pro Tip: If your contract includes a set number of delivered images, clarify whether this refers to the initial cull or the final edited collection.

Editing and Enhancement

Editing transforms raw photos into vibrant, cohesive artworks that reflect your style and the mood of the day.

Color Correction and Exposure Adjustments

  • Balancing Tones: Photographers tweak brightness, contrast, and saturation to ensure skin tones look natural and backgrounds aren’t overexposed.
  • Consistent Style: Whether you prefer bright and airy or moody and dramatic, edits align with your agreed-upon aesthetic.
  • Batch Processing: Similar shots (e.g., group photos) are edited together to maintain uniformity across the collection.

Case Study: A couple who wanted a vintage feel worked with their photographer to apply sepia tones and soft vignettes to select images, creating a timeless look.

Retouching and Detail Refinement

  • Blemish Removal: Minor skin imperfections, stray hairs, or wrinkles in clothing are gently edited out while preserving natural textures.
  • Distraction Removal: Background elements like trash cans or photobombing strangers are erased if they detract from the scene.
  • Creative Enhancements: Some photographers add subtle effects, like sun flares or bokeh, to elevate artistic shots.

Example: A bride noticed a loose thread on her dress in a close-up portrait. Her photographer retouched it during editing, ensuring the image was flawless.

Final Review and Approval

  • Photographer’s Check: Before sharing with you, the photographer reviews the entire collection for consistency, technical errors, and emotional impact.
  • Client Preview: Many offer a private online gallery where you can view, download, or request minor tweaks (e.g., brightening a dark image).
  • Revision Limits: Contracts often specify a limited number of free revisions to manage workflow expectations.

Key Consideration: Provide clear feedback during reviews—e.g., “These portraits feel too cool-toned; could you warm them up?”—to guide edits efficiently.

Delivery Methods and Formats

Once editing is complete, photographers deliver files through secure, user-friendly platforms tailored to your needs.

Digital Download Galleries

  • Online Platforms: Photographers use services like Pixieset, SmugMug, or custom websites to host high-resolution images in a password-protected gallery.
  • Download Options: Galleries typically allow bulk downloads or individual image saves in formats like JPEG (for sharing) and RAW (for advanced editing).
  • Mobile Accessibility: Many platforms are optimized for smartphones, letting you view or share photos on the go.

Pro Tip: Download images promptly to avoid gallery expiration dates, which vary by photographer (often 30–90 days).

USB Drives or Physical Copies

  • Tangible Keepsakes: Some photographers provide USB drives with edited files, often packaged in custom cases or boxes for a luxe feel.
  • Print-Ready Files: If you plan to order prints, ask for files formatted for specific sizes (e.g., 8×10 inches) to avoid cropping issues.
  • Shipping Timelines: Physical deliveries may take 1–2 weeks, depending on your location and the photographer’s schedule.

Example: A couple received a wooden USB drive engraved with their wedding date, which they displayed as a memento alongside their albums.

Print and Album Options

  • Professional Printing: Many photographers partner with labs to offer high-quality prints, canvases, or metal prints at additional cost.
  • Custom Albums: Leather-bound or linen albums with lay-flat pages are popular for showcasing curated selections of your favorite shots.
  • Design Collaboration: You may work with the photographer to arrange photos in the album, choosing layouts and cover materials.

Key Consideration: If prints or albums are important to you, discuss timelines upfront—custom products often take 4–6 weeks to produce.

Post-Delivery Support

Even after receiving your files, photographers may offer assistance to ensure you’re satisfied with the final product.

Technical Assistance

  • File Formats: If you’re unsure how to open RAW files or resize images for social media, your photographer can provide guidance.
  • Printing Help: They may recommend local printers or online services that match the quality of their lab partners.
  • Archiving Tips: Advice on storing digital files (e.g., external hard drives vs. cloud storage) helps preserve memories long-term.

Pro Tip: Create multiple backups of your files—one on your computer, one on an external drive, and one in the cloud—to prevent loss.

Sharing and Usage Rights

  • Social Media Guidelines: Some photographers grant unlimited personal use but restrict commercial or competitive sharing (e.g., entering contests without permission).
  • Vendor Credits: If you post photos online, tagging your photographer or using their preferred hashtags helps them grow their business.
  • Second Shooter Policies: If multiple photographers worked your event, clarify who owns the rights to specific images.

Example: A couple shared their wedding photos on Instagram, tagging their photographer and using their branded hashtag, which led to inquiries from future clients.

Future Inquiries

  • Anniversary Sessions: Some photographers offer discounted rates for return clients wanting updated portraits or anniversary shoots.
  • Referral Programs: If you loved their work, ask about referral bonuses—many offer discounts or free prints for recommending friends.
  • Feedback Requests: Photographers may ask for reviews or testimonials to improve their services and attract new clients.

Final Check: Save all correspondence with your photographer, including contracts, delivery timelines, and edit requests, for reference for future needs.

By understanding each stage of the delivery process, you’ll feel confident and excited as you await your Melbourne wedding photography collection. Clear communication, realistic timelines, and post-delivery support ensure your memories are preserved beautifully and stress-free.

z&d-sp-0014

Intermission arrangements for wedding photo shoots in Melbourne

Navigating Mid-Session Breaks During Your Melbourne Wedding Photoshoot: Tips for Comfort and Creativity

A Melbourne wedding photoshoot often spans several hours, especially if it includes multiple locations or outdoor settings. Mid-session breaks aren’t just about resting—they’re opportunities to refresh, recharge, and ensure everyone stays comfortable and focused. Whether you’re shooting in the city’s laneways, along the Yarra River, or at a coastal spot, strategic pauses can elevate the experience. Here’s how to handle breaks smoothly.

wedding photography melbourne

Timing Breaks Strategically

Breaks should align with the shoot’s flow, energy levels, and Melbourne’s unpredictable weather.

Natural Transition Points

  • After Location Changes: If you’re moving from a bustling CBD spot to a quieter park, use travel time as a break. This avoids downtime at the shoot location.
  • Mid-Morning or Mid-Afternoon: Schedule a 15–20-minute pause around 10:30 AM or 3:00 PM, when energy might dip. This aligns with typical meal times or natural lulls.
  • Before Sunset Shots: If your session ends with golden-hour portraits, take a break an hour earlier to rest before the final, high-energy segment.

Key Consideration: Communicate break timing with your photographer in advance. They can plan shots around these pauses to maintain momentum.

Weather-Driven Adjustments

  • Rain or Heat: If Melbourne’s weather turns extreme, shorten outdoor segments and use breaks to move to shaded areas or indoor backups.
  • Wind Interruptions: Strong gusts can make posing difficult. Pause to adjust hair, clothing, or props, then resume when conditions improve.

Pro Tip: Use a weather app to track real-time conditions and adjust breaks dynamically. For example, if rain is expected to stop in 10 minutes, wait it out instead of relocating.

Refreshing During Pauses

Breaks are ideal for addressing physical comfort and mental focus, ensuring you look and feel your best.

Hydration and Snacks

  • Water Bottles: Stay hydrated, especially in summer. Bring reusable bottles to reduce waste and keep drinks cold with ice packs.
  • Light Snacks: Pack energy-boosting options like nuts, dried fruit, or granola bars. Avoid heavy meals that might cause sluggishness.
  • Shared Refreshments: If your photographer or assistant is present, offer them snacks too—a thoughtful gesture that fosters teamwork.

Case Study: One couple kept a small cooler with chilled water and cut-up fruit, which they shared with their photographer. This kept everyone hydrated and energized through a five-hour shoot.

Touch-Ups and Wardrobe Adjustments

  • Beauty Fixes: Use breaks to reapply lipstick, blot shine, or fix smudged makeup. Carry a compact mirror for quick checks.
  • Clothing Checks: Ensure outfits stay pristine—tuck in loose straps, straighten hemlines, or fix wrinkles caused by sitting or moving.
  • Shoe Changes: If footwear is uncomfortable, swap heels for flats during breaks (keep a pair in your bag).

Example: A bride noticed her dress’s train was dragging on the ground during a break. She used the time to pin it up, avoiding tripping hazards in later shots.

Mental Reset Moments

  • Deep Breathing: Spend a few minutes practicing mindfulness or deep breathing to ease nerves, especially if posing feels awkward.
  • Playful Interaction: Use breaks to joke with your partner or photographer. Lighthearted moments often translate into natural, candid photos.
  • View Scenery: If shooting in a scenic spot like the Royal Botanic Gardens, take a moment to appreciate the surroundings—it can reignite enthusiasm.

Pro Tip: Avoid scrolling through social media during breaks, as it can drain mental energy. Instead, focus on being present with your partner.

Communicating With Your Photographer

Clear dialogue during breaks ensures everyone stays on the same page and avoids misunderstandings.

Sharing Feedback

  • Pose Preferences: If certain poses feel uncomfortable, mention it during a break. Your photographer can suggest alternatives that flatter you.
  • Shot Adjustments: Request more shots of a specific angle or location if you’re unhappy with earlier results. Breaks are ideal for recalibrating.
  • Pacing Concerns: If the session feels rushed or slow, discuss adjusting the timeline. Flexibility is key to a stress-free experience.

Key Consideration: Be honest but constructive. For example, say, “I’d love more shots with the city skyline in the background,” instead of criticizing previous photos.

Confirming Next Steps

  • Location Transitions: Use breaks to confirm the next spot, especially if moving between distant areas like St Kilda and the Docklands.
  • Equipment Needs: If your photographer needs to recharge batteries or swap lenses, coordinate timing during pauses.
  • Backup Plans: Revisit weather or logistical contingencies (e.g., “If it rains, we’ll head to that café we scouted earlier”).

Example: A couple used a break to realize they’d forgotten a prop at their car. They quickly retrieved it, avoiding delays later.

Building Rapport

  • Check-Ins: Ask your photographer how they’re holding up—they might need a break too. Mutual care fosters collaboration.
  • Share Ideas: Use downtime to brainstorm creative shots you haven’t discussed yet, like a spontaneous dip in the Yarra (if safe and permitted).
  • Celebrate Milestones: If you’ve completed a challenging segment (like climbing a hill for a view), acknowledge it with a high-five or quick celebration.

Final Check: Before resuming, confirm everyone is ready—physically, mentally, and creatively.

By planning breaks thoughtfully, you’ll transform pauses into opportunities to refresh, refine, and reconnect. Whether you’re navigating Melbourne’s unpredictable weather or simply needing a moment to breathe, these strategies ensure your wedding photoshoot remains enjoyable and productive from start to finish.