wedding photography melbourne

The pre-appointment process for wedding photography in Melbourne

Navigating the Pre-Booking Process for Wedding Photography in Melbourne

Securing a wedding photographer in Melbourne involves more than just picking a date—it’s about aligning schedules, discussing expectations, and ensuring your vision matches their style. Whether you’re planning an intimate elopement or a grand celebration, understanding the early steps of the booking process helps set the foundation for a seamless experience. Here’s how to approach it with clarity and confidence.

wedding photography melbourne

Researching and Shortlisting Photographers

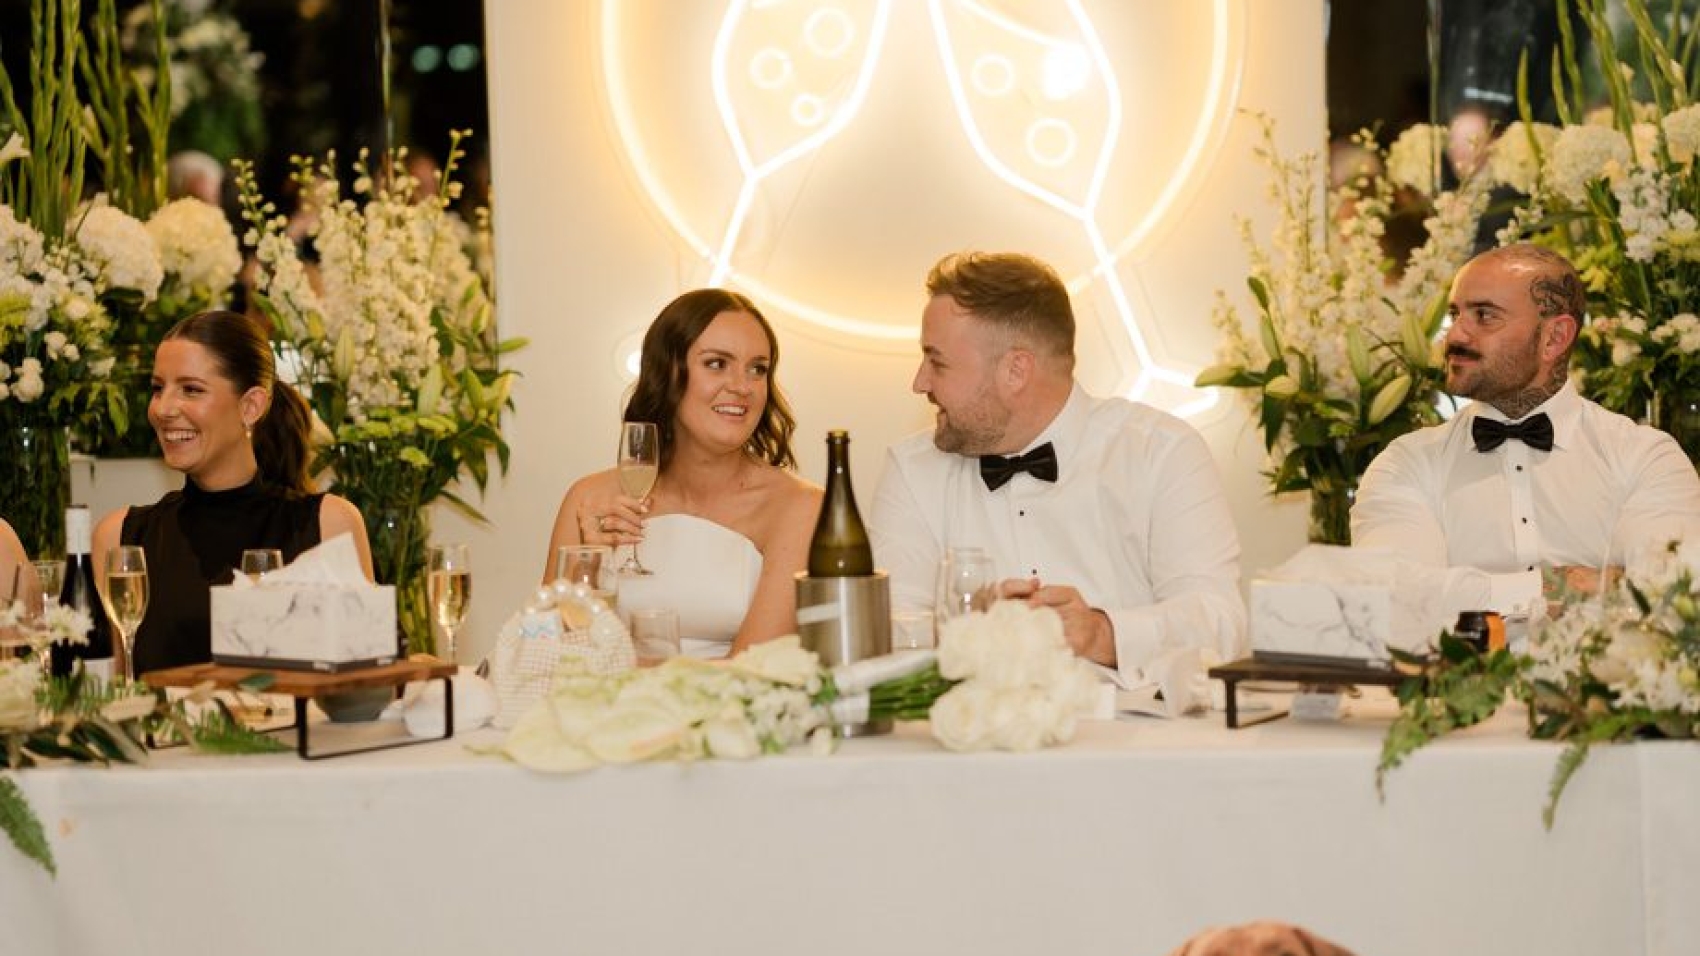
Start by exploring photographers whose work resonates with your aesthetic. Look for portfolios that showcase a range of wedding styles, from candid documentary shots to elegant posed portraits. Pay attention to how they capture emotions, lighting, and details like venue decor or attire.

Key Consideration: Focus on consistency. A photographer whose images consistently reflect a cohesive style is more likely to deliver results that align with your expectations. For example, if you love soft, natural lighting, prioritize artists who excel in outdoor or golden-hour shoots.

Identifying Availability and Key Dates

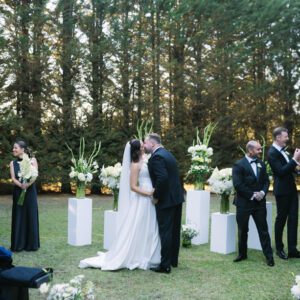
Once you’ve narrowed down your list, check their availability for your wedding date. Many photographers book months in advance, especially during peak seasons (spring and summer in Melbourne). Reach out early to confirm they’re free and inquire about their booking cutoff dates.

Pro Tip: If your date is flexible, ask about alternative options. Some photographers offer discounts for off-peak days or last-minute bookings, though this varies by artist.

Initial Contact and Communication

When you’re ready to connect, send a detailed inquiry via email or their website’s contact form. Include:

  • Your wedding date and venue location
  • A brief description of your vision (e.g., “We want a mix of candid moments and creative portraits”)
  • Any specific requests, like second shooters or extended coverage

Asking the Right Questions

During your first conversation, clarify logistics to avoid surprises later:

  • Coverage Hours: How many hours are included in their standard package? Can you add more if needed?
  • Backup Plans: What happens if they’re ill or unable to shoot on your date? Do they have a network of colleagues to step in?
  • Delivery Timeline: How long will it take to receive your edited photos?

Case Study: One couple learned their photographer had a policy of bringing a backup camera and lens to every shoot after asking about equipment failures. This reassured them their day wouldn’t be compromised by technical issues.

Reviewing Contracts and Agreements

Before signing anything, read the contract carefully. Ensure it outlines:

  • Deliverables (e.g., number of edited photos, format of files)
  • Payment schedules and cancellation policies
  • Usage rights (e.g., whether you can print or share images freely)

Clarifying Ambiguities

If any terms are unclear, ask for clarification. For example:

  • “Does ‘edited photos’ mean basic color correction or full retouching?”
  • “Are travel fees included if our venue is outside Melbourne?”

Pro Tip: Don’t rush this step. A well-drafted contract protects both you and the photographer, so take time to understand every clause.

Finalizing the Booking

Once you’re comfortable with the terms, confirm your booking by paying a deposit (usually a percentage of the total fee). Most photographers require this to secure your date. After payment, request a written confirmation that includes:

  • Your wedding date and venue
  • Agreed-upon services and hours
  • Contact information for both parties

Final Check: Save all correspondence, including emails and receipts, in a dedicated folder. This makes it easy to reference details later, like payment deadlines or style preferences.

By approaching the pre-booking process methodically, you’ll build a strong foundation with your photographer. Clear communication and attention to detail ensure your wedding day is captured exactly as you envision it—without the stress of last-minute surprises.

DSC08822

Post-production communication for wedding photography in Melbourne

Effective Communication for Post-Production Editing in Melbourne Wedding Photography

The post-production phase of wedding photography is where raw moments transform into polished memories. Clear communication with your photographer during this stage ensures your final images align with your vision while maintaining the authenticity of your day. Whether you’re adjusting lighting, refining skin tones, or enhancing details, here’s how to navigate the editing process with confidence.

wedding photography melbourne

Setting Clear Expectations Before Editing Begins

Before your photographer starts retouching, discuss your preferences openly. Share examples of styles you love—whether it’s soft, natural tones or bold, vibrant colors—and explain what resonates with you. For instance, if you prefer a timeless look, mention that you’d like to avoid overly trendy filters or heavy editing that could date the photos.

Key Consideration: Be specific about your priorities. If you’re concerned about blemishes or distractions in the background, highlight these areas early. Conversely, if you want to preserve natural textures like skin or fabric, make that clear to prevent over-editing.

Providing Detailed Feedback on Draft Edits

Once you receive a batch of edited images, review them carefully and offer constructive feedback. Instead of vague comments like “make it brighter,” describe what you’d like to see. For example:

  • “The colors in the ceremony photos feel a bit muted—could we warm up the tones to match the sunset lighting?”
  • “The group shot has a distracting shadow on the wall—can we soften that without losing the scene’s depth?”

Addressing Common Editing Concerns

  • Skin Retouching: If you’re uncomfortable with heavy airbrushing, ask for a “natural” approach that minimizes imperfections while keeping skin texture intact.
  • Background Distractions: Point out specific elements you’d like removed or toned down, like a stray object or harsh lighting.
  • Color Balance: If certain images look too cool or warm, request adjustments to match the mood of the scene (e.g., a cozy indoor reception vs. a bright outdoor ceremony).

Pro Tip: Use timestamps or image numbers when referencing specific photos to avoid confusion. For example, “In image 12, the bride’s veil appears slightly overexposed—could we balance the highlights?”

Collaborating on Final Adjustments

Editing is rarely a one-and-done process. After your initial feedback, your photographer may share a revised set of images. Use this opportunity to fine-tune details:

  • Consistency Across Albums: Ensure images from the same event segment (e.g., all reception photos) have a cohesive look in terms of brightness, contrast, and color.
  • Emotional Tone: If a photo feels flat, ask if adjusting the shadows or vibrancy could enhance its mood. For example, a dimly lit dance floor shot might benefit from subtle boosts to warmth and contrast.
  • Cropping and Composition: Suggest alternative crops if you feel an image could focus better on a subject or tell a stronger story.

Case Study: One couple noticed that their outdoor portrait series had inconsistent green tones due to varying lighting conditions. By sharing screenshots of their favorite shots and explaining they wanted a “unified earthy palette,” the photographer adjusted the hues to create harmony across the sequence.

Respecting the Photographer’s Expertise

While your input is invaluable, trust your photographer’s judgment on technical matters. They understand how editing choices impact the longevity and quality of your images. For example, excessive sharpening can make photos look artificial over time, while over-saturating colors may fade unevenly in prints.

Final Check: Before finalizing, review images on multiple devices (e.g., a phone, tablet, and computer) to ensure they look consistent across screens. Pay attention to details like skin tones, background elements, and overall balance.

Your wedding photos are a collaboration between your photographer’s skill and your unique vision. By communicating openly and thoughtfully during post-production, you’ll create a collection that feels both polished and true to your day’s magic.

DSC09201

A Guide to the Selection Process of wedding photos in Melbourne

Melbourne Wedding Photography Selection Guide: A Step-by-Step Process to Preserve Your Special Moments

Choosing the right images from your wedding photography collection is more than just picking favorites—it’s about curating a visual narrative that reflects the emotion, authenticity, and unique story of your day. Whether you’re working with a Melbourne-based photographer or reviewing proofs online, this guide will help you navigate the selection process with confidence.

wedding photography melbourne

Understanding Your Photography Style and Vision

Before diving into the selection, revisit the style you discussed with your photographer. Did you prioritize candid moments, posed portraits, or a mix of both? For example, if you opted for a documentary-style approach, focus on images that capture unscripted interactions, like laughter during speeches or quiet moments between partners. If your photographer specializes in romantic storytelling, look for sequences that showcase the progression of your day—from getting ready to the first dance.

Key Consideration: Authenticity matters. Avoid selecting images solely based on technical perfection; prioritize those that evoke genuine emotion. A slightly imperfect photo with a heartfelt expression often outshines a flawless but sterile shot.

Organizing Your Selection Process

Sorting through hundreds of images can feel overwhelming. Break it down into manageable steps:

1. First Pass: Eliminate the Obvious “No’s”

Start by removing duplicates, blurry shots, or images where eyes are closed. This step narrows your pool to the strongest candidates. For instance, if your photographer captured multiple angles of the same moment, keep the one that best conveys the scene’s energy.

2. Categorize by Event Segment

Divide your images into sections like “Getting Ready,” “Ceremony,” “Portraits,” and “Reception.” This helps ensure you’re selecting a balanced representation of your day. For example, if you notice most of your favorites are from the reception, revisit the ceremony photos to check if you’re missing key moments like the vows or ring exchange.

Pro Tip: Use digital tools or sticky notes to tag images by category. This makes it easier to spot gaps in your selection.

3. Prioritize Storytelling Sequences

Your wedding album should flow like a story. Choose images that connect visually and emotionally. For example, a series showing the bride’s dress being fastened, followed by her walk down the aisle, and finally her first look at the groom creates a cohesive narrative. Similarly, group reception photos by activity—speeches, cake cutting, and dancing—to maintain rhythm.

Example: If your photographer captured the groom’s reaction as the bride entered, pair it with a wide shot of the aisle and a close-up of the bride’s bouquet. This trio tells a richer story than three similar angles of the same moment.

Collaborating with Your Photographer

Your photographer’s expertise is invaluable during selection. Many professionals offer guidance based on their understanding of your style and the day’s flow. Don’t hesitate to ask questions like:

  • “Which images do you think best represent our vision?”
  • “Are there any shots we’re missing that would complete the story?”
  • “How would you arrange these for an album?”

Case Study: One couple worked with their photographer to identify overlooked gems, like a candid shot of the bride’s father adjusting her veil. Initially dismissed as “just another getting-ready photo,” it became a cherished addition for its emotional depth.

Finalizing Your Selection

After narrowing down your choices, take a break before reviewing them again with fresh eyes. This helps avoid decision fatigue and ensures you’re satisfied with your picks. If you’re creating an album, consider the layout—alternate between close-ups and wide shots, and balance color tones for visual harmony.

Final Check: Ensure your selection includes:

  • Key moments (vows, first kiss, first dance)
  • Candid interactions (friends laughing, family embracing)
  • Detail shots (rings, flowers, venue decor)
  • Portraits that highlight your personalities

Your wedding photos are more than decorations—they’re heirlooms that will transport you back to your day for decades. By approaching the selection process thoughtfully, you’ll create a collection that feels as timeless as your love.