wedding photography melbourne

Safety precautions for Accessory matching in Melbourne wedding photography

Melbourne Wedding Photography: Safety Considerations for Accessory Pairing

Your Melbourne wedding accessories should complement your look while ensuring comfort and security throughout the day. From coastal ceremonies to urban receptions, the city’s varied environments demand practical choices. Here’s how to balance style and safety during your photoshoot.

wedding photography melbourne

Headpieces and Hair Accessories: Stability in Melbourne’s Climate

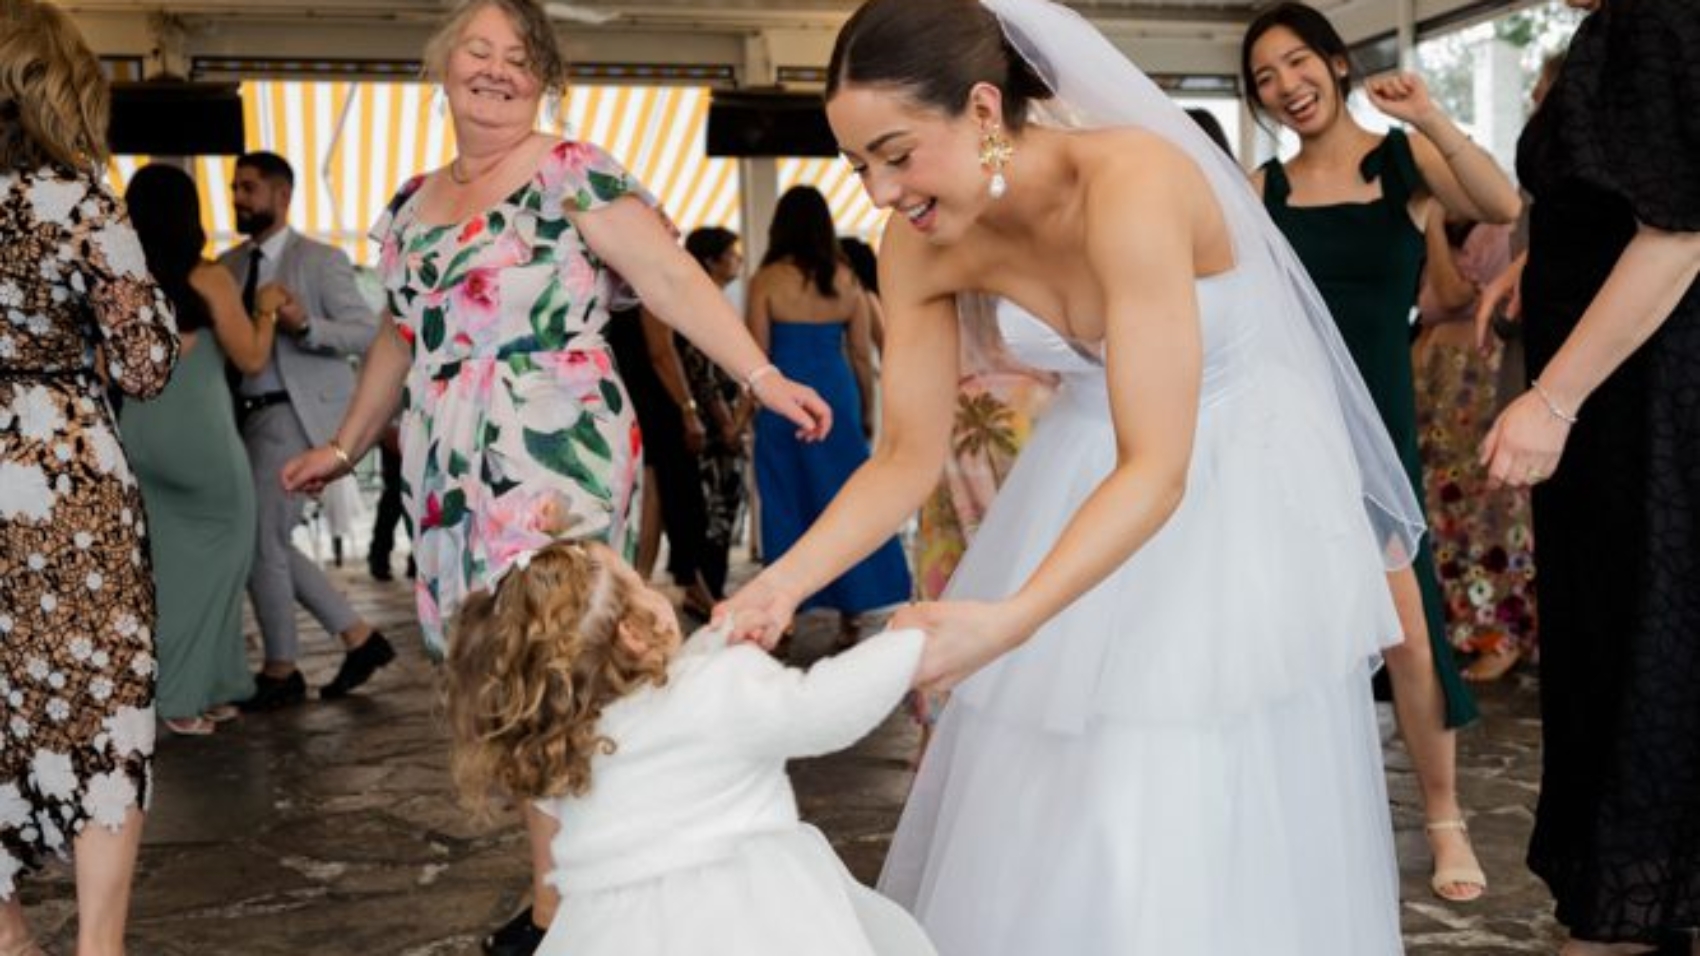
Melbourne’s unpredictable weather—sudden gusts near the bay or humidity in garden venues—can disrupt delicate headpieces. Prioritizing secure attachments prevents mid-shoot mishaps.

Wind-Resistant Designs:

  • Opt for headbands or combs with gripped bases instead of loose pins. Tightly woven floral crowns or beaded bands stay put better than scattered flowers.
  • If wearing a veil, choose a shorter length (fingertip or chapel) for outdoor shoots. Longer veils risk tangling in wind or getting caught on branches.
  • For beach ceremonies, avoid lightweight fabrics like tulle, which flutter uncontrollably. Heavier lace or silk veils anchor more easily.

Hair Preparation Tips:

  • Ask your stylist to use texturizing spray or bobby pins with rubber grips to reinforce updos. Slicked-back styles may slip in humidity.
  • Carry extra pins and hairspray for touch-ups, especially after moving between indoor and outdoor locations.
  • Test your headpiece during a trial run. Shake your head gently to check for movement before the wedding day.

Allergy and Comfort Checks:

  • Avoid metallic accessories that may irritate sensitive skin. Opt for hypoallergenic materials like silk or coated metals.
  • If wearing a tiara or heavy headpiece, limit wear time to key photo sessions to prevent headaches.
  • For outdoor shoots in summer, choose breathable fabrics to avoid overheating under layers of hair and accessories.

Jewelry and Body Adornments: Preventing Loss or Damage

Jewelry often holds sentimental value, making its safety crucial. Melbourne’s active photo itineraries—walking through parks, dancing at receptions—require secure placement.

Necklace and Earring Security:

  • Use lockable clasps on necklaces to prevent them from slipping off during movement. Double-check fastenings before each outfit change.
  • For drop earrings, choose styles with screw-back or rubber stoppers to avoid losing stones. Avoid overly long earrings that may snag on clothing.
  • If wearing a statement necklace, ensure it doesn’t clash with your dress’s neckline. High necklines pair better with delicate pendants, while strapless gowns suit bolder pieces.

Ring and Bracelet Safety:

  • Remove loose rings during hand-heavy activities (e.g., holding bouquets for extended periods) to prevent bending or scratching.
  • Bracelets with charms or dangling elements should be snug to avoid catching on dress sleeves or furniture.
  • Store spare jewelry in a labeled pouch, not loose in bags, to prevent misplacement during quick changes.

Cultural and Symbolic Considerations:

  • If incorporating heirloom pieces, discuss preservation with your photographer. Avoid exposing delicate antiques to moisture or direct sunlight.
  • For religious symbols, ensure they’re positioned visibly but comfortably (e.g., a cross necklace tucked under a collar for ease).
  • Communicate with your partner about matching accessories to avoid clashing metals or styles in couple shots.

Footwear and Lower-Body Accessories: Mobility and Balance

Melbourne’s uneven terrain—cobblestone lanes, sandy beaches, or grassy parks—demands practical footwear. Comfort directly impacts your ability to pose confidently.

Shoe Selection for Varied Surfaces:

  • Avoid stiletto heels on soft ground (e.g., beach sand or garden soil). Opt for wedge heels or block heels for better stability.
  • For urban shoots, consider foldable flats to change into after formal portraits. Carry them in a waterproof bag for sudden weather changes.
  • Test shoes on similar surfaces to your venue. Walk up stairs, pivot, and stand for 10+ minutes to gauge comfort.

Ankle and Leg Accessory Safety:

  • Ankle bracelets should fit snugly without digging into skin. Loose chains may slip off during dancing or walking.
  • If wearing thigh-high stockings or garters, use non-slip silicone bands to prevent them from rolling down.
  • For outdoor shoots, avoid delicate lace socks that may tear on rough ground. Opt for seamless nylon or breathable cotton.

Emergency Preparedness:

  • Pack blister pads, moleskin, or adhesive tape for shoe-related discomfort. Apply before soreness develops.
  • Bring a spare pair of shoes in case of breakage or extreme discomfort. Flat sandals work well for casual receptions.
  • If wearing open-toed shoes, apply sunscreen to feet to prevent sunburn during outdoor sessions.

Dress and Shoe Coordination:

  • Ensure hemlines accommodate shoe height. Too-short dresses may ride up when sitting, while overly long hems can trip you.
  • Practice walking in your shoes with your dress to adjust stride length and posture.
  • For rainy days, carry waterproof shoe covers or opt for rubber-soled shoes to avoid slipping on wet pavement.

By prioritizing security and comfort, your accessories will enhance your wedding photos without causing stress. Melbourne’s dynamic settings reward couples who adapt thoughtfully, ensuring every detail—from headpieces to footwear—contributes to a seamless, joyful celebration.

71407_Farm_Vigano_SELECTION_0055

Post-processing requirements and precautions for wedding photography in Melbourne

Melbourne Wedding Photography: Key Considerations for Post-Production Editing Requests

The post-production phase of your Melbourne wedding photography is where raw images transform into timeless keepsakes. Clear communication with your photographer about editing preferences ensures the final results align with your vision while maintaining natural authenticity. Here’s how to navigate this process effectively.

wedding photography melbourne

Defining Your Aesthetic Preferences

Editing styles vary widely, from soft and airy to moody and dramatic. Melbourne’s diverse landscapes—coastal sunsets, urban skylines, or lush gardens—influence how colors and lighting should be enhanced. Start by identifying what resonates with you.

Color Grading and Tone Adjustments:

  • Decide if you prefer warm, golden-hour hues or cooler, blue-toned shadows. Melbourne’s overcast days often yield muted tones that can be adjusted to feel brighter or more cinematic.
  • Communicate whether you want vibrant greens in park settings or desaturated neutrals for a timeless look.
  • Avoid over-saturating skin tones, which can appear unnatural. Aim for balanced warmth that complements your complexion.

Lighting and Contrast Enhancements:

  • Highlight specific areas (e.g., a bride’s veil or a groom’s suit) to draw attention without losing detail in shadows.
  • For beach photos, consider softening harsh sunlight to prevent blown-out highlights while preserving the ocean’s texture.
  • Urban shots benefit from adjusted contrast to emphasize architectural lines without creating overly stark shadows.

Texture and Detail Preservation:

  • Retain natural textures in outfits (lace, fabric folds) and backgrounds (brick walls, foliage) to avoid a “plastic” finish.
  • If shooting in windy conditions, ask to smooth hair gently rather than erase movement entirely, which can look artificial.
  • For group photos, ensure individual faces remain sharp even when blurring busy backgrounds.

Addressing Common Editing Requests

Couples often have specific concerns about their appearance or the environment. Handling these requests thoughtfully ensures the final images feel polished yet genuine.

Skin and Blemish Corrections:

  • Request subtle smoothing of temporary flaws (acne, redness) while preserving natural skin texture.
  • Avoid heavy airbrushing that erases freckles, moles, or wrinkles, as these details contribute to authenticity.
  • For under-eye circles, ask for light brightening rather than complete removal to maintain a natural look.

Body and Posture Adjustments:

  • If a pose feels awkward, request minor tweaks to posture (e.g., straightening a slouched shoulder) without altering body proportions.
  • Clothing adjustments (fixing wrinkles, adjusting hemlines) should look seamless, not like the outfit was digitally altered.
  • Refrain from requesting extreme slimming or resizing, which can distort the image’s realism.

Environmental Modifications:

  • Remove distracting elements (e.g., trash bins, photobombing strangers) only if they detract from the composition.
  • For cloudy skies, consider adding subtle sun rays or blue tones to enhance mood without overpowering the scene.
  • If wind ruins a shot, ask to recreate the pose digitally rather than pasting in a different background, which rarely looks convincing.

Cultural and Personal Sensitivity:

  • Respect requests to modify religious symbols, tattoos, or cultural attire only if the couple explicitly asks.
  • If family members request edits (e.g., softening wrinkles), prioritize their comfort while maintaining consistency across the album.

Managing Timelines and Communication

Post-production delays often stem from unclear feedback or excessive rounds of revisions. Streamline the process with these strategies.

Initial Review Guidelines:

  • Request a batch of 10–15 edited images first to assess the photographer’s interpretation of your style.
  • Use descriptive language (e.g., “brighten the background without losing the rose garden’s details”) instead of vague terms like “make it pop.”
  • Prioritize edits for key photos (ceremony, couple portraits) before minor shots to ensure critical moments meet expectations.

Feedback Structure:

  • Organize comments by image number and specific issue (e.g., “Image 12: Adjust the contrast on the groom’s face”).
  • Avoid subjective phrases like “I don’t like it” and instead explain what feels off (e.g., “The sky looks too orange compared to the rest of the scene”).
  • Limit revisions to 2–3 rounds to prevent diminishing returns on quality.

Technical Considerations:

  • Ask for high-resolution files in both color and black-and-white (if desired) to accommodate different display needs.
  • Specify file formats (JPEG for web, TIFF for prints) to ensure compatibility with albums or framing services.
  • If sharing images online, request optimized versions for social media without compromising print quality.

Deadline Management:

  • Set realistic timelines (e.g., 4–6 weeks for full edits) and communicate urgent needs (e.g., holiday cards) upfront.
  • Factor in Melbourne’s peak wedding seasons (spring and autumn), when photographers may have longer turnarounds.
  • If delays occur, ask for periodic progress updates rather than frequent follow-ups, which can slow down the workflow.

By approaching post-production with clarity and respect, you’ll receive images that honor your day’s emotions and Melbourne’s unique charm. Trust your photographer’s expertise while advocating for adjustments that align with your aesthetic, ensuring the final album feels both timeless and true to your experience.

81909-Wu-911

Preparations for adjusting the schedule on the day of the wedding photography shoot in Melbourne

Melbourne Wedding Photography: Day-Of Schedule Adjustments for Optimal Results

Your wedding photography day in Melbourne demands careful energy management to ensure you look and feel your best. From early morning preparations to golden-hour sunsets, structuring your schedule around photography milestones helps maintain focus and reduces stress. Here’s how to align your routine with the demands of a full-day shoot.

wedding photography melbourne

Morning Routine: Prioritizing Calm and Preparation

The first hours of your wedding day set the tone for photography. A relaxed morning ensures fresh skin, bright eyes, and a composed mindset. Melbourne’s unpredictable weather—from foggy coastal mornings to crisp urban dawns—requires flexibility.

Wake-Up Time Strategy:

  • Aim to rise 3–4 hours before your ceremony or first photo session. This buffer allows time for grooming, hydration, and unexpected delays.
  • If shooting sunrise photos (common in locations like Brighton Beach), adjust wake-up times to account for travel and setup.

Skin and Appearance Prep:

  • Apply a lightweight moisturizer and sunscreen immediately after waking. Let it absorb fully before makeup application.
  • Use cold eye compresses or chilled tea bags to reduce morning puffiness, especially if you’ve had limited sleep.
  • Avoid heavy breakfasts; opt for protein-rich foods like eggs or yogurt to sustain energy without causing bloating.

Handling Melbourne’s Weather Variables:

  • Check the forecast the night before. If rain is predicted, pack waterproof jackets or umbrellas for outdoor shots.
  • On windy days, secure hair accessories and carry bobby pins for quick adjustments.

Midday Management: Balancing Energy and Efficiency

Midday photography often involves formal portraits, group shots, or urban explorations. Pacing yourself prevents fatigue, which can show in photos as drooping eyelids or slouched posture.

Structured Breaks:

  • Schedule 15–20-minute rest periods between sessions. Use this time to hydrate, snack, and cool down in shaded areas.
  • If traveling between locations (e.g., from a chapel to the Royal Botanic Gardens), use transit time to recharge quietly.

Nutrition and Hydration:

  • Carry a reusable water bottle to stay hydrated, especially during outdoor shoots in summer.
  • Eat small, frequent meals like nuts, fruit, or sandwiches to maintain blood sugar levels without feeling sluggish.
  • Avoid caffeine overloads; one coffee or tea is sufficient to stay alert without jitters.

Posture and Expression Maintenance:

  • Practice “micro-breaks” during shoots: gently roll shoulders, stretch neck muscles, or blink slowly to reset facial tension.
  • Use breathwork (inhale for 4 counts, exhale for 6) to calm nerves before critical shots like couple portraits.

Adapting to Light Changes:

  • Melbourne’s midday sun can be harsh. Seek shaded areas (under trees or archways) for softer lighting in formal photos.
  • If shooting in direct sunlight, tilt faces slightly downward to avoid squinting.

Evening Transition: Sustaining Radiance for Golden Hour

The final hours of photography—often during golden hour—demand peak energy and glow. Fatigue at this stage can lead to forced smiles or stiff movements.

Pre-Golden Hour Refresh:

  • Use a blotting sheet or powder to manage oil buildup on the T-zone.
  • Reapply lip color and touch up under-eye concealer to combat tiredness.
  • Carry a small fan or mister for quick cool-downs if temperatures rise.

Energy-Boosting Tactics:

  • Consume a light, energizing snack like dark chocolate or a banana 30 minutes before golden hour.
  • Stay hydrated with electrolyte-infused water (without added sugar) to prevent cramps from prolonged standing.
  • Engage in light movement (shoulder rolls, ankle circles) to keep blood flowing during static poses.

Handling Late-Day Challenges:

  • If shooting into the evening, bring layerable clothing (scarves, shawls) to stay warm as temperatures drop.
  • Use breath mints or gum to freshen breath after hours of talking and laughing.

Final Checks Before Wrapping Up:

  • Verify hair and makeup integrity. Tuck loose strands and reapply setting spray if needed.
  • Ensure clothing (buttons, zippers, hemlines) remains intact after hours of movement.

Post-Shoot Recovery for Long-Term Comfort

After the camera stops clicking, prioritize physical recovery to avoid next-day soreness or exhaustion.

Immediate Post-Shoot Care:

  • Change into comfortable clothing and shoes to relieve pressure points.
  • Apply a soothing facial mist or aloe vera gel to calm skin irritated by makeup or sun exposure.
  • Elevate feet if standing for extended periods to reduce swelling.

Nighttime Routine Adjustments:

  • Take a warm bath with Epsom salts to relax muscles. Avoid hot water, which can inflame sun-exposed skin.
  • Use a gentle, fragrance-free moisturizer to replenish hydration lost during the day.
  • Prioritize 7–8 hours of sleep to aid physical and mental recovery.

Next-Day Preparedness:

  • If traveling or attending post-wedding events, pack comfortable shoes and loose clothing.
  • Stay hydrated and eat nutrient-dense meals to replenish energy stores.

By structuring your day around photography demands, you’ll maintain a polished appearance and genuine enthusiasm throughout the shoot. Flexibility and self-care are key—Melbourne’s dynamic settings reward couples who adapt with grace.